
Getting Started with Azure Shell and PnP PowerShell with Certificates
 Pau Bullock
- 9 minutes to read
- 14 May, 2021
I recently encountered a scenario recently where I was looking to do a quick technical check on some advice I was giving to another member of the community regarding PowerShell – especially capturing the output of PnP PowerShell commands and store in a text file. When I responded to the tweet, I was away from my computer, but I did have my iPad (with keyboard) with me and wanted to see if I could use PnP PowerShell with Azure Shell – you may have guessed the result by – YES you can. I was not using best security practice at the time to log in (username/password), which would not work if I had MFA on the account (which I should have ☹). I will include better practice configuration to include certificates and an Azure AD App in this article.
What you will need
So, let’s get started; you will need a few things to get going,
- Azure Subscription - this is necessary for a storage account that preserves your files between sessions and is mandatory for Azure cloud shell to work.
- Azure Resource Group – the grouping of resources in Azure
- Azure KeyVault - to store a certificate for a secure connection to M365 services.
- PnP PowerShell - the newest PnP power shell module, this article uses v1.5.0
- Permissions to consent an app as this uses an Azure AD app for the authentication.
- Windows Machine – for creating the app and certificate.
- If setting up services locally by PowerShell, then install the Az module.
Setting Up
There are a few tasks we are going to do to set up working with Azure Shell, Azure AD App and Certificates.
Activate Azure Shell
First, let’s go ahead and activate the Azure Shell; we will use this to set up the required resources as well: Navigate to https://shell.azure.com or select the icon in the Azure Portal.
Then run through the first setup of the Azure Shell:
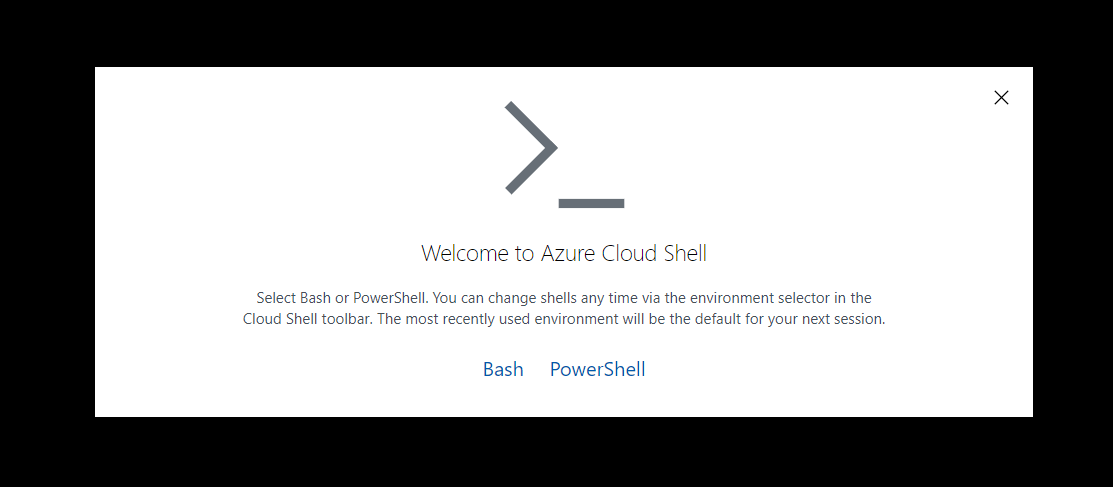
Select PowerShell. Then run through the first setup of the Azure Shell:
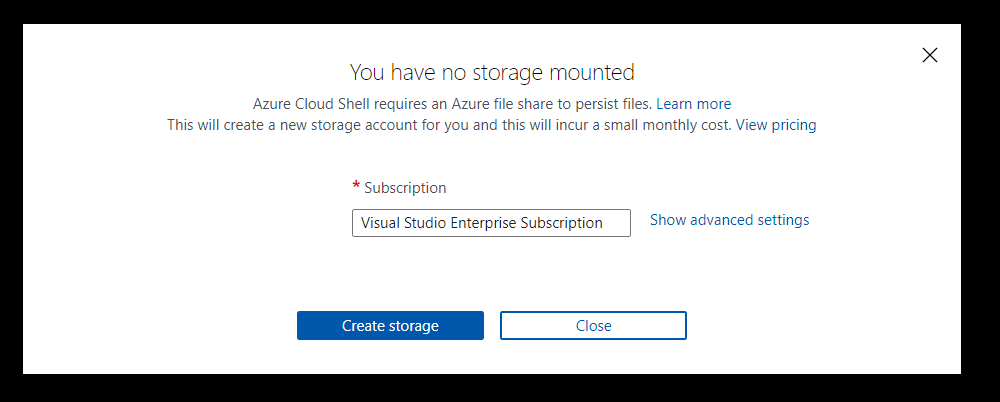
If you choose Create storage at this point, then this will set up
the storage account and resource group for you, using Azure’s naming
standards and region. If you want to specify:
- Subscription
- Region
- Resource Group
- Storage account
- File share name
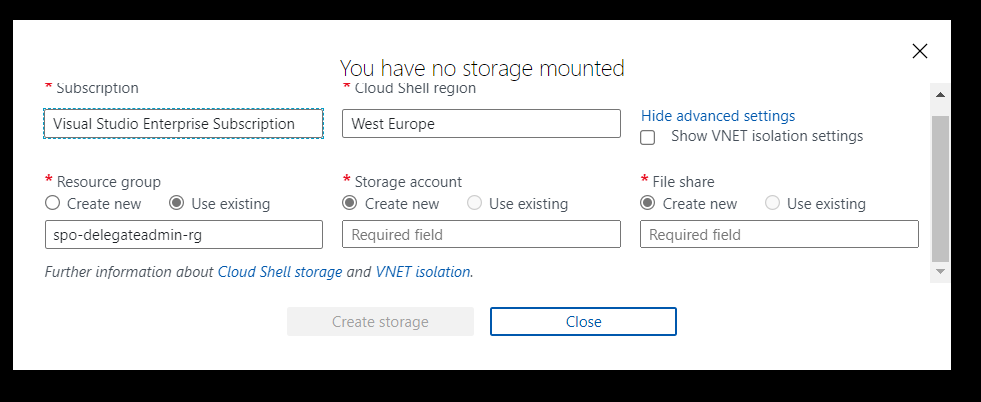
Then select Advanced settings. I like to name resources myself in a standard manner. For this article, I am going to use the advanced options and specify:
- Region:
North Europe - Resource Group Name:
azure-cloud-shell - Storage Account: “pkbtenantcloudshell”
- File Share:
pkbtenantcloudshellfiles
Note: the naming of some of these resources is very strict, e.g., 3 -24characters, no spaces, lowercase
- Select
Create Storage
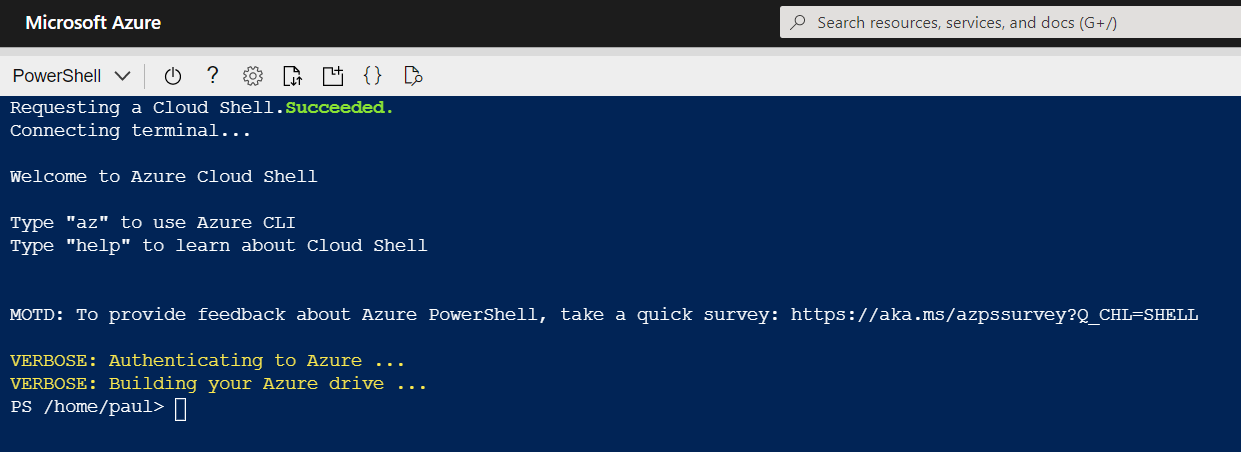 Now the Azure Shell is ready to use.
Installing PnP-PowerShell
Next, we need to install the PnP PowerShell module in Azure Cloud shell, enter:
Install-Module -Name PnP.PowerShell
The great thing about Azure Cloud Shell is the installation is persistent between sessions, so you will only have to do this once. However, you will need to upgrade the module periodically. 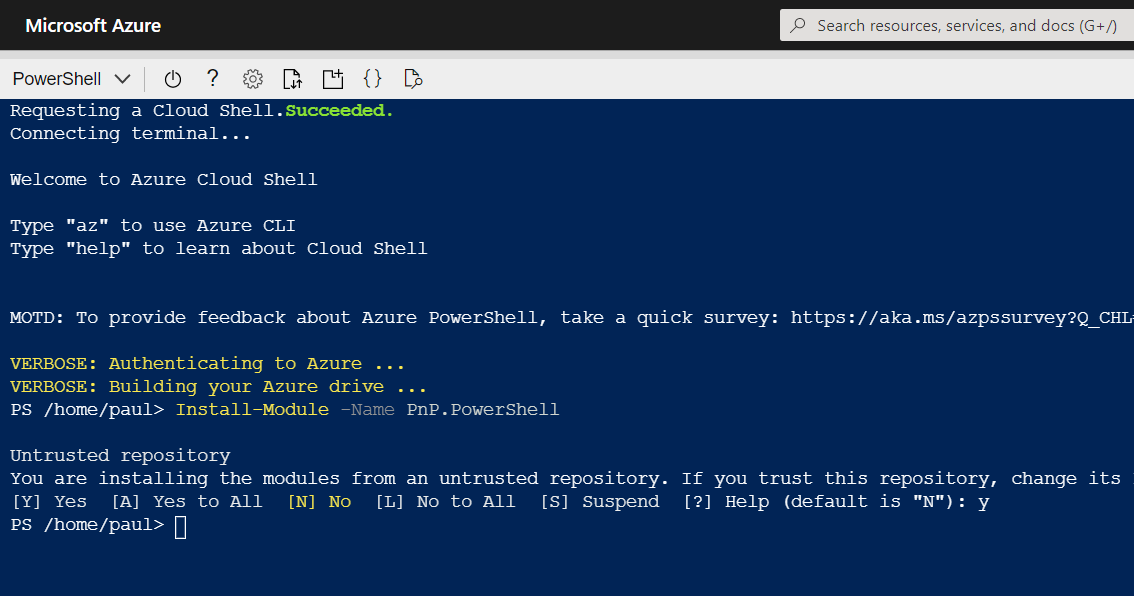 For information on installing PnP-PowerShell, check out the documentation site for more details: https://pnp.github.io/powershell/
Create a KeyVault
Next, we want somewhere secure to store a certificate – Azure KeyVault.
A KeyVault is a secure method of storing keys, secrets and certificates. We intend to keep the certificate used for this setup in the vault. Another benefit of using this method, in larger organizations, where other teams manage apps or the security aspect of the tenant, they can set up this vault and retain control over the certificate and app creation. You can, if you prefer, navigate to the Azure Portal and use the marketplace to create a new KeyVault resource; check out this quick start guide. OR set this up in Azure Cloud Shell run the following commands: Firstly, to check that the service is available in your preferred region, run the following:
New-AzKeyVault -VaultName 'pkbtenant-keyvault' -ResourceGroupName 'azure-cloud-shell' -Location 'North Europe'
Then, provision a new KeyVault (if you have one already, then skip this step) and give yourself access to Secrets and Certificates.
Set-AzKeyVaultAccessPolicy -VaultName 'pkbtenant-keyvault' -UserPrincipalName 'paul.bullock@tenant.co.uk' -PermissionsToCertificates All -PermissionsToSecrets All
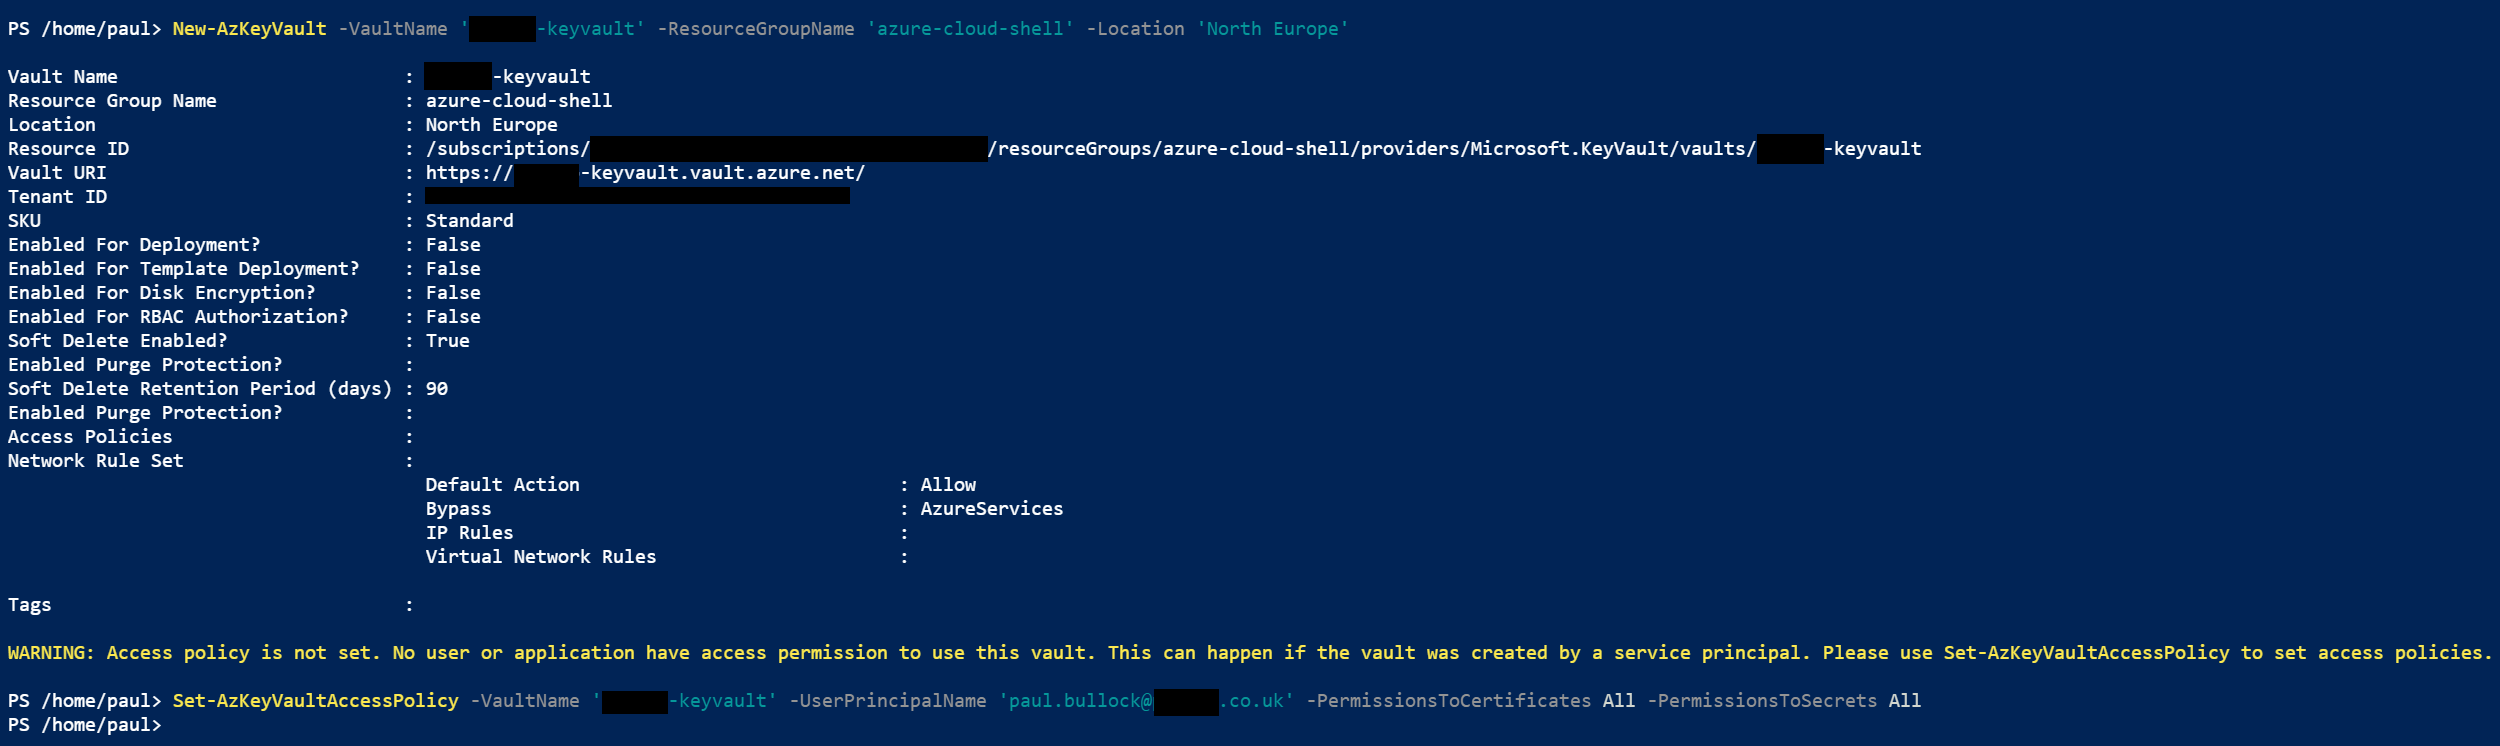 Please refer to the documentation if you want to be more specific around the KeyVault – Azure Portal PowerShell. We will be importing a certificate in a later section.
Create Azure AD App with Register-PnPAzureApp
There are a few options when setting up the authentication to connect with PnP PowerShell:
- Azure AD App – using your app (recommended), which will use the APPLICATION permissions, meaning the connection will use the permissions the app does.
- PnP Management Shell – the multi-tenant app PnP provides – this uses DELEGATE permissions meaning the connection will need to log in as the user and will only have access to services THE user has access to. If you need clarification on the difference between the types of permissions, I highly recommend checking out an awesome community call demo from Philippe Signoret, Program Manager of the Microsoft Identity team: https://youtu.be/_BfI4L7j1Po So why are use an Azure AD app? Using the Azure Shell restricts some authentication options when connecting to services with PnP PowerShell, such as interactive login, because it cannot display a pop-up window. 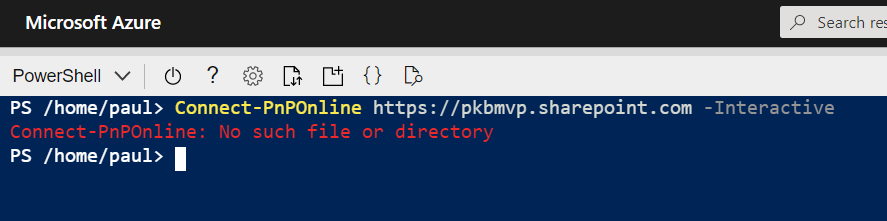
The -PnPManagementShell parameter is an option; this uses the device
login method BUT will require you to navigate to another site/page to
authenticate, including going back to grab the code – then enter your
login credentials further steps if MFA is enabled. IMHO feels a bit
cumbersome to do this each time I want to do a task in the Shell,
especially on an iPad/phone.
Create an Azure AD App
To set up the app quickly with PnP PowerShell, you need to use a
Windows machine to run the cmdlet Register-PnPAzureApp which
generates the certificate, creates the Azure AD app, sets API
permissions, will pop up to consent to the app permissions.
Note: you may have to install the PnP PowerShell locally if you do not
already have it.
To set up the app, run the following command using the PnP PowerShell
cmdlet:
$result = Register-PnPAzureADApp -ApplicationName "PnP PowerShell Azure Shell Access" -Tenant yourtenant.co.uk -OutPath .\ -DeviceLogin -ValidYears 2 -CertificatePassword (ConvertTo-SecureString -String "yourpassword" -AsPlainText -Force)
$result #output the result – Specifically grab the AzureAppId/ClientId – you will need this later
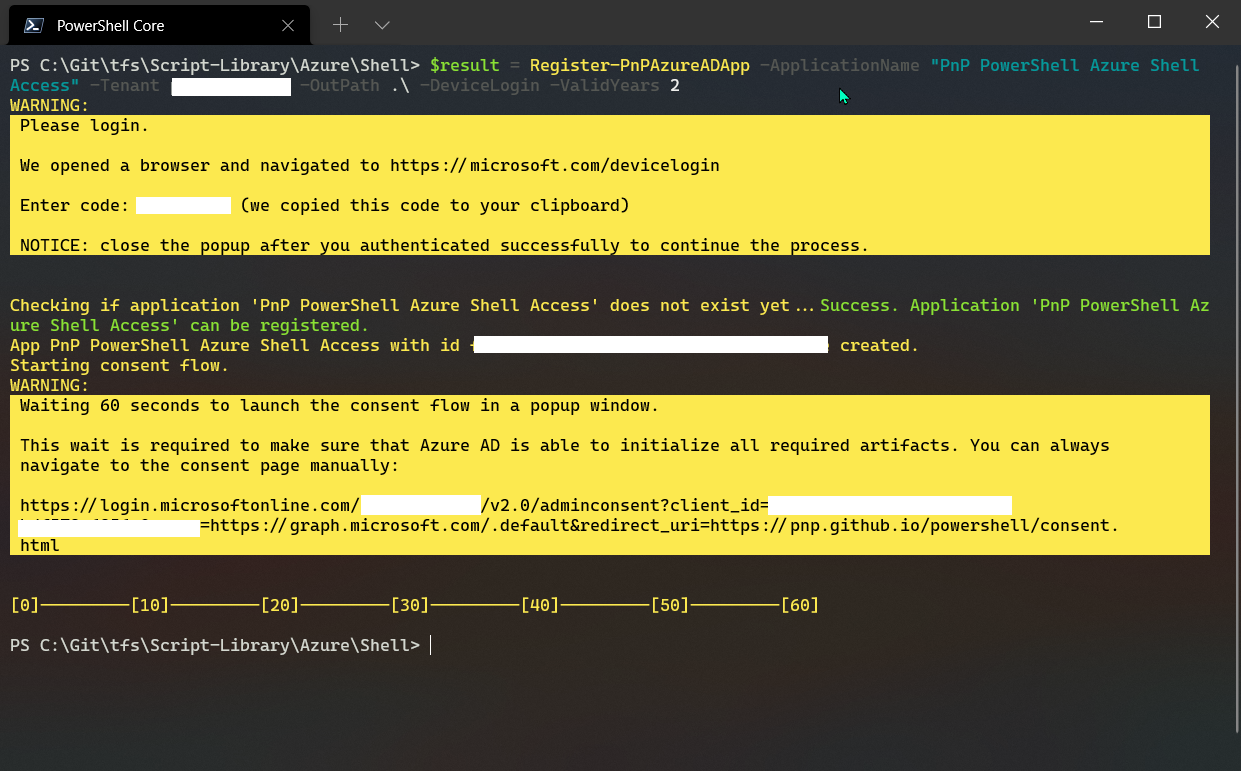
During this operation, two windows will pop-up to authenticate with the
device login method and consent to the app permissions.
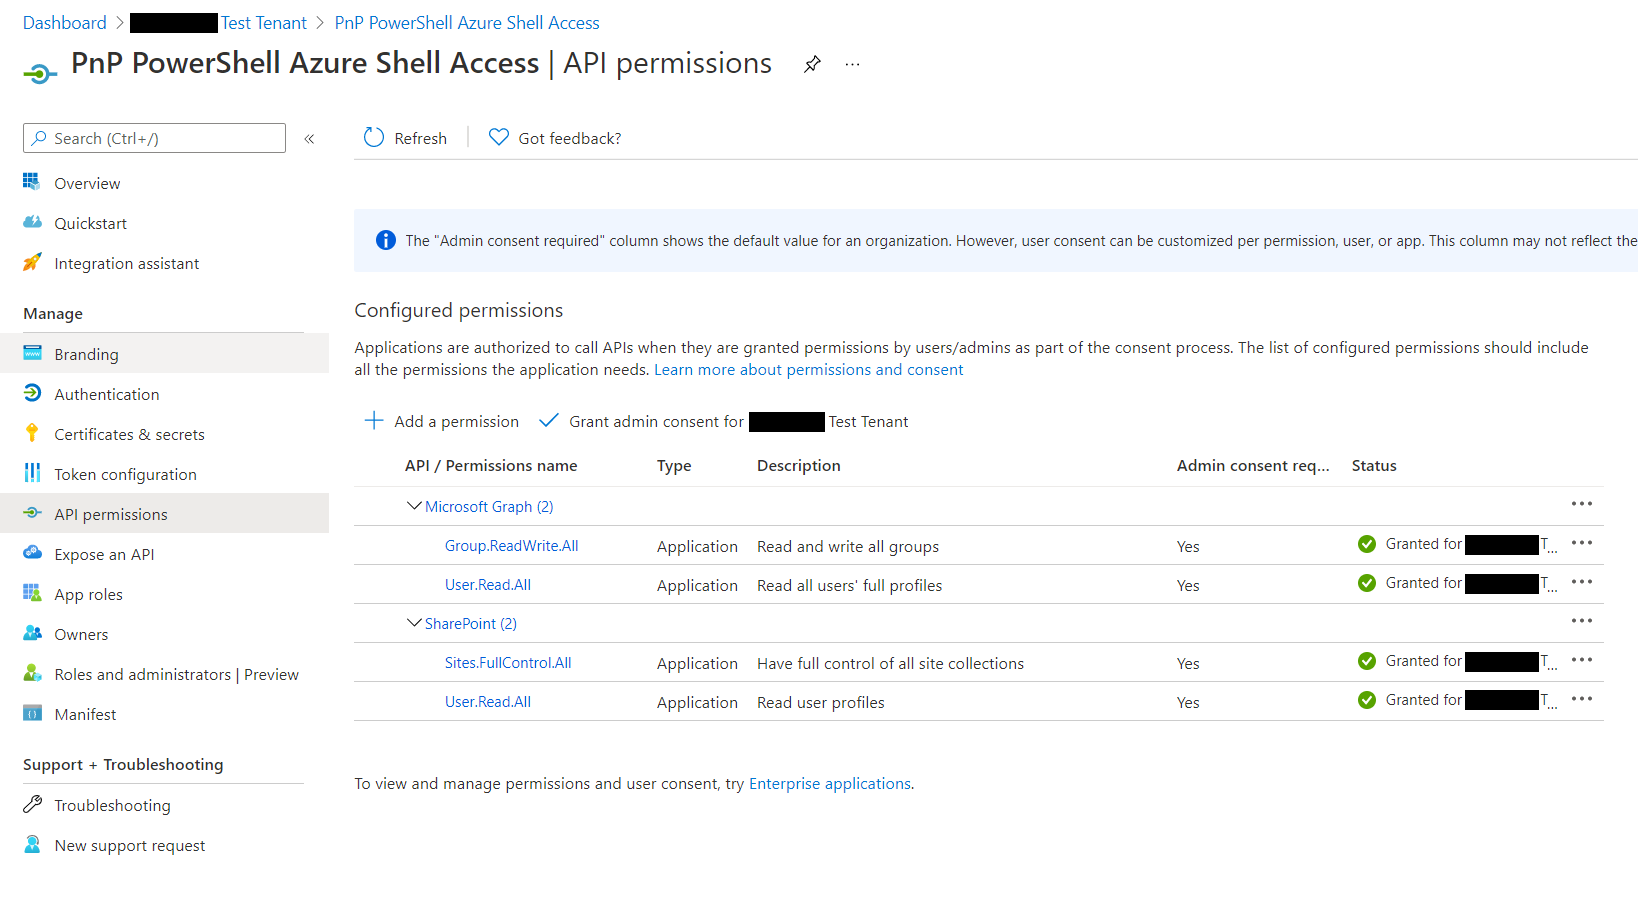
If you want to check the app in Azure AD, navigate to:
https://portal.azure.com/#blade/Microsoft_AAD_IAM/ActiveDirectoryMenuBlade/RegisteredApps
and find the app called PnP PowerShell Azure Shell Access
Note: This app uses the minimum API permissions (APPLICATION) as the
default; if you want to perform operations with groups or flow as an
example, you will need to add these permissions to the app.
For more details on generating the app, check out the authentication
section of the
documentation.
Adding Certificate to KeyVault
Now that we have the app setup, we need to upload the certificate to the KeyVault. Navigate to the KeyVault in the portal 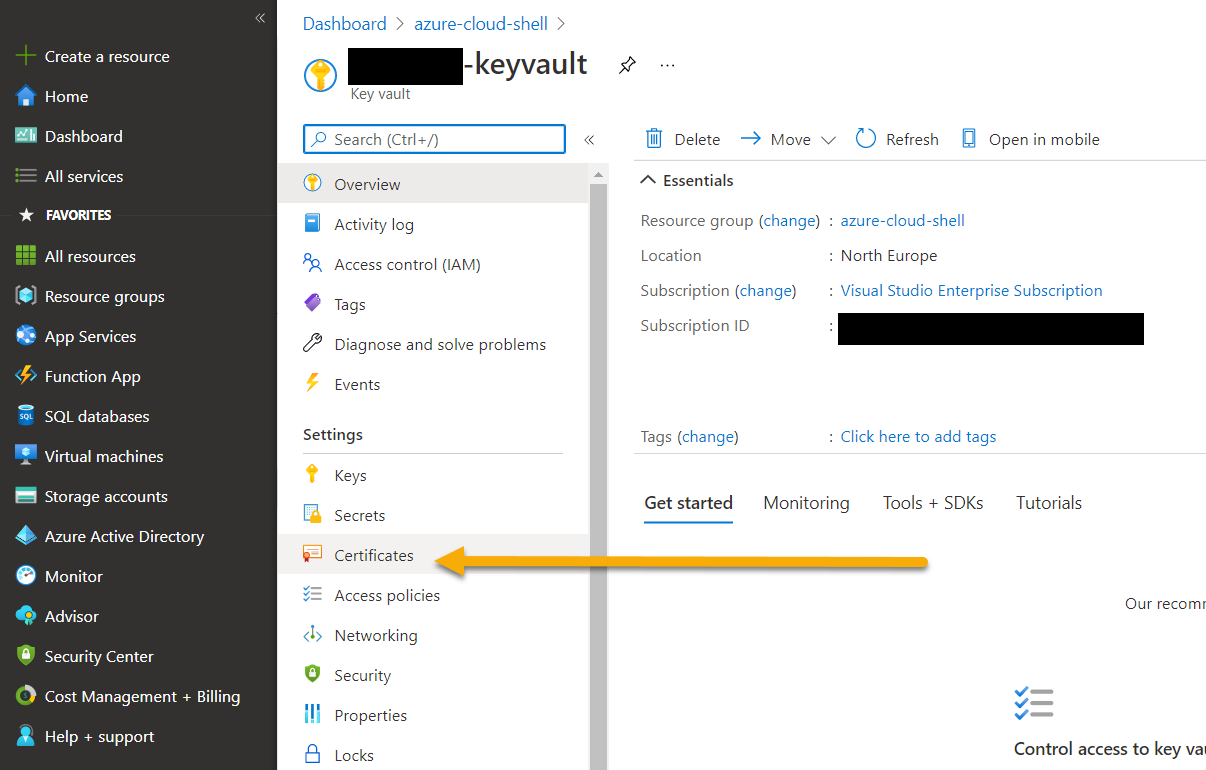
- Select
Import - Enter a name
azureshell-pnpps-connection - Select the generated certificate
PnP PowerShell Azure Shell Access.pfx - Enter the certificate password
- Select Create  This is ready to use in a later section.
Reducing the time to get going on new sessions
When I start the Azure Shell, I want to minimize the number of lines, to connect to the services securely and get going quickly.
Parameter Splatting
Parameter splatting is a method to pass a collection of parameters for a PowerShell command into a variable and apply this to the cmdlet you intend to run. Example:
Get-NiceMessage -Param1 "good" -Param2 "morning" -Param3 "community"
# Splatting alternative
$MyParams = @{
    Param1 = "good",
    Param2 = "morning",
    Param3 = "community"
}
Get-NiceMessage @MyParams
This will save time if you repeatedly apply the same parameters on the cmdlets, reducing the time to write the command and your scripts cleaner to read. To read more about this PowerShell feature, check out the documentation.
PowerShell Profiles
Interestingly, I did not know about this feature until the MOTD message appeared on the Azure Shell. I wanted to understand this further so dug deeper and I have managed to find a way to create a startup script that will make it easier to connect to Office 365. With profiles, we can setup a script to run when the Azure Shell is started, so this is an awesome opportunity to add all of the connection information when the Shell starts including retrieval, of the certificates from the KeyVault. To create a profile that is used across sessions but for your user account use:
# Create Profile
mkdir (Split-Path $profile.CurrentUserAllHosts)
New-Item -ItemType File -Path $PROFILE.CurrentUserAllHosts -Force
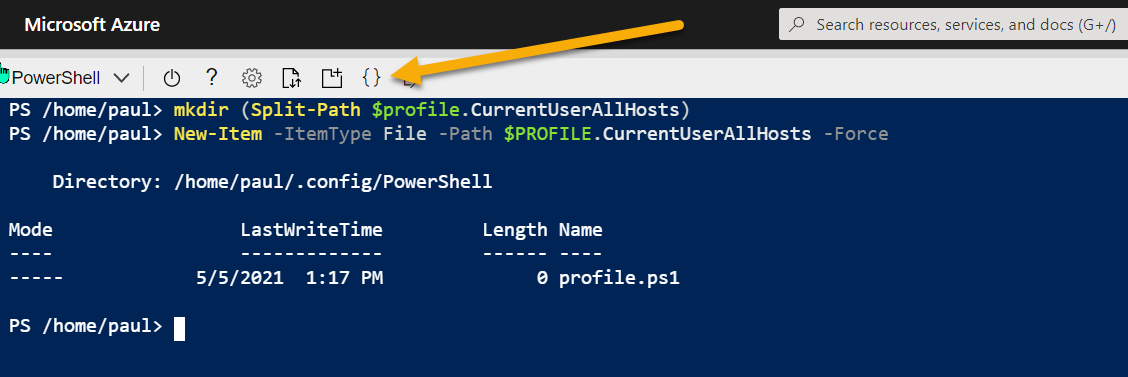 Once created, you can open an editor in the path above to the new profile script location.
Then using the following example, using a combination of parameter splatting and profiles, you can setup everything you need to connect to the service:
# Connect to KeyVault Data
try{
    $vaultName = "pkbtenant-keyvault" # Replace with your KeyVault name
    $appName = "PnP PowerShell Azure Shell Access"
    $appId = (Get-AzADApplication -DisplayName $appName).ApplicationId
    $tenantId = (Get-AzContext).Tenant.Id
    $certName = "azureshell-pnpps-connection"
    $baseSite = "https://tenant.sharepoint.com" # Replace with your tenant
    $base64Cert = Get-AzKeyVaultSecret -VaultName $vaultName -Name $certName -AsPlainText
    # Use of parameter splatting
    $ConnectInfo = @{
        ClientId = $appId
        CertificateBase64Encoded = $base64Cert
        Tenant = $tenantId
    }
    Write-Host "Ready to connect to M365/SharePoint" -ForegroundColor Green
}catch{
    Write-Host "Failed to get the KeyVault data" -ForegroundColor Yellow
}
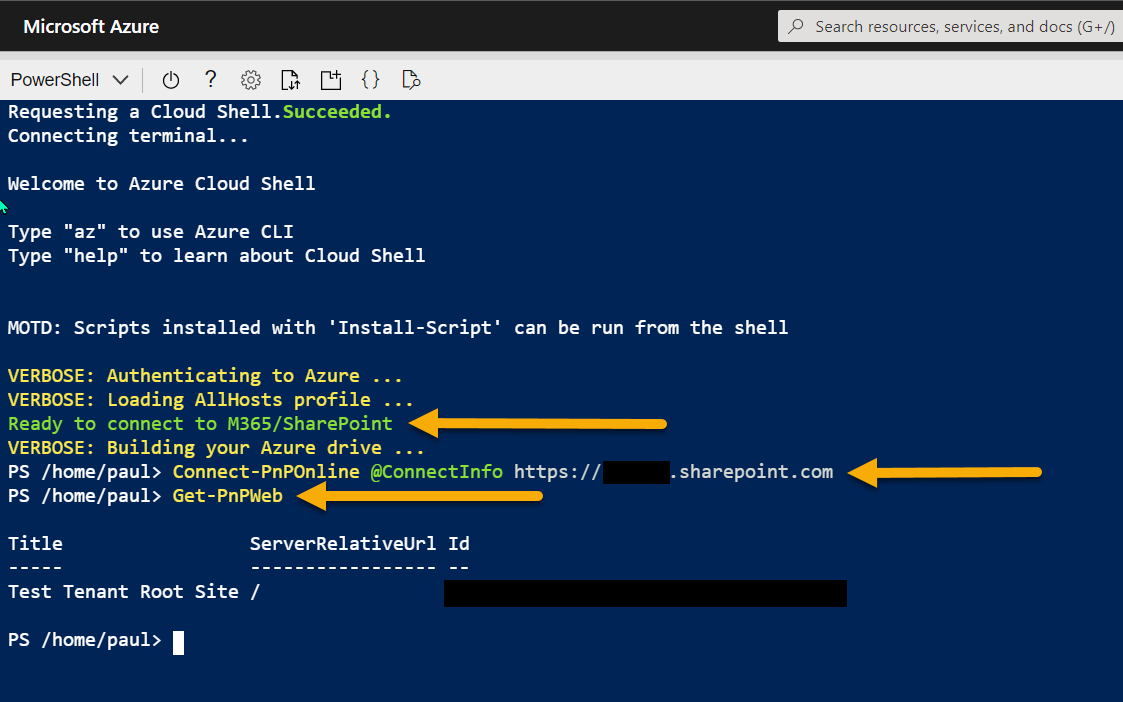
Editor – Ctrl-S (Save) then Ctrl-Q (Quit) Restart Shell After setting up the profile, reboot your Shell and you should see a prompt to indicate the prerequisites are ready to use for a connection (green text). To learn more about profiles check out the documentation for profiles.
Connecting to the service
Once you have all these elements setup, you can connect with PnP PowerShell with one short line:
Connect-PnPOnline @ConnectInfo https://tenant.sharepoint.com
# -OR-
Connect-PnPOnline @ConnectInfo $baseSite
The settings are persistent across sessions/devices (like an Azure app on iPad), so once setup, you can open Azure Shell and reconnect to the service and make the changes in the Shell quickly. Btw, at the beginning I mentioned about capturing the output to the text file, this is particularly useful if you are grabbing a lot of info in your session or need to show the changes you made, here is how to do it:
Start-Transcript "log.txt"
Get-PnPWeb
Stop-Transcript
This will save the file to the current location in the Azure Shell. Use Export-File to download it, or the UI button.
Enjoy!