Guidance On How To Use React DataTable Webpart
Introduction
In this article, we will see how to configure and use react-spfx-datatable web part which I have contributed to PnP SPFx Web part galleries.
To find the full source code refer to react-datatable.
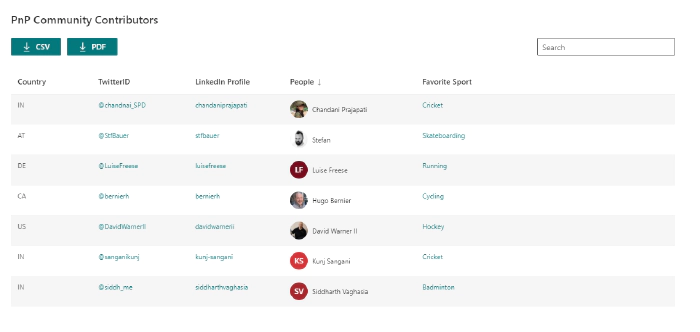
As per all the configurations and features, our web part will be look like this.

Let’s see step by step configuration.
1. Download a package
To download the package refer to react-datatable.
2. Add solution to SharePoint Page
After downloading a package add it to the App Catalog site.
Move to the site where we want to add the web part to the page.
Now Add and install the web part.
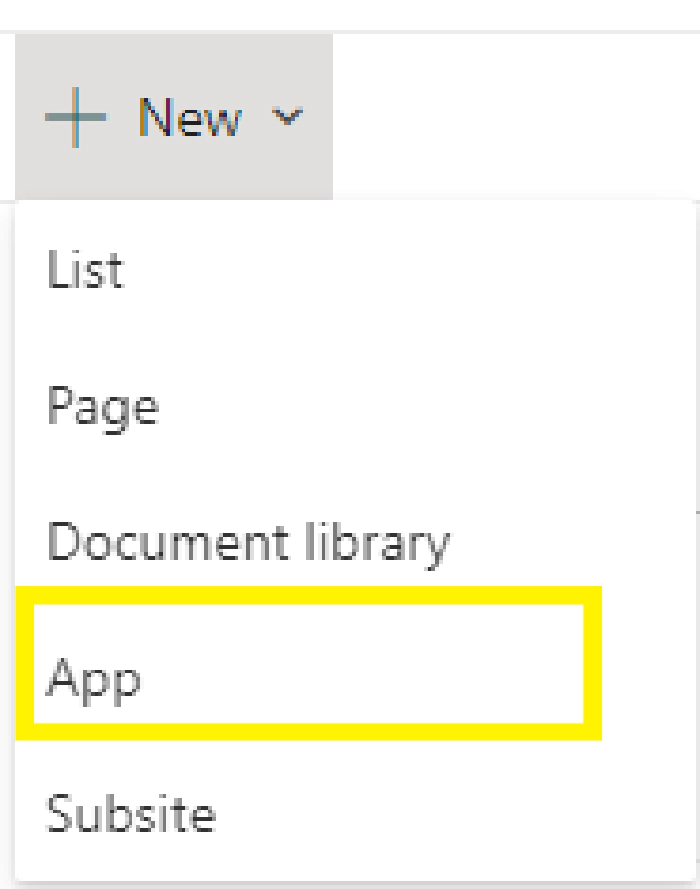
Select App.

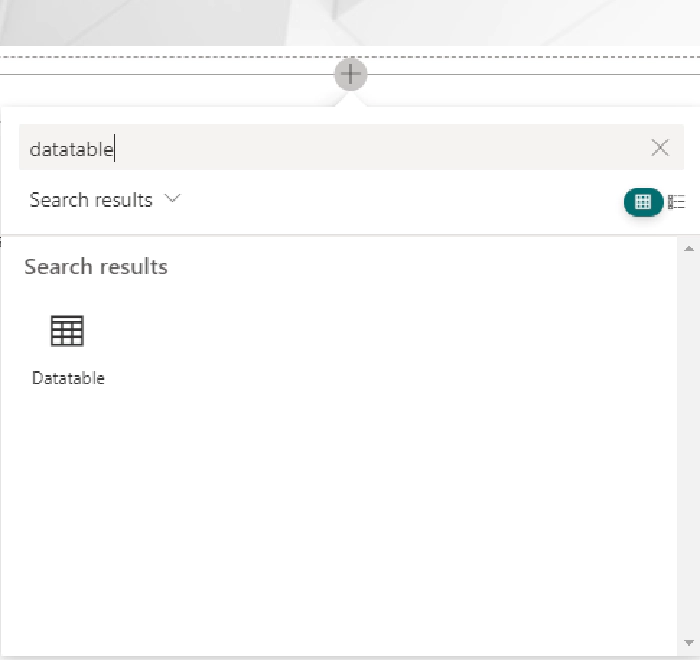
It will open a page for the SharePoint apps store. At here find datatable app and add it.

Now create a page and add web part.

3 Configure properties from property pane configuration
Now we will configure a web part as below,
1. First we will configure the List Configuration section
- Change the web part title that you want to show as a header/title.
- Select a list that you want to show in data table format
- Then select fields that you want to show in the data table.

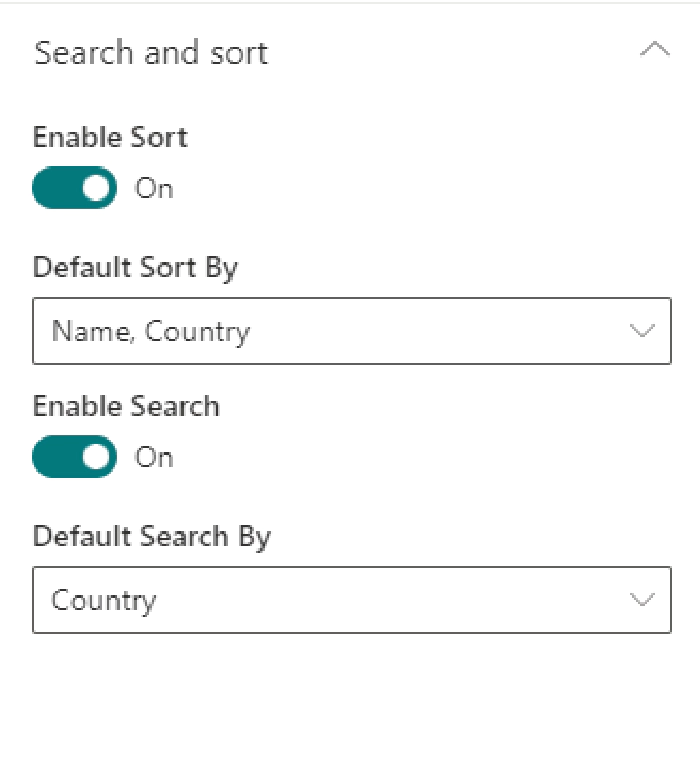
2. Now configure the Search and Sort Section.
- Search
- If you will enable search then it will ask the user for which fields you want to apply search functionality. so you have to select fields from the dropdown. Search dropdown will be disabled when and only when the Search toggle button will be enabled.
- Sort
- If you will enable sort then it will ask the user for which fields you want to apply sort functionality. so you have to select fields from the dropdown. Sort dropdown will be disabled when and only when the Sort toggle button will be enabled.

3. Now we will configure Advanced features.
- In this section, we will configure the below features,
- Pagination
- If we will enable the Pagination toggle button then the table will be rendered with pagination.
- Export to CSV
- If we will enable this option then it will show the Export to CSV button on the top of the data table and we can easily export it to CSV.
- Export to PDF
- If we will enable this option then it will show the **Export to Pdf **button on the top of the data table and we can easily export it to Pdf.
- Order columns in DataTable
- It will show all the columns which we are rendering in the data table and from here we can reorder the columns in the data table.
- Set even and odd row color
- Using this color picker option we can set odd/even row color in the table dynamically.
- Pagination

Output

Summary
In this article, we have seen how to configure react data table web part and we can easily use it for any SharePoint custom list.
I hope it will help you!
Sharing is caring!