Use Node Version Manager to develop your SPFx apps
To develop applications for SharePoint or Microsoft Teams with the SPFx framework, a few requirements must be met on your development computer. Learn how to install the supported Node.js v10.x version and how you can use other Node.js versions additionally with Node Version Manager!
Why?
As developer, it often makes sense to have multiple versions of a framework installed on a single computer. For developing an app for SharePoint Server 2019 or SharePoint Online with the SPFx framework, you need to have Node.js LTS v10.x.x installed (LTS stands for Long Time Support). You can find all the requirements at Set up your SharePoint Framework development environment. For developing other web applications, e.g. when using frameworks such as Angular, you might need other versions of Node.js installed.
The solutions for operation with several different versions of Node.js are supplied with the Node Version Manager (NVM). Here is a step-by-step guide on how to remove old versions of Node.js, how to install NVM and desired Node.js versions, and how to switch between the Node.js versions. After the installation process, learn how to develop your custom SharePoint app using the provided tools.
Install nvm and Node.js
First, follow the steps here to install the Node.js frameworks on your machine. Alternatively, there´s a good description at Set up your Node.js development environment directly on Windows.
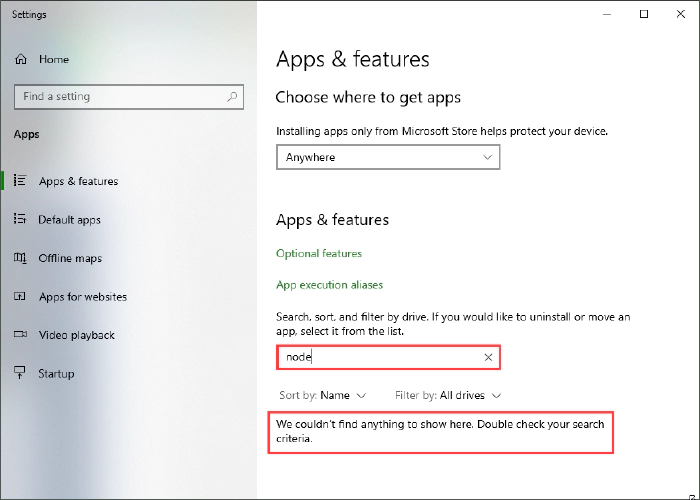
If you already have installed other Node.js versions, it´s a good idea to remove existing versions in the Windows Apps & Features settings. When you have a later version, such as 14.5, already installed, it´s usually not required to uninstall this version. nvm finds that version and allows to use it with nvm.
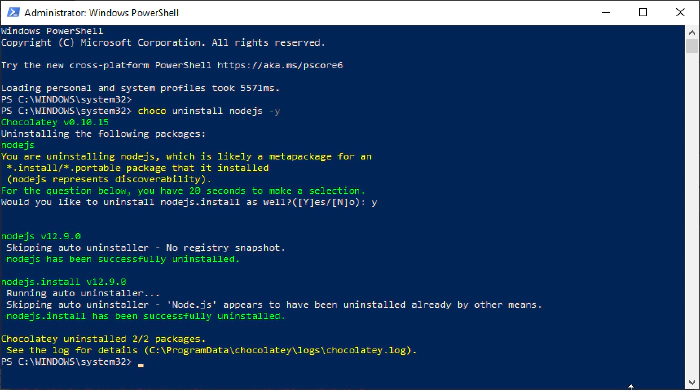
Alternatively, when you have chocolatey installed, you can run
choco uninstall nodejs -y
(as I did on my machine to cleanup.)
You can install nvm from Node Version Manager (nvm) for
Windows
by Corey Butler. The latest version is nvm
v1.1.7.
Download
nvm-setup.zip
and run it. Or, you can use choco (if installed on your computer):
choco install nvm -y
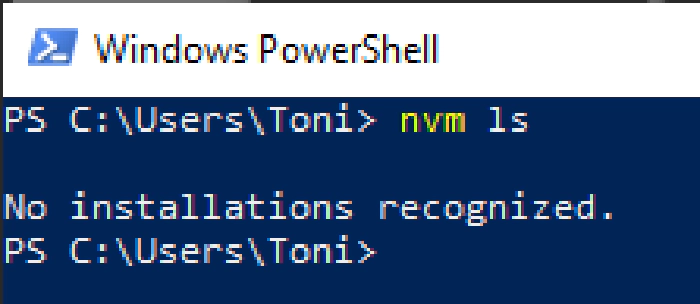
Let´s check if nvm is working:
nvm ls
should find no Node.js versions.
To see the latest Node.js versions check https://nodejs.org/en/, or simply run
nvm ls available
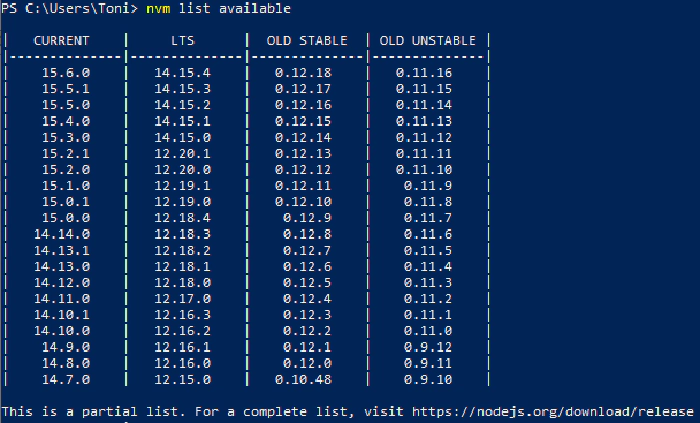
Now, install the desired Node.js versions:
nvm install 10.23.0

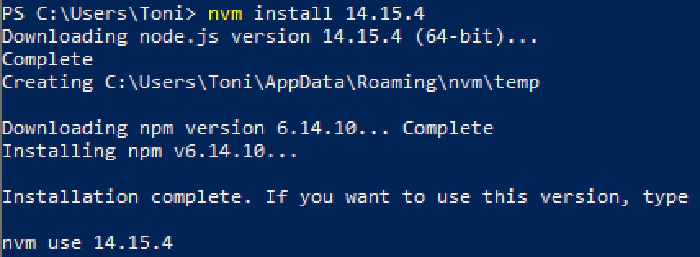
nvm install 14.15.4

Etc. For the latest Node.js version, simply run
nvm install latest
Now check the installed versions:
nvm ls

You can now switch between versions with nvm. Use <nvm version>, e.g.
nvm use 10.23.0
or
nvm use 14.15.4
That´s the basic installation of Node.js and npm.
Install the SPFx development tools once
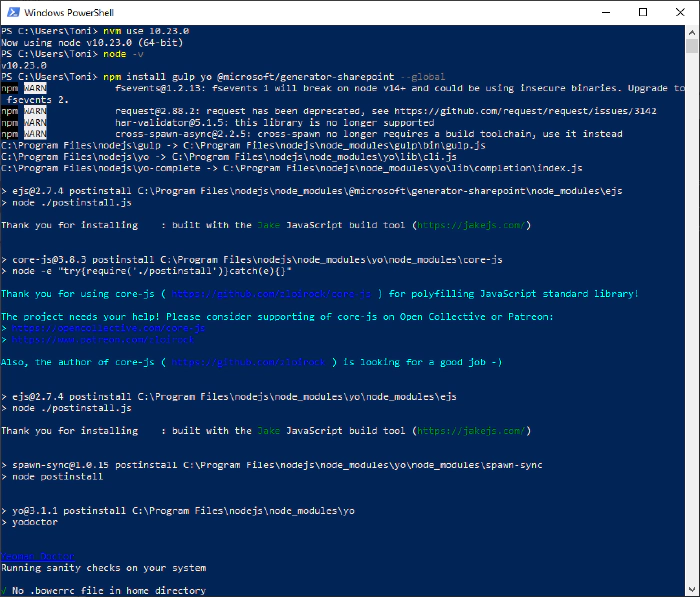
To install the required tools yo with the sharepoint generator and gulp and for SharePoint development, we follow the steps at Set up your SharePoint Framework development environment. Here are the commands to run in a PowerShell console: First, switch to Node.js v10, confirm, (check the current version), and install the tools with npm.
nvm use 10.23.0
npm install gulp yo @microsoft/generator-sharepoint --global
Create a new SPFx web part
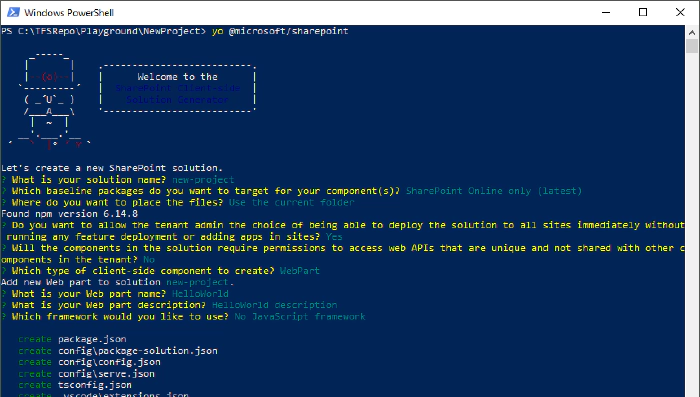
To create a new SPFx app, follow the steps described at Build your first SharePoint client-side web part (Hello World part 1). In a new directory, run
yo @microsoft/sharepoint
You need to trust the development self-signed SSL certificate as described at Trusting the self-signed developer certificate here. Then, you can open the workbench with SSL.
gulp trust-dev-cert
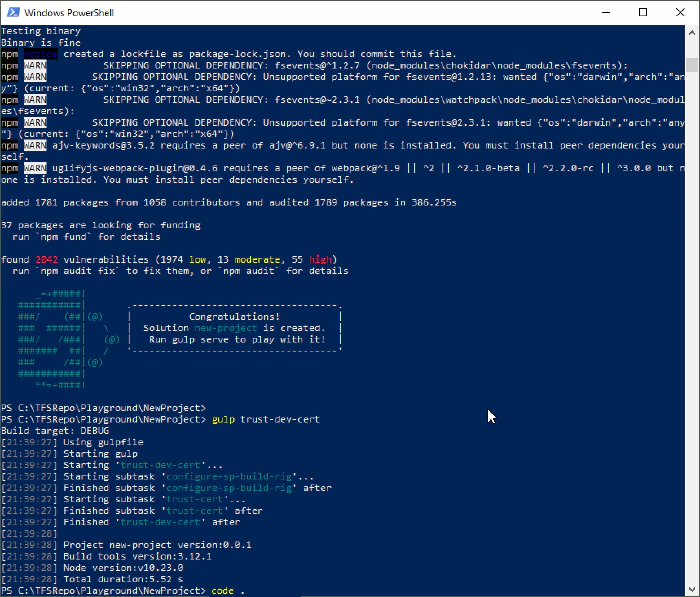
You can open Visual Studio Code now to modify the solution: code .
Run the SPFx web part
The generated solution includes the sample app that can now be modified.
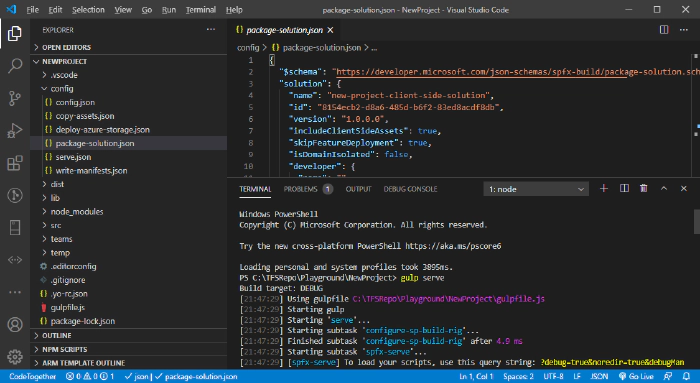
gulp serve
This opens the SPFx workbench, in our sample at
https://localhost:4321/temp/workbench.html. Here, you can add the
web part to the workbench page and test it.
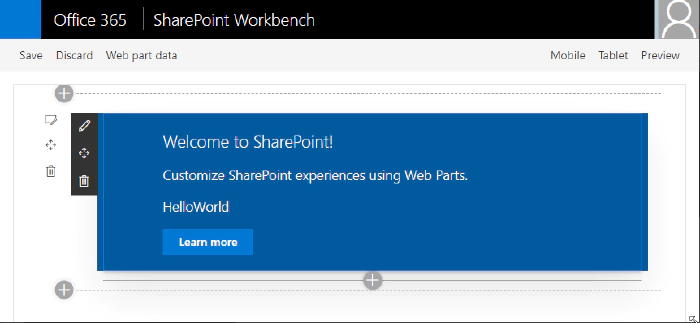
Tip: When gulp serve is running, you can open your M365 tenant´s SPO site and use the custom web part with the data from SharePoint, too: https://<tenant>.sharepoint.com/sites/<sitename>/_layouts/15/workbench.aspx
Deploy the SPFx solution
To build the ready-to-use solution, run
gulp bundle --ship
to build the package for the correct folder and
gulp package-solution --ship
to create the \sharepoint\solution\<project>.sppkg file that can
be uploaded to the SharePoint App
catalog.
Develop the solution
You can follow the next steps to develop the app described here:
Build your first SharePoint client-side web part (Hello World part 1)
Connect your client-side web part to SharePoint (Hello World part 2)
Deploy your client-side web part to a SharePoint page (Hello World part 3)
Host your client-side web part from Microsoft 365 CDN (Hello World part 4)
Switch as required with nvm
The Node Version Manager helps to work with multiple versions of Node.js for different purposes on the same machine. I hope this tip helps developers for a productive development environment! Happy developing!