PnP Core SDK - Blazor Sample
This solution demonstrates how the PnP Core SDK can be used in a Blazor WebAssembly app
Source code
You can find the sample source code here: /samples/Demo.Blazor
Prerequisites
- .NET 10.0 SDK or higher installed. You can download it from https://dotnet.microsoft.com/download
Additional prerequisites for Visual Studio Code
In order to run and debug this sample in Visual Studio Code you need to install the following extensions:
Step 1) Create an Azure AD application
The one thing to configure before you can use this sample is an Azure AD application:
- Navigate to https://entra.microsoft.com/
- Click on Entra ID, followed by navigating to App registrations
- Add a new application via the New registration link
- Give your application a name, e.g. PnPCoreSDKBlazorWasmDemo, make sure Accounts in this organizational directory only is selected and click on Register
- Open the Authentication page, click on Add a platform and pick Single-page application. Add https://localhost:5001/authentication/login-callback (the port may vary according to your dev environment) as redirect URI and click Configure
Blazor WebAssembly signs in from the browser using the authorization code flow with PKCE, which is only allowed for the Single-page application platform. Registering the redirect URI under the Web platform results in the error AADSTS9002326: Cross-origin token redemption is permitted only for the 'Single-Page Application' client-type.
- Take note of the Application (client) ID value, you'll need it in the next step
- Click on API permissions and add these delegated permissions
- Microsoft Graph
- openid
- Sites.FullControl.All
- SharePoint
- AllSites.FullControl
- Microsoft Graph
- Consent the application permissions by clicking on Grant admin consent
- From Overview,
- copy the value of Directory (tenant) ID
- copy the value of Application (client) ID
Step 2) Configure the application
appsettings (wwwroot/appsettings.json)
- Replace Client ID as the value of
{client_id}in appsettings - Replace Tenant ID as the value of
{tenant_id}in appsettings - Replace URL of your SharePoint site as the value of
{sharepoint_url}in appsettings
Using an environment specific appsettings.{ASPNETCORE_ENVIRONMENT}.json file is supported also.
The ASPNETCORE_ENVIRONMENT default value for debugging is set to Development, so you can create an wwwroot/appsettings.Development.json file and add your configuration there.
For more details about runtime environments see: ASP.NET Core runtime environments
Step 3) Run the sample
Visual Studio Code and Visual Studio
Press F5 to launch the sample.
Terminal
First you will need to build the project by running dotnet build in the project folder.
Ensure the ASP.NET Core developer certificate is trusted. If you see the following message, you will need to trust the certificate before running the sample.
Message
The ASP.NET Core developer certificate is not trusted. For information about trusting the ASP.NET Core developer certificate, see https://aka.ms/aspnet/https-trust-dev-cert
CLI
dotnet dev-certs https --trust
Once the build is successful you can run the sample by executing dotnet run in the same folder.
Use dotnet run --environment ASPNETCORE_ENVIRONMENT=<EnvironmentName> to specify the desired environment.
Default environment is Production. The default environment will be overwritten by launchSettings.json file if present. If there is no appsettings file for the specified environment, the setttings from appsettings.json will not be overwritten and will be used.
For more details about runtime environments see: ASP.NET Core runtime environments
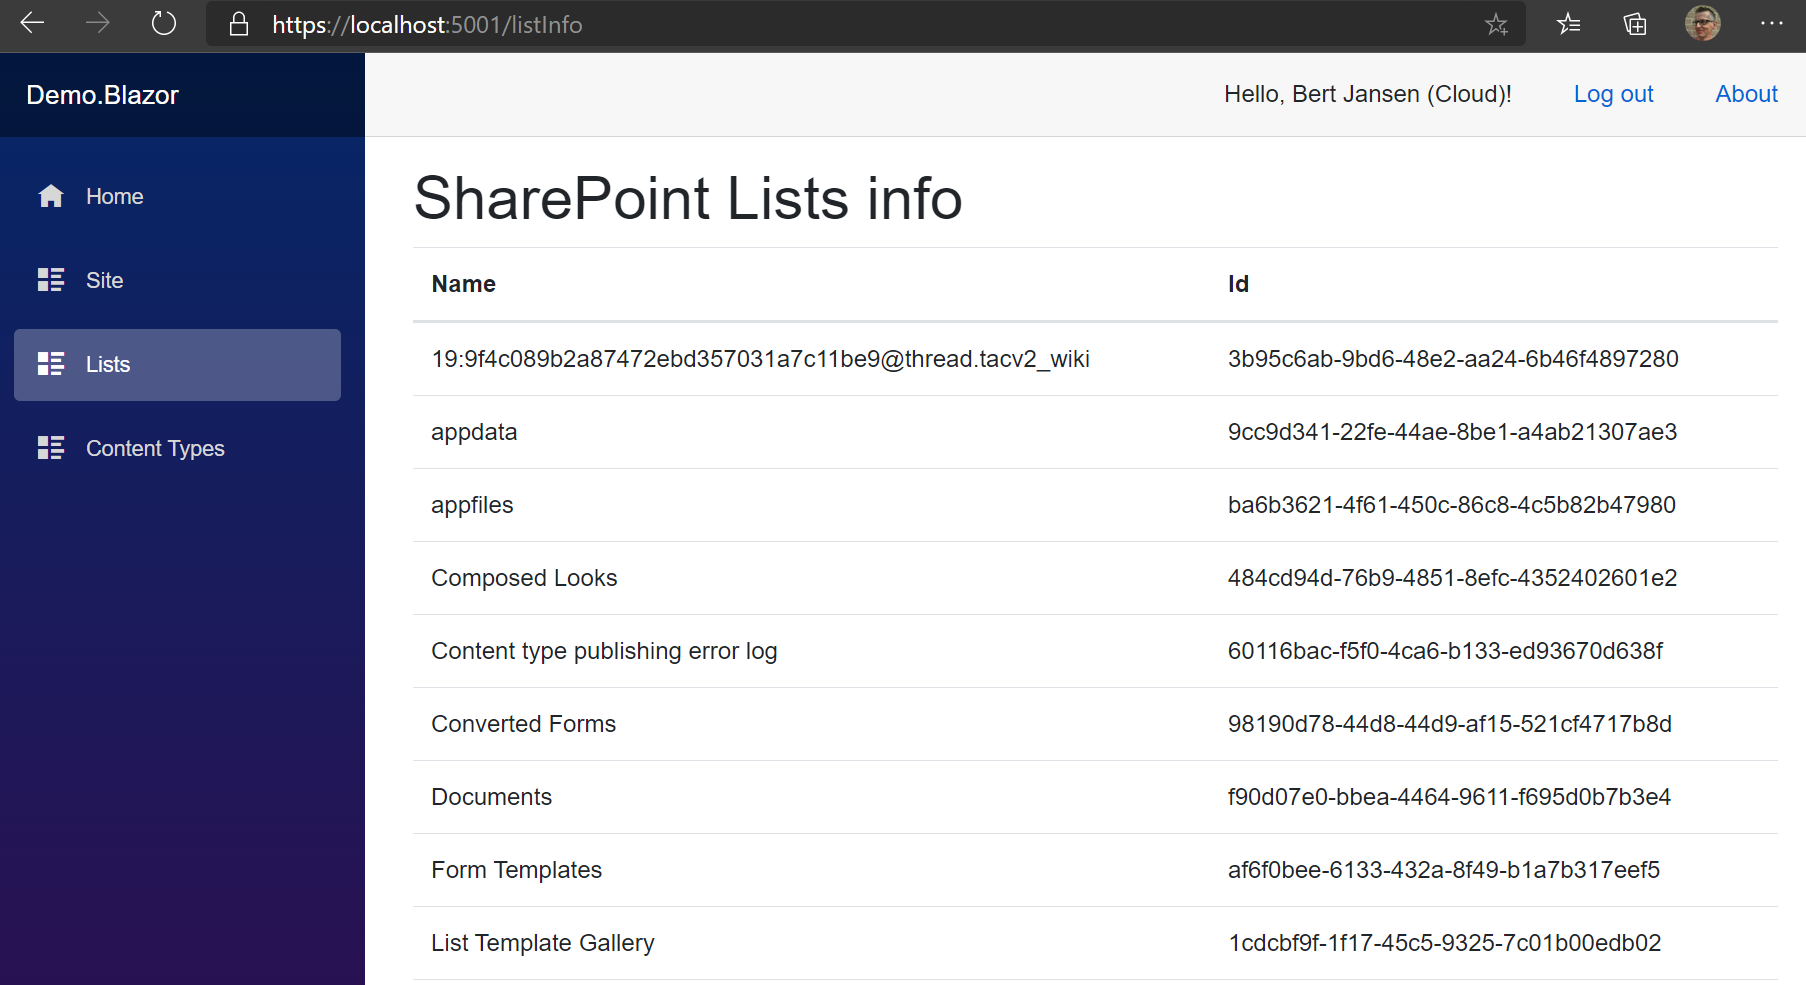
When trying to access one of the sections, the applications prompts you for signing in