Syntex and Chat GPT Integration App
In this scenario you will find a Power Platform sample document management solution that uses Microsoft Syntex Structured Document Processing and Open AI Chat GPT integration.
In this Power App you can upload a new invoice and after Syntex classification you can ask for more details with about all items extracted from your invoice using Open AI.
Deploy today to your tenant and see a great example of the art of the possible with Power Platform, Microsoft Syntex and Open AI.
Deployment Instruction
Prerequisites
- A Power Platform Environment with Dataverse and with AI Builder credit You can enable a trial for AI Builder at this link
https://powerapps.microsoft.com/en-us/ai-builder/
- A OpenAI free subscription with a valid key (in the format "Bearer XXXkeyXXX") for Power Platform OpenAI Independent connector If you don't have this key register your free account at https://platform.openai.com/overview

Click on "View API Keys"

Then select "Create new secret key" and take a note of the secret key generated. You will need this later.
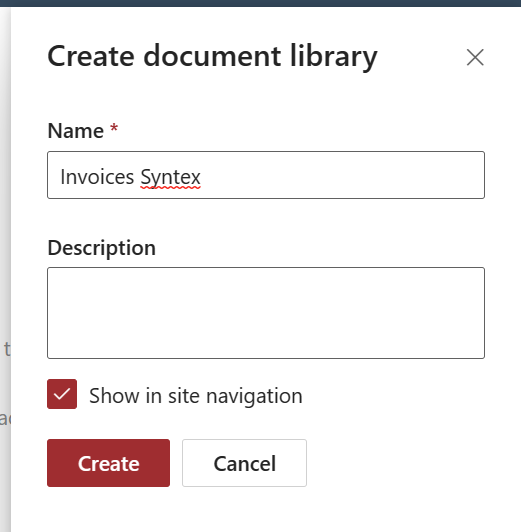
Create a SharePoint Document Library in your Site
In your Team or Communication SharePoint site you need to create a document library. Remember this name because you must set an Environment Variable with this document library name.
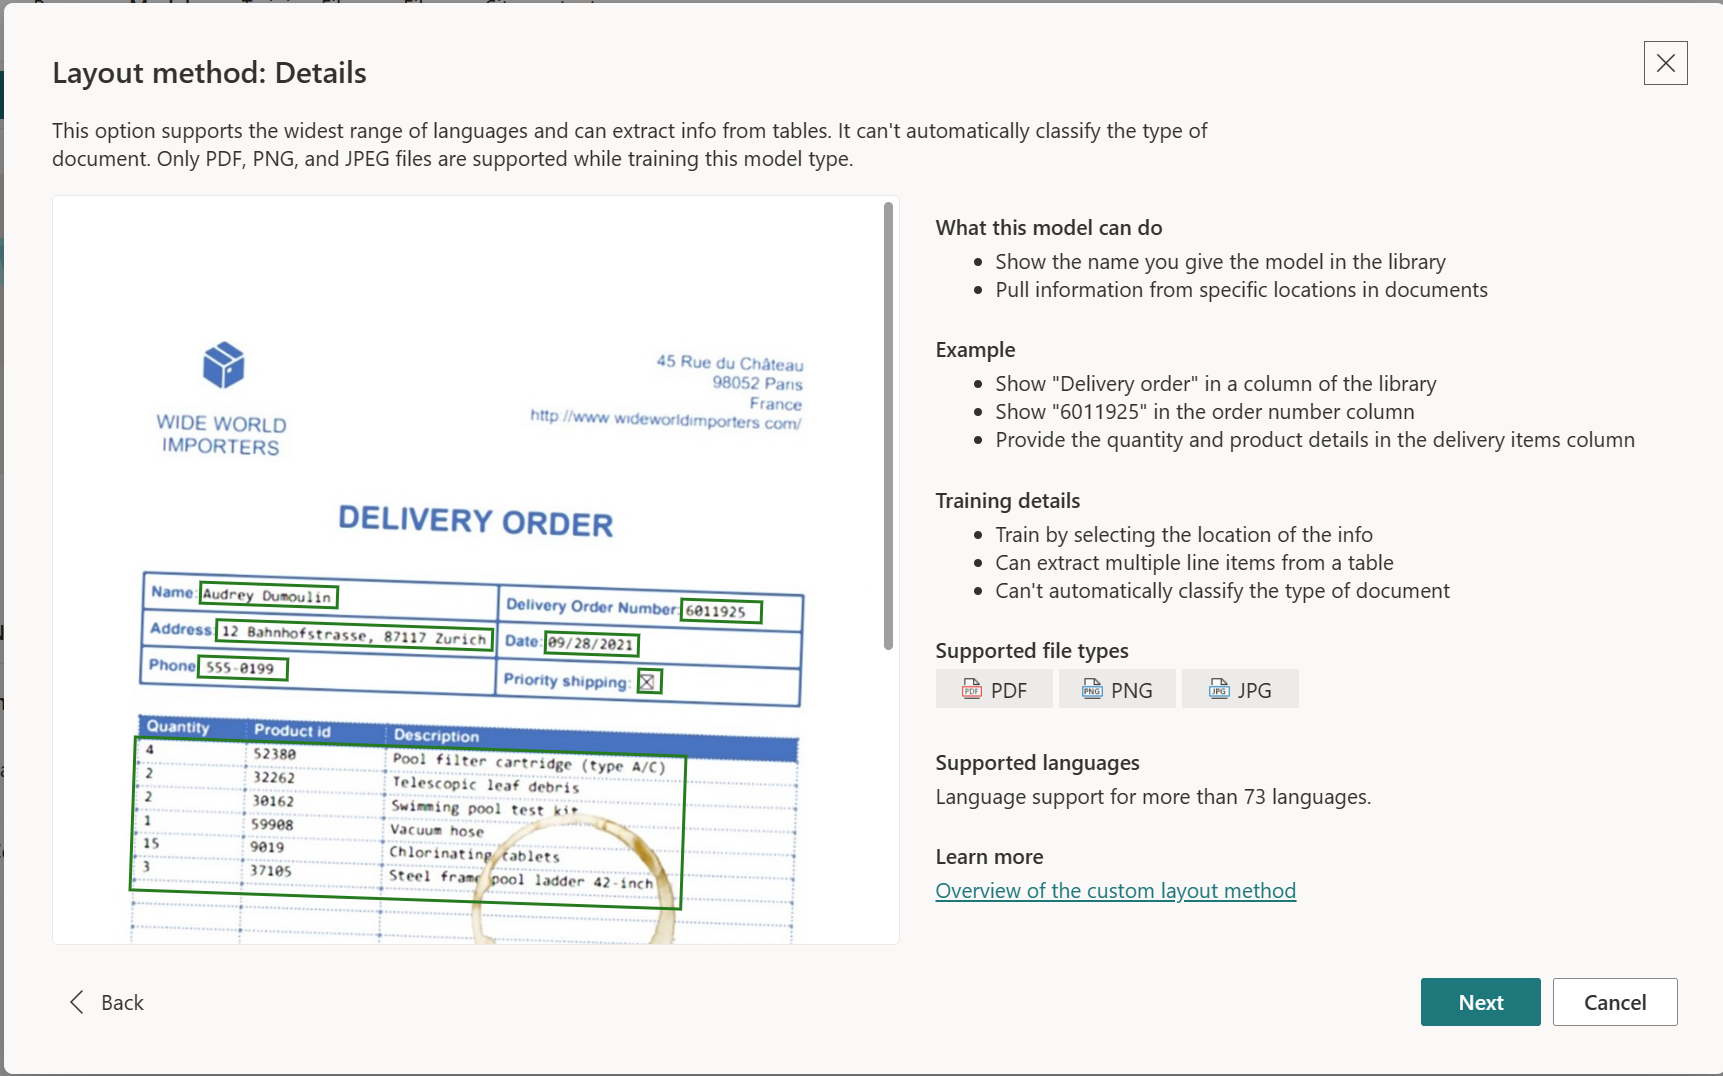
Create a Layout Method Model in Syntex
Open your Content Center site and create a new "Layout Model"

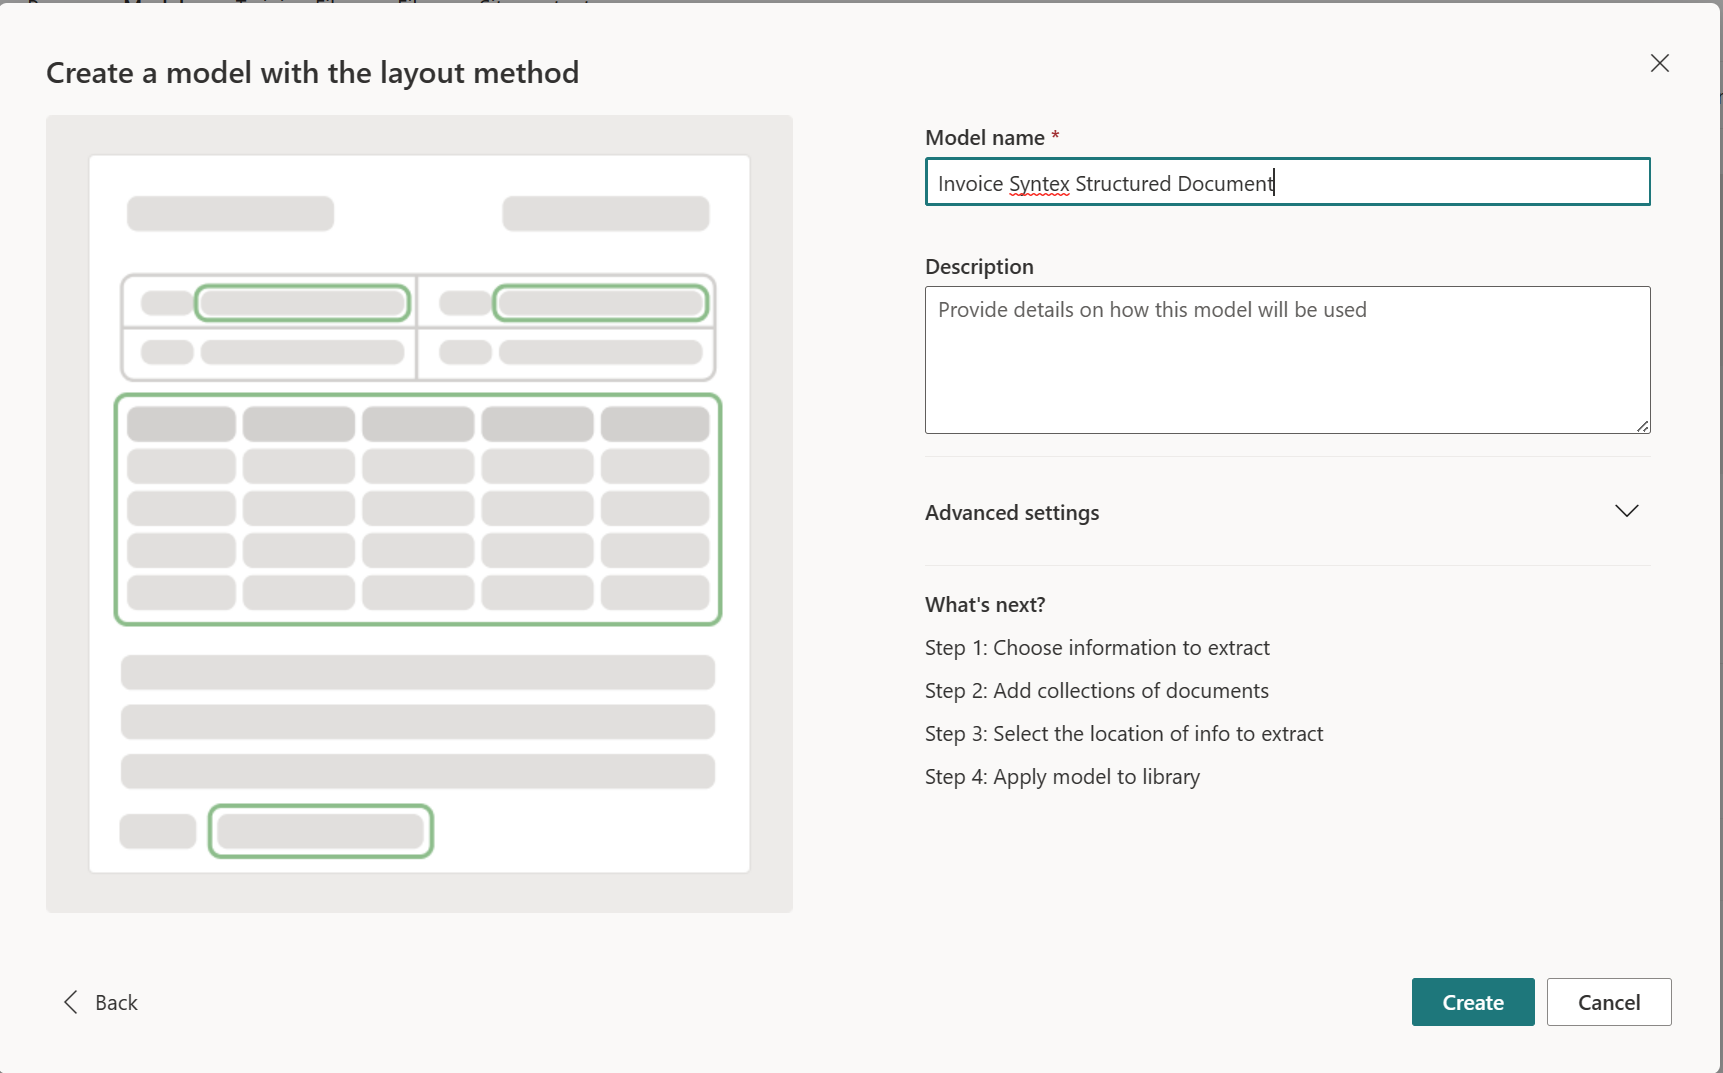
Click "Next"
Select a name and click "Create"
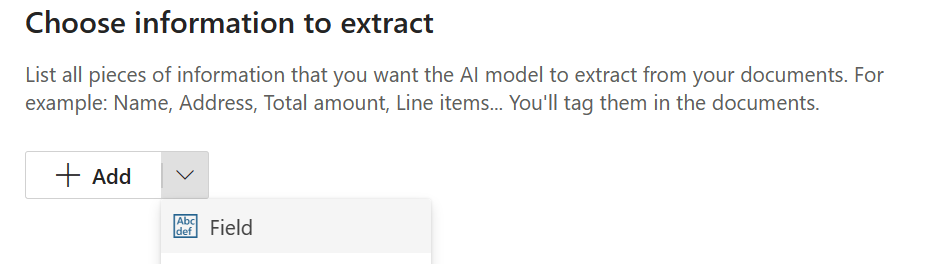
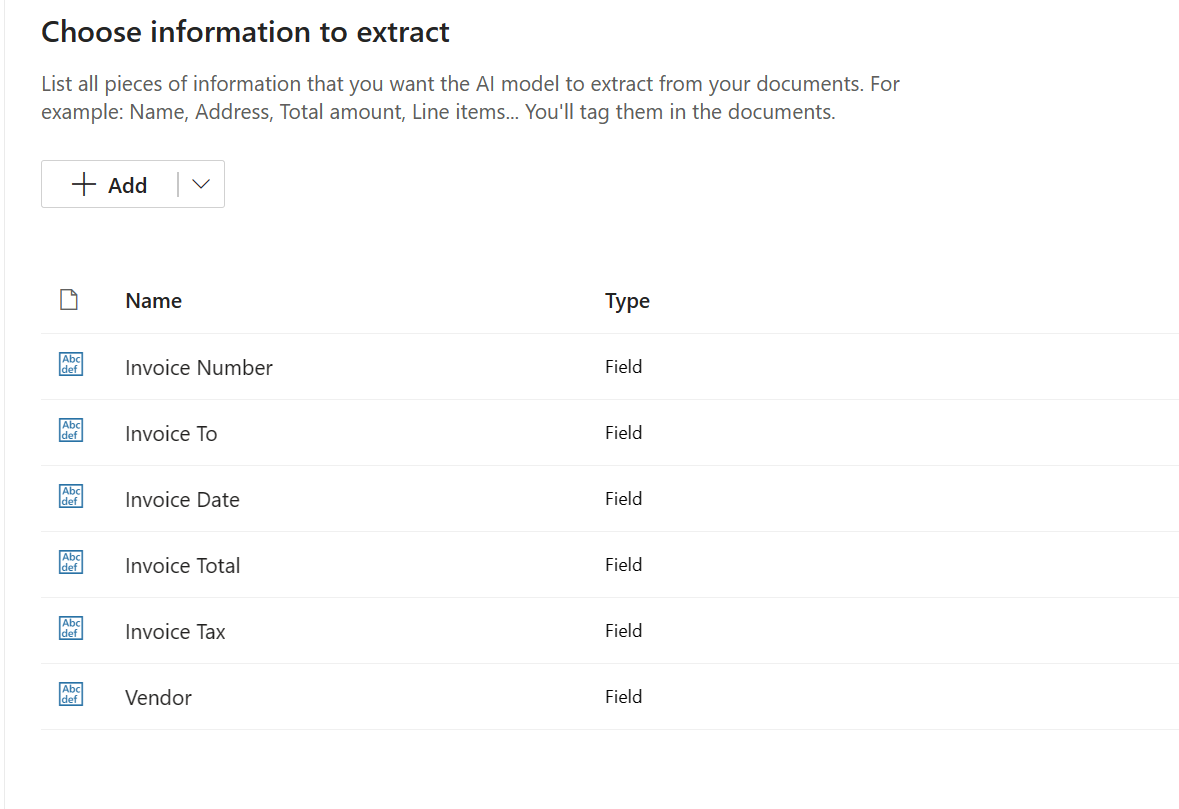
Start to create all the necessary fields
Invoice Number

Invoice To

Invoice Date

Invoice Total

Invoice Tax

Vendor

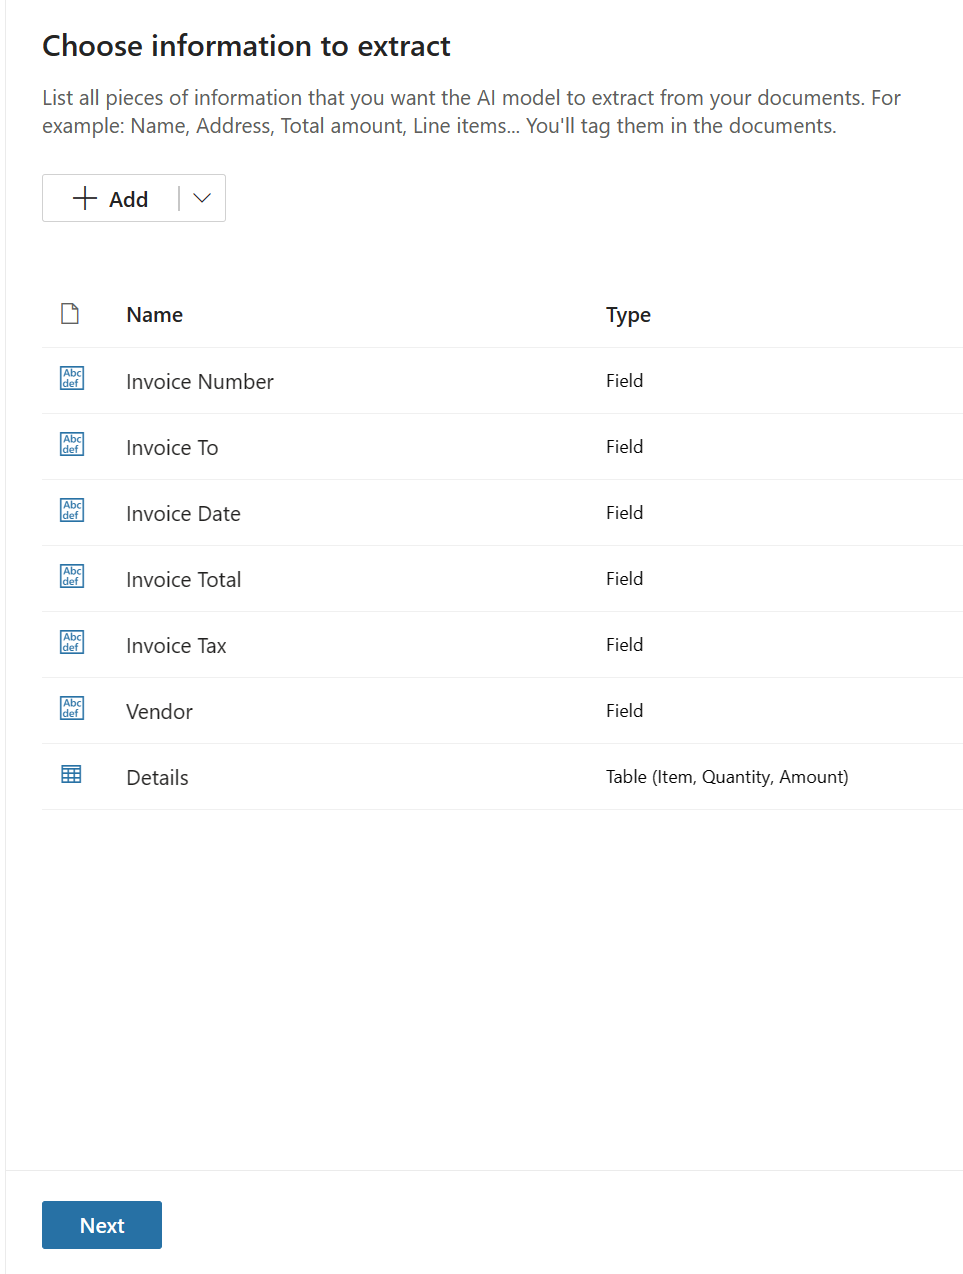
When you have finished creating the above fields - this is what the screen will look like
Now you need to create a table field for the invoice details For the new field you need to select the "+ Add" dropdown and then select "Table"
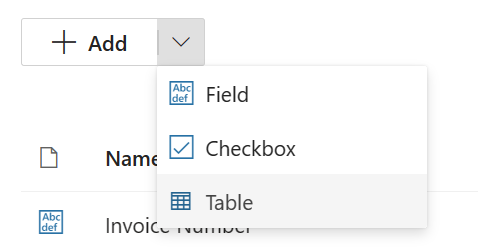
Change the table new using "Details" and add three columns with name:
- Item
- Quantity
- Amount

Click "Next"
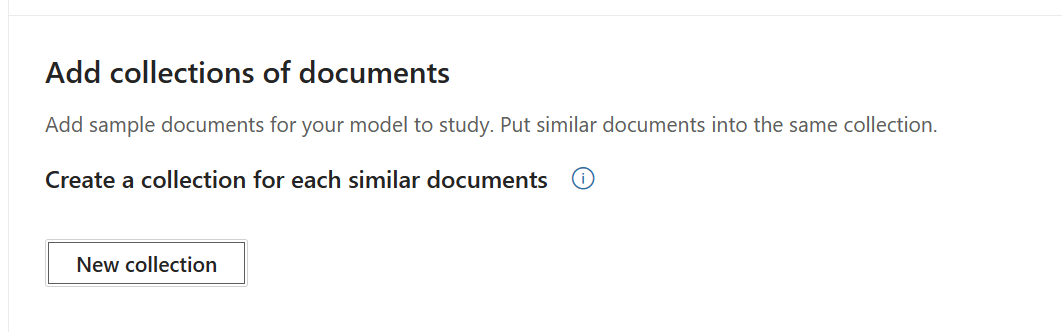
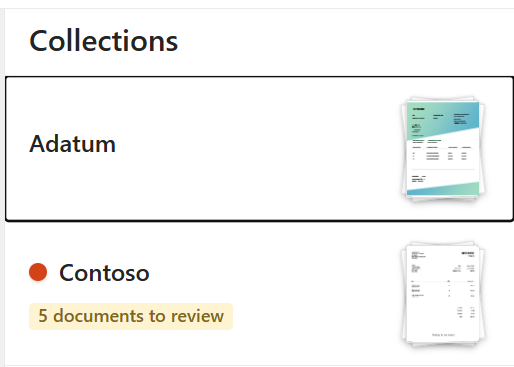
Start to create all the necessary collections
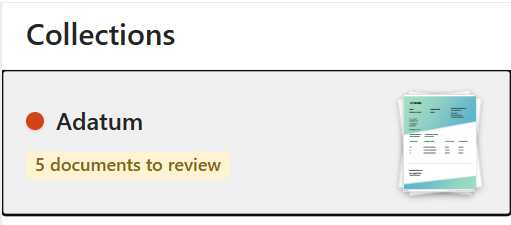
Click on "New Collection"
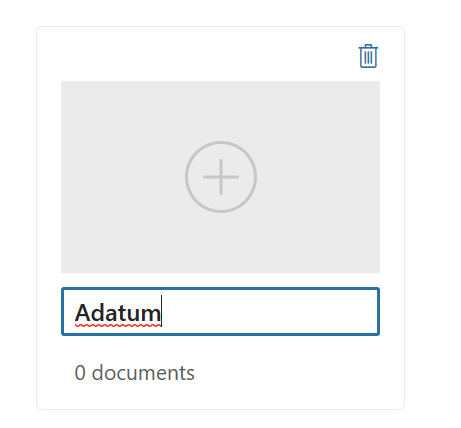
Rename the first collection with name "Adatum"
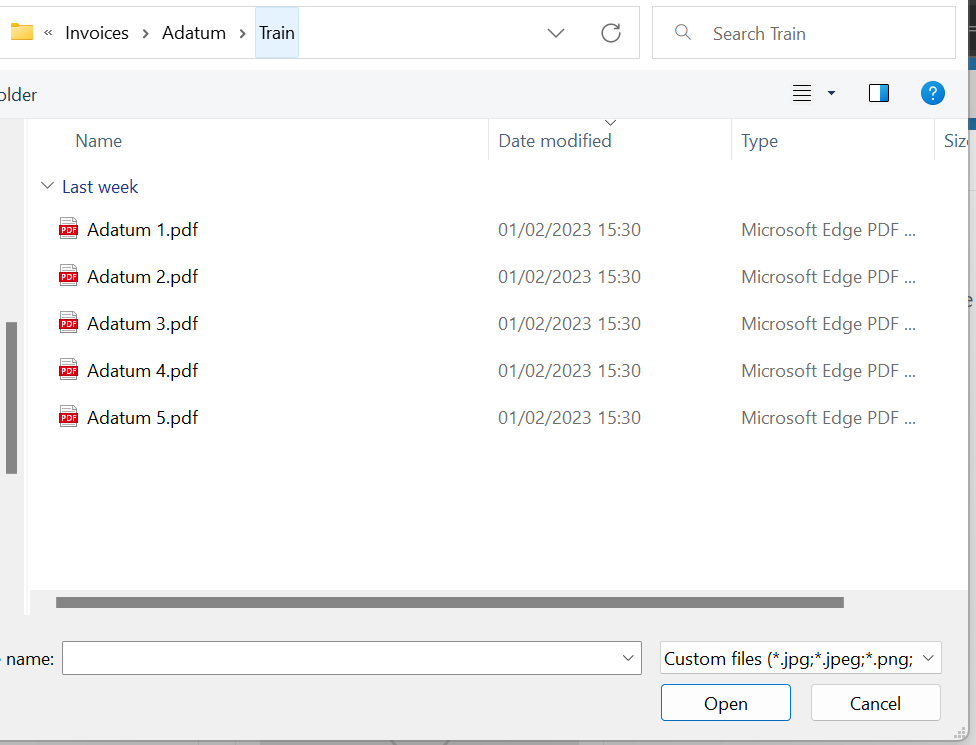
Add 5 "Adatum" invoices present in the Train subfolder under "Adatum"
Select "Upload 5 documents"
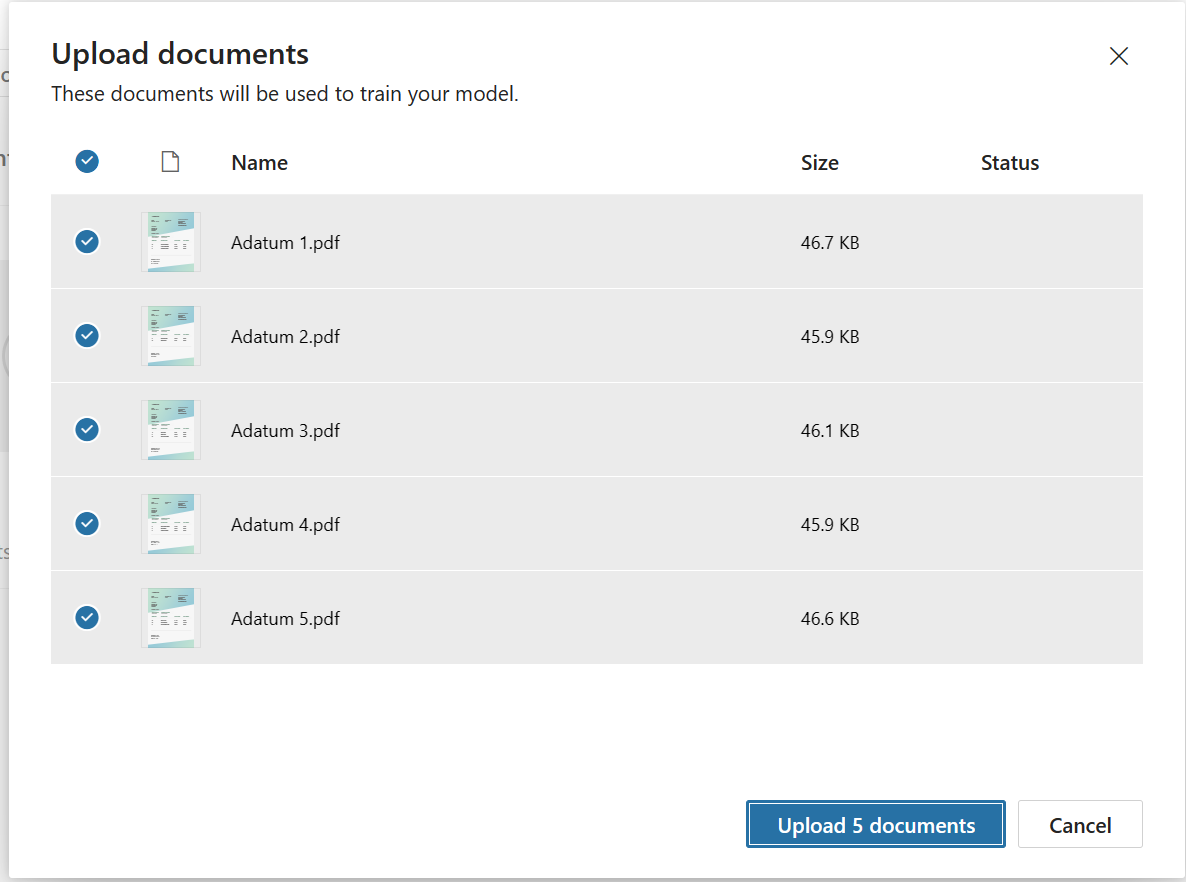
When the upload process finished press "Done"

Create now a new collection "Contoso"
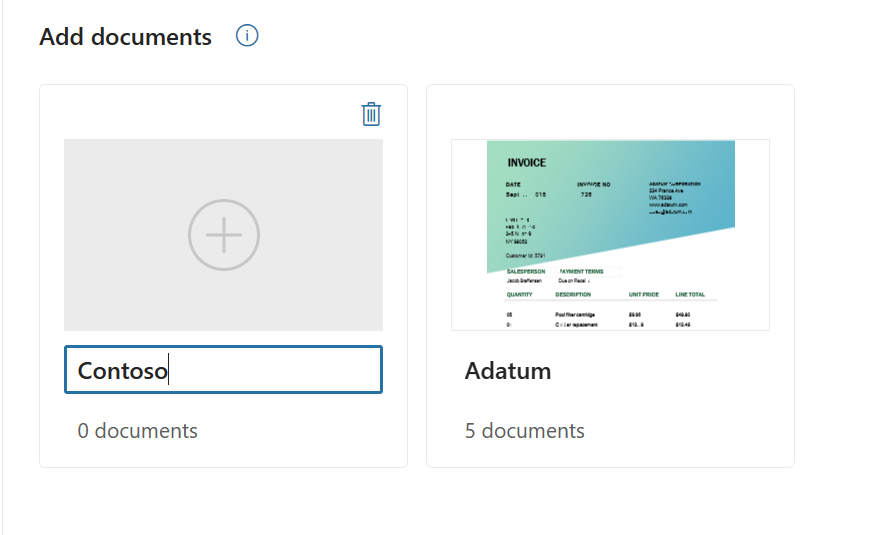
Add 5 "Contoso" invoices present in the Train subfolder under "Contoso"
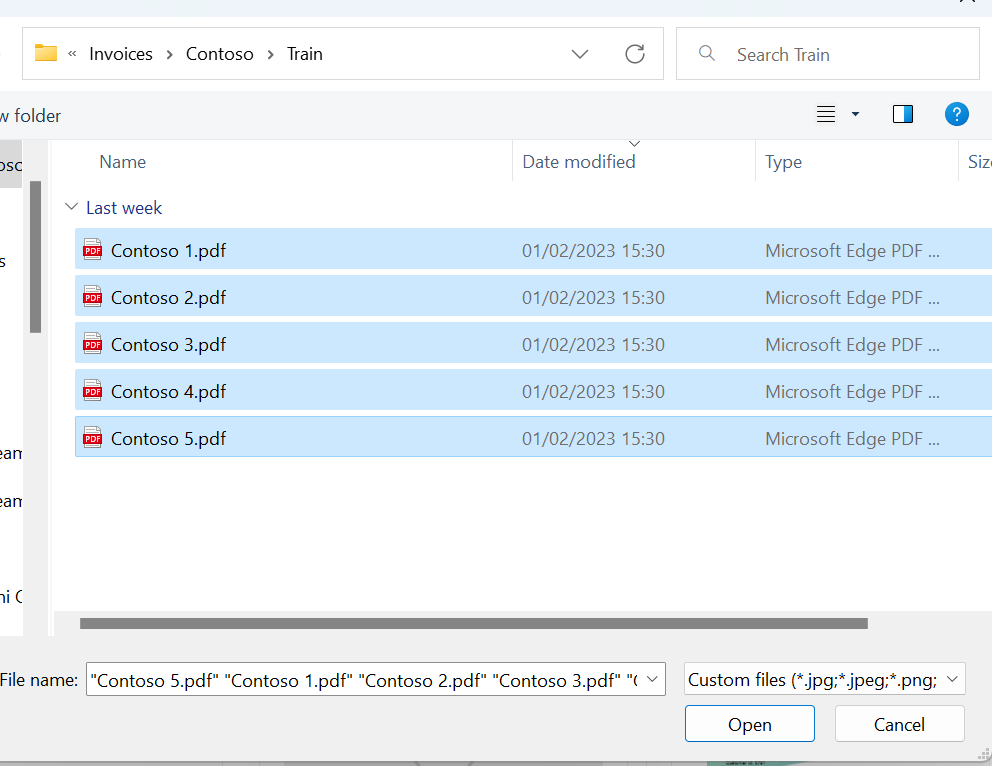
Select "Upload 5 documents"
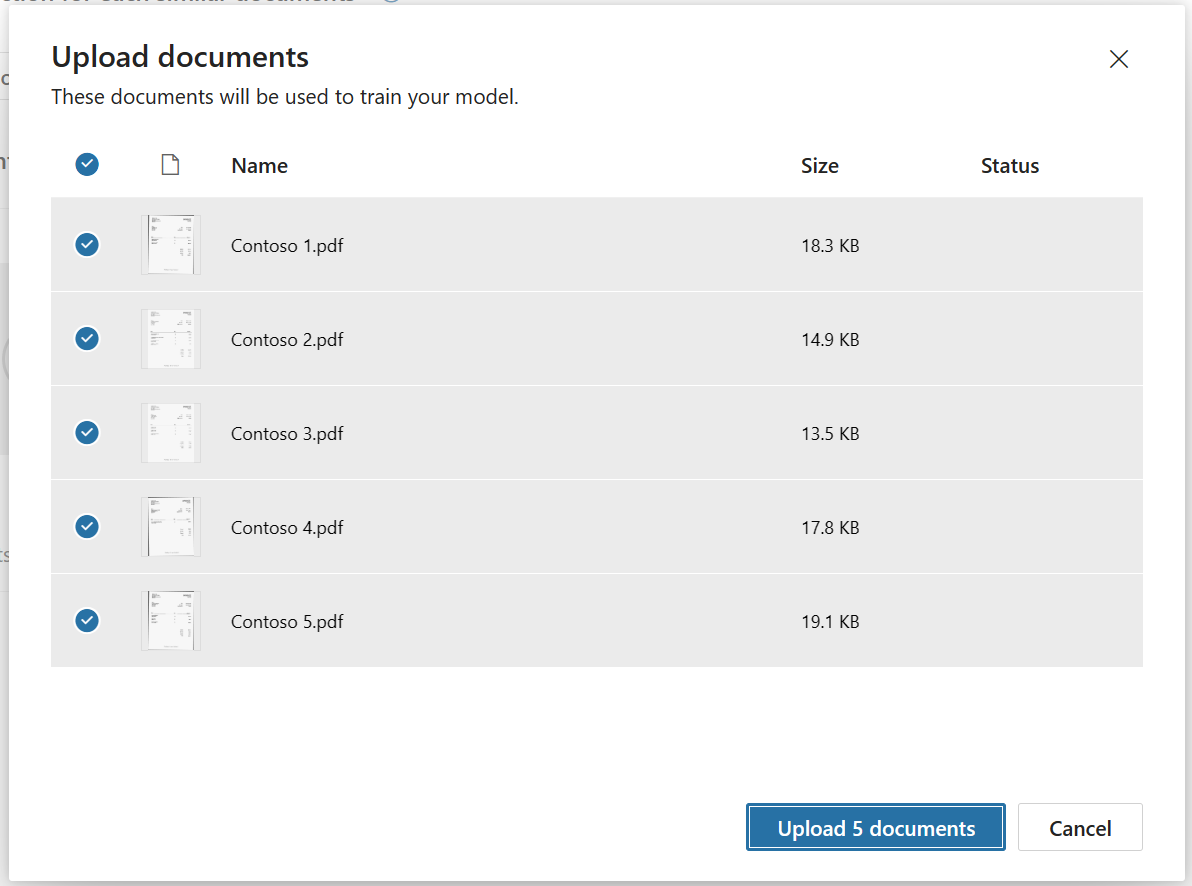
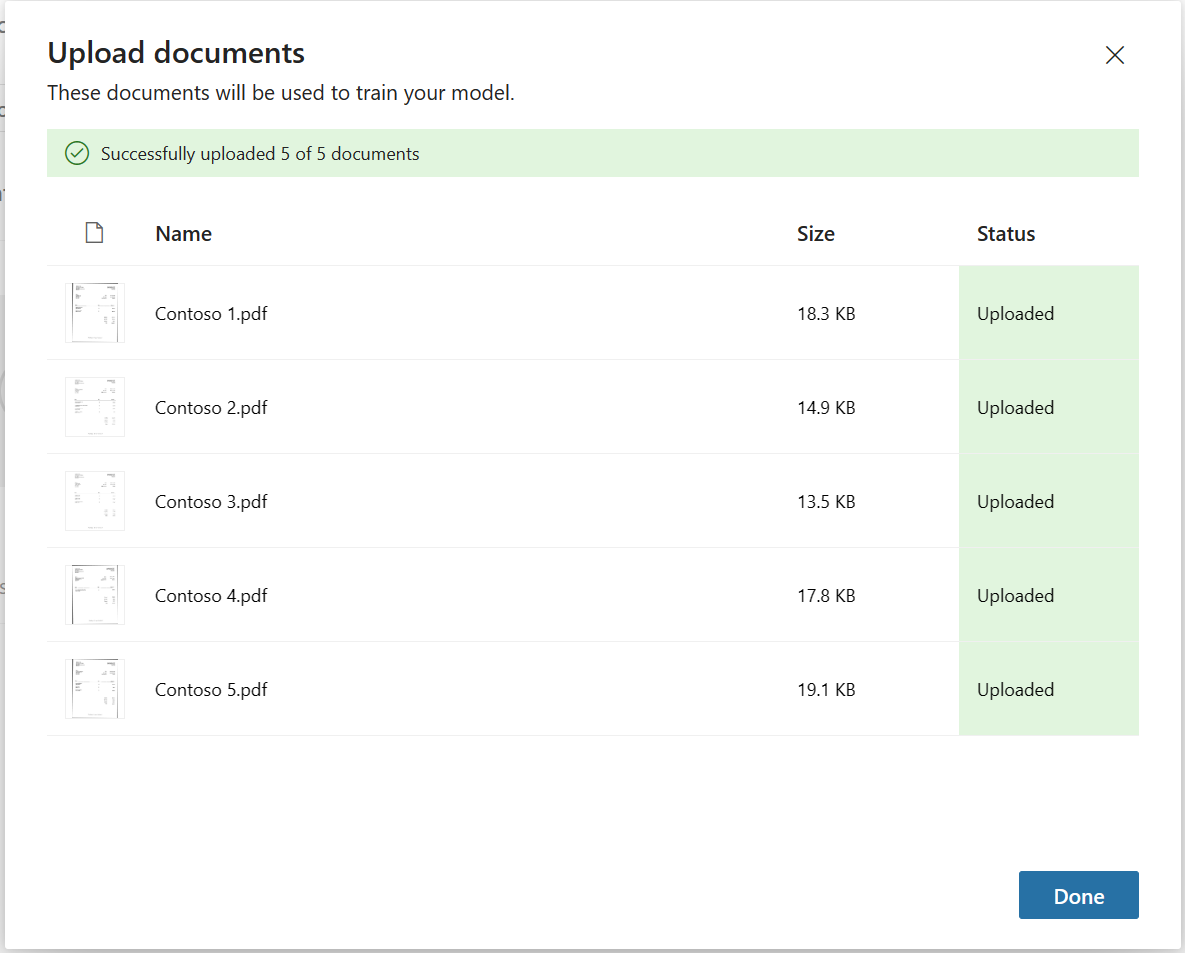
When the upload process has finished press "Done"
Press "Next" and start to tag all documents
Tag Documents
Click in the first "Adatum" collection
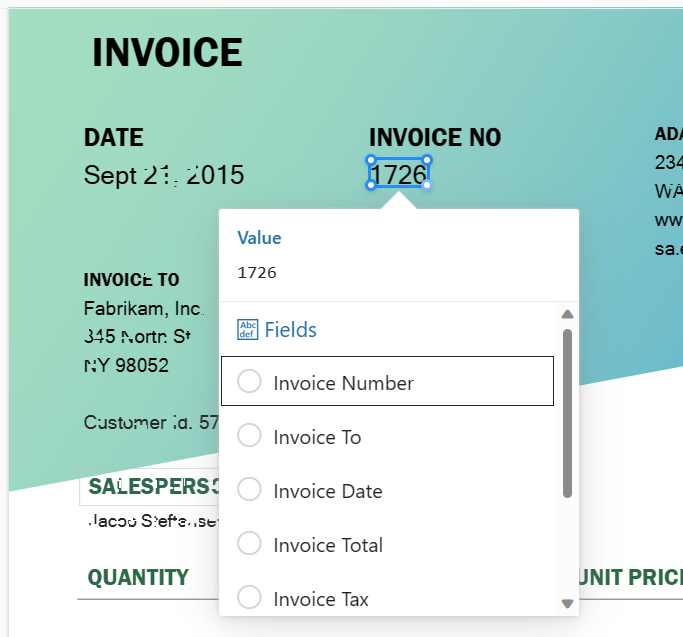
Identify the Invoice Number and select the corresponding field
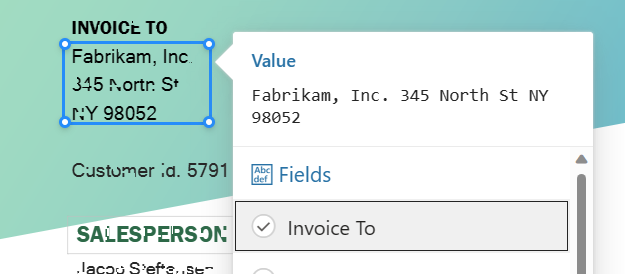
Repeat this step for: Invoice To
Invoice Date

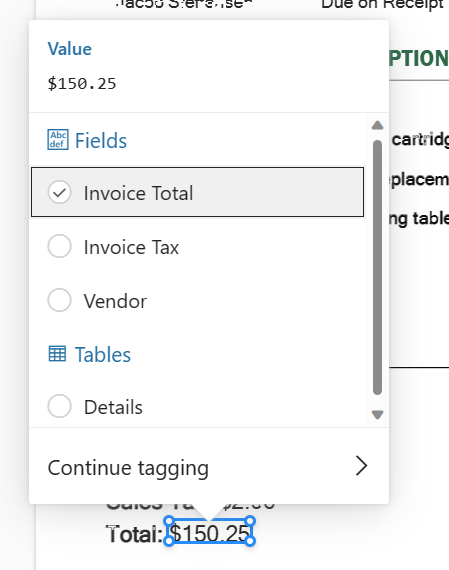
Invoice Total
Invoice Tax
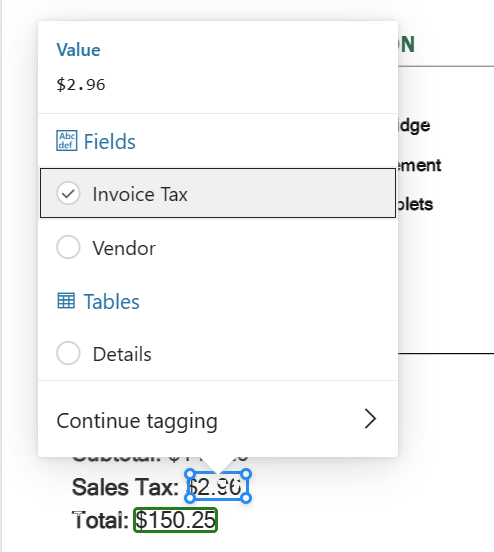
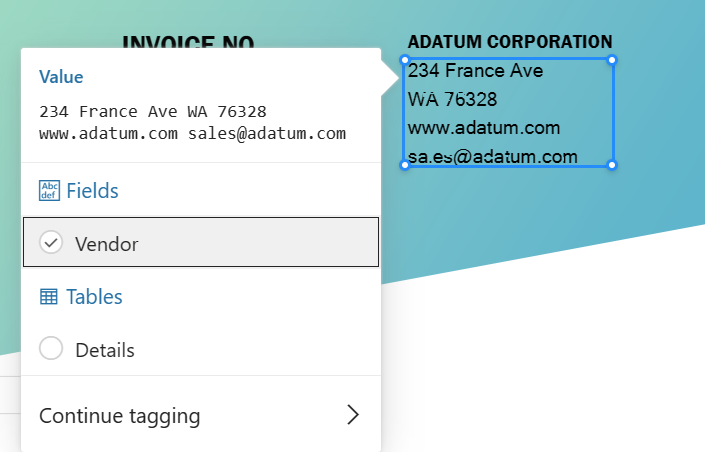
Vendor
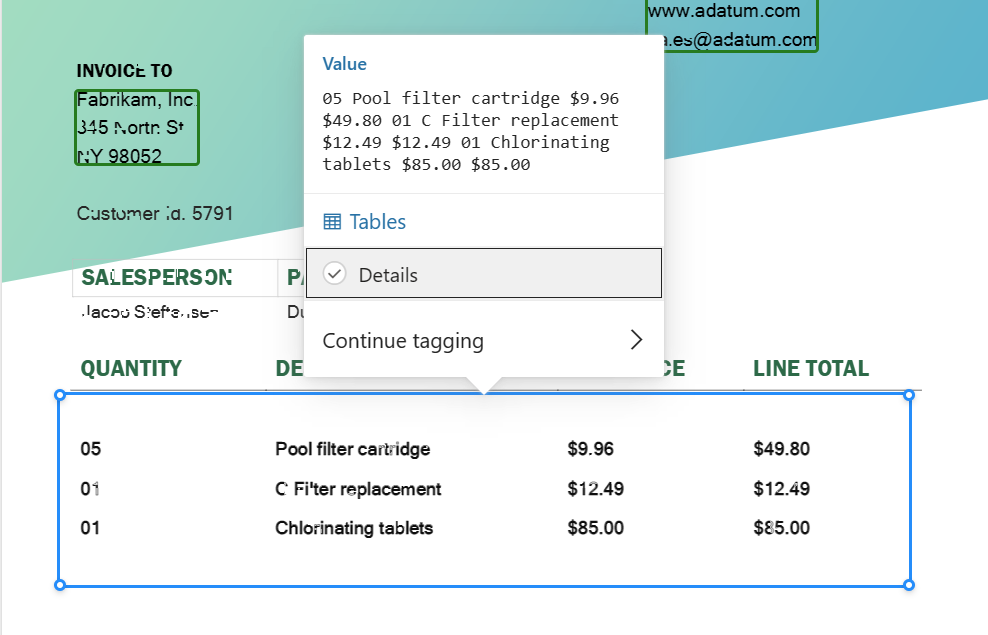
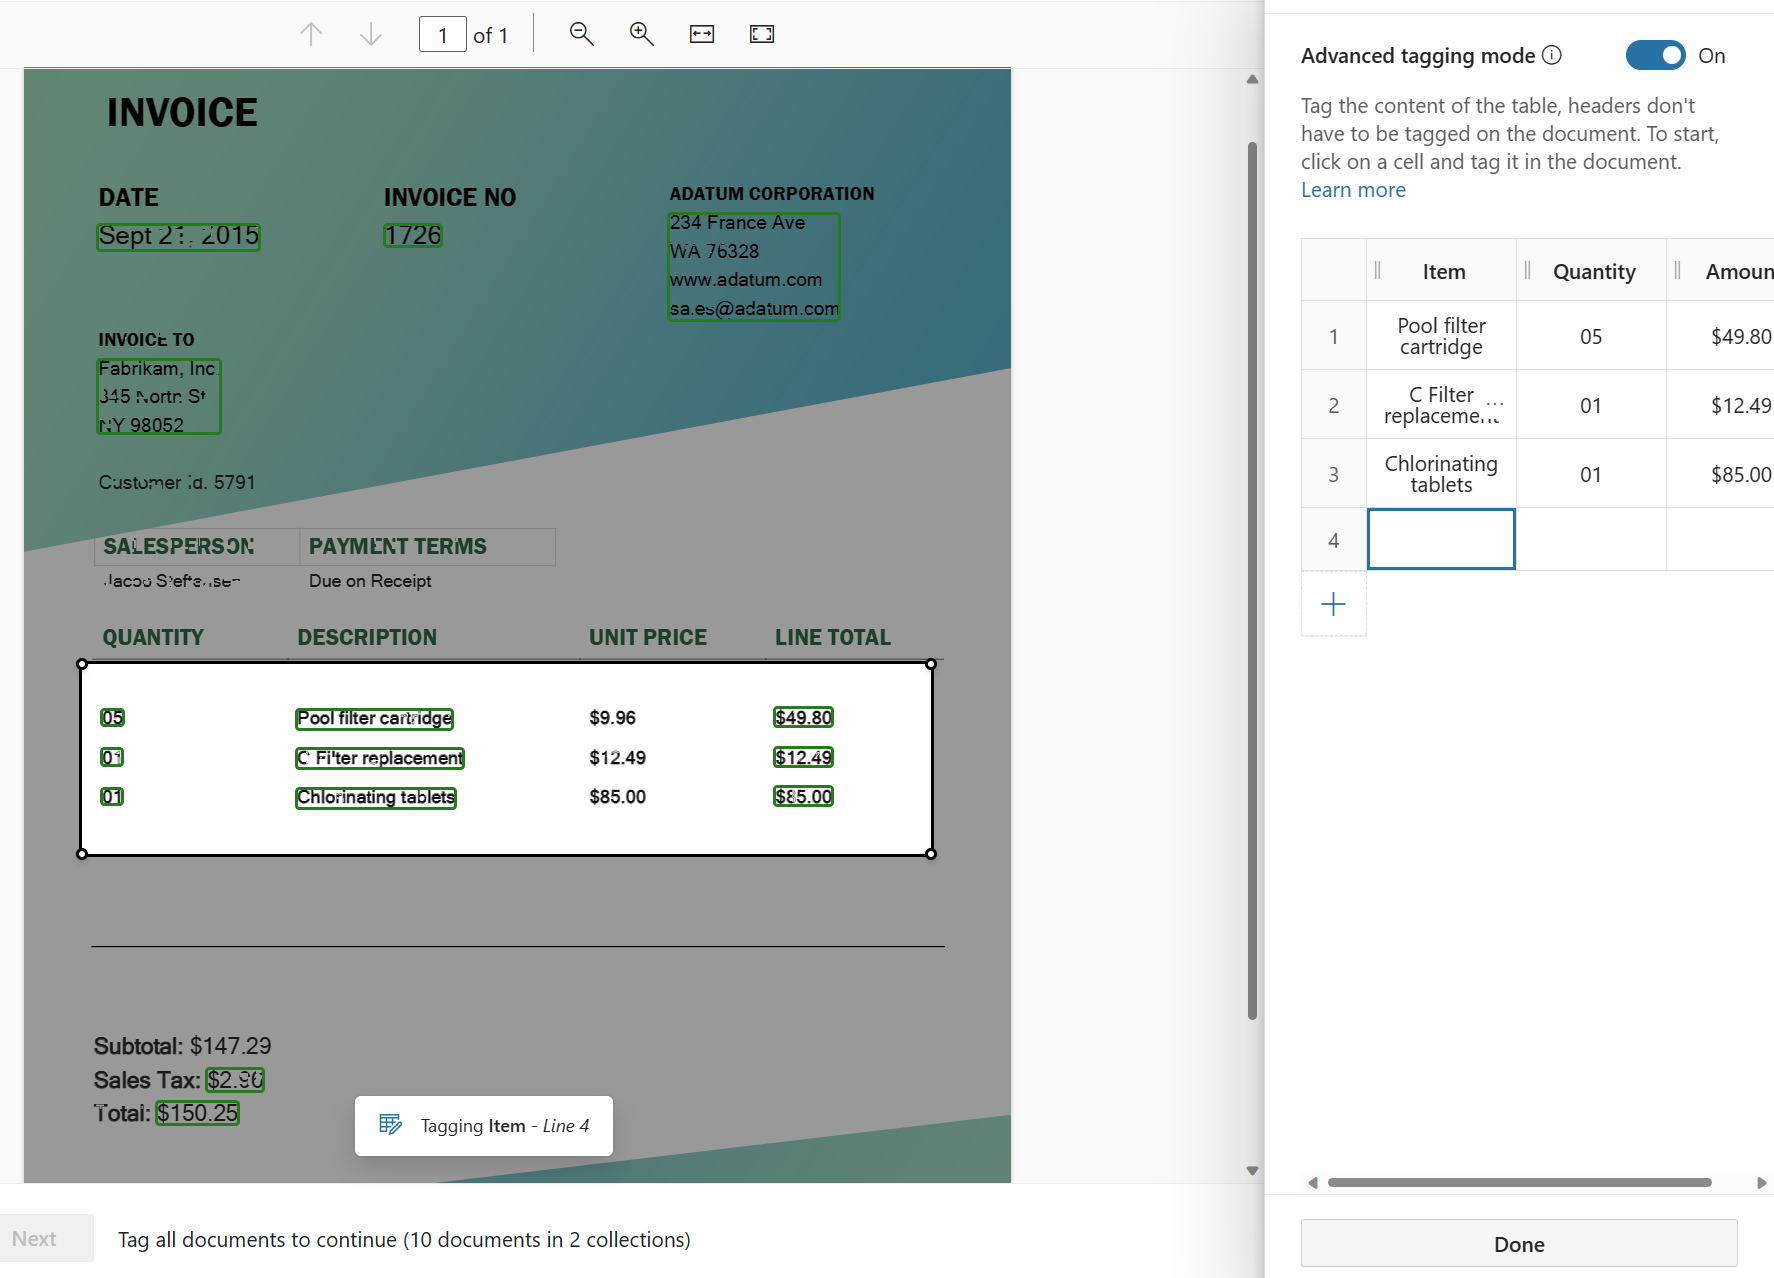
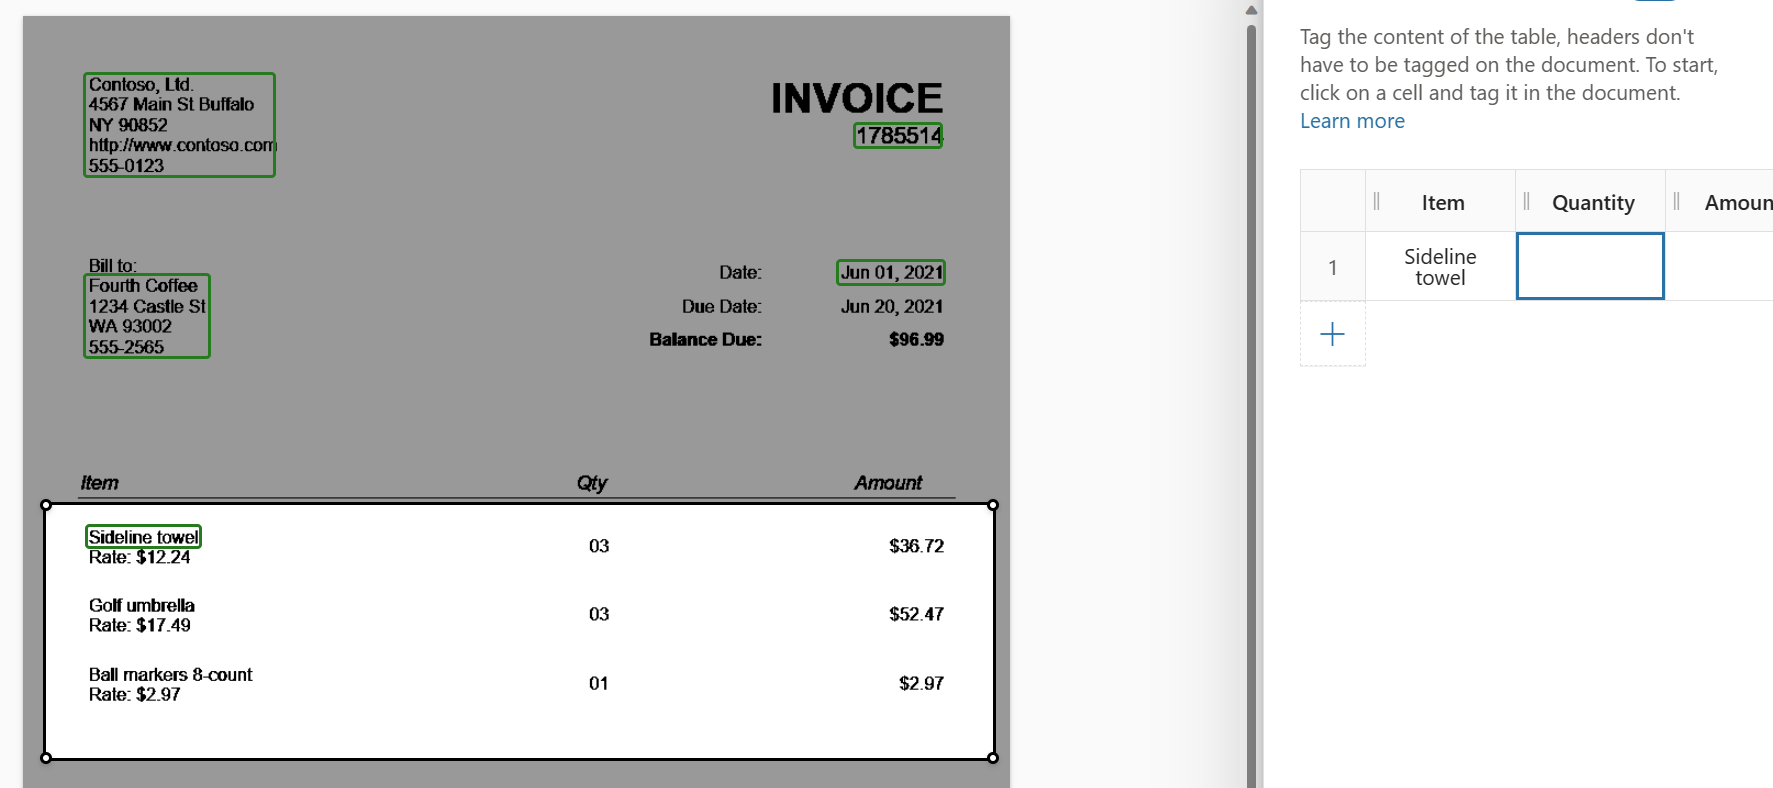
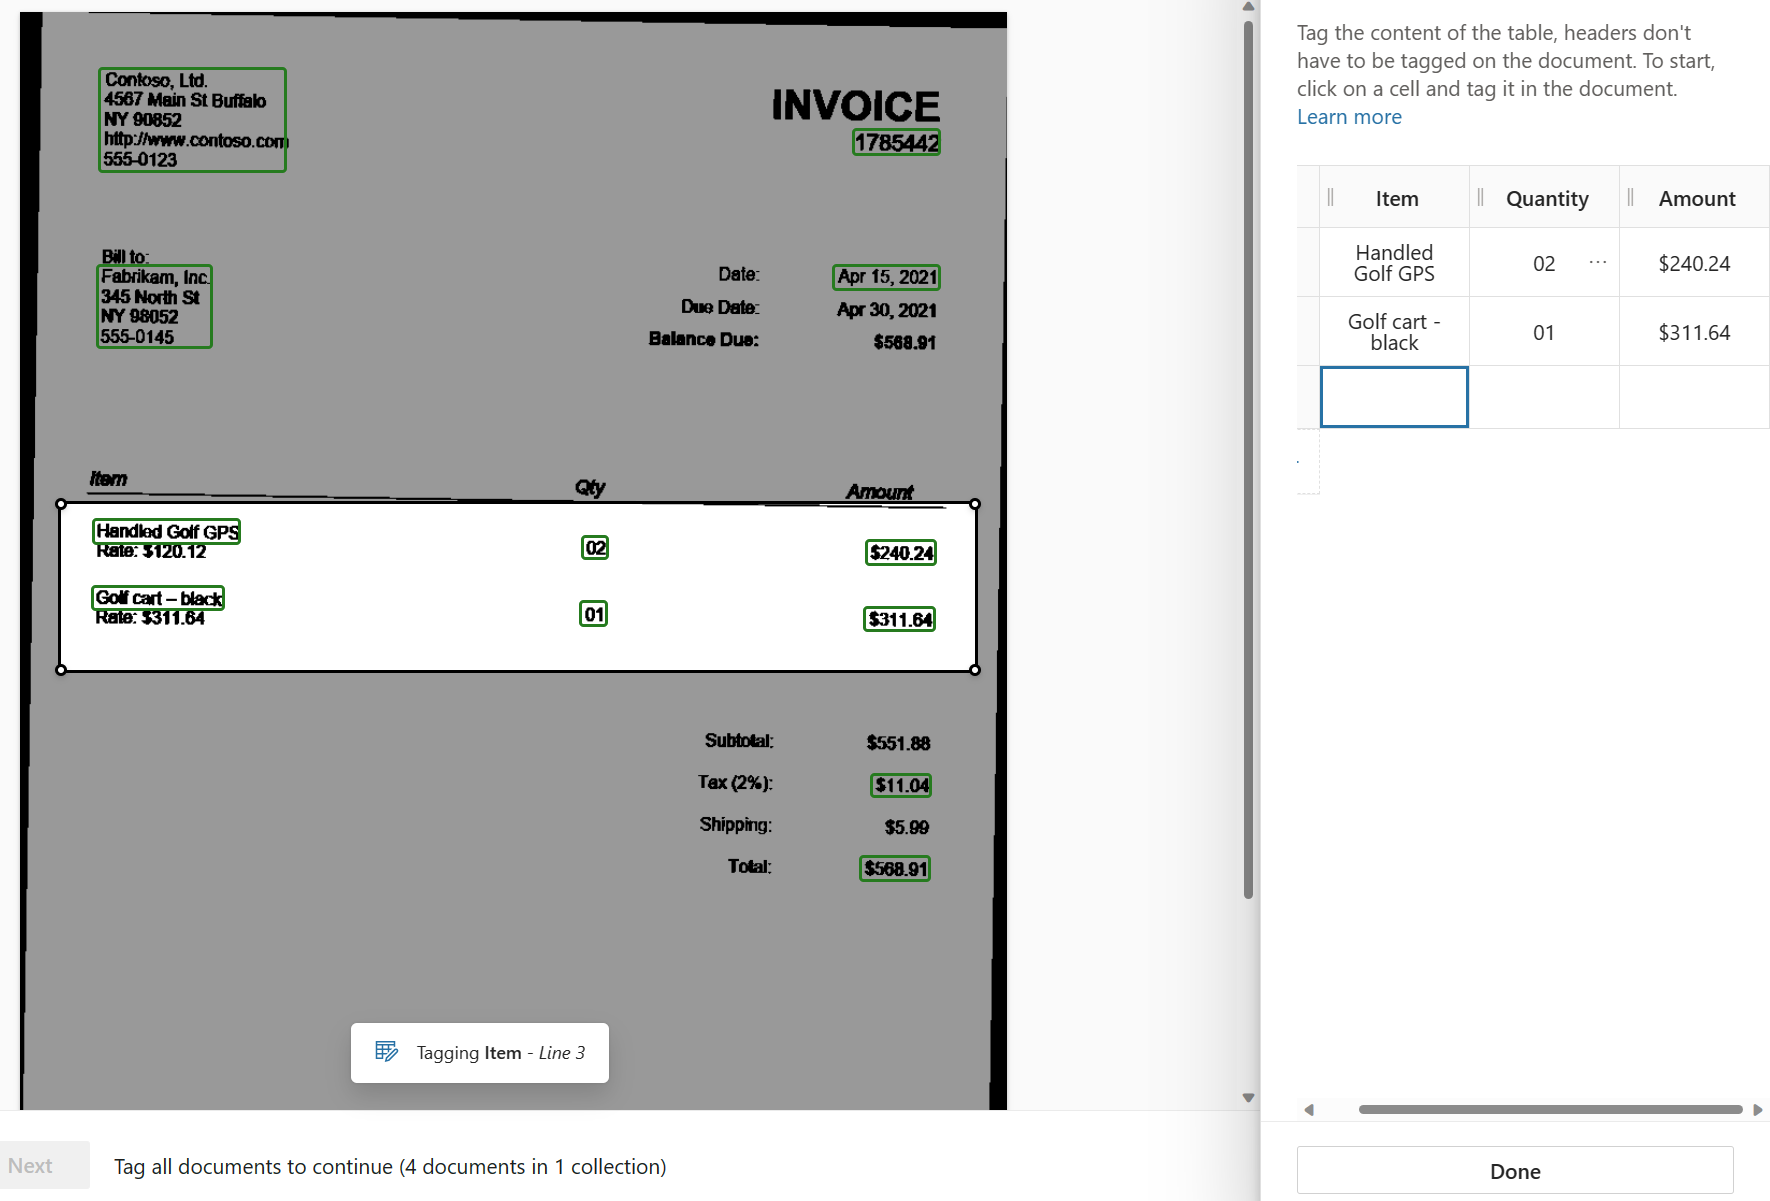
Now you need to identify the details table in the form as displayed in this picture
On the right select "Advanced tagging mode"
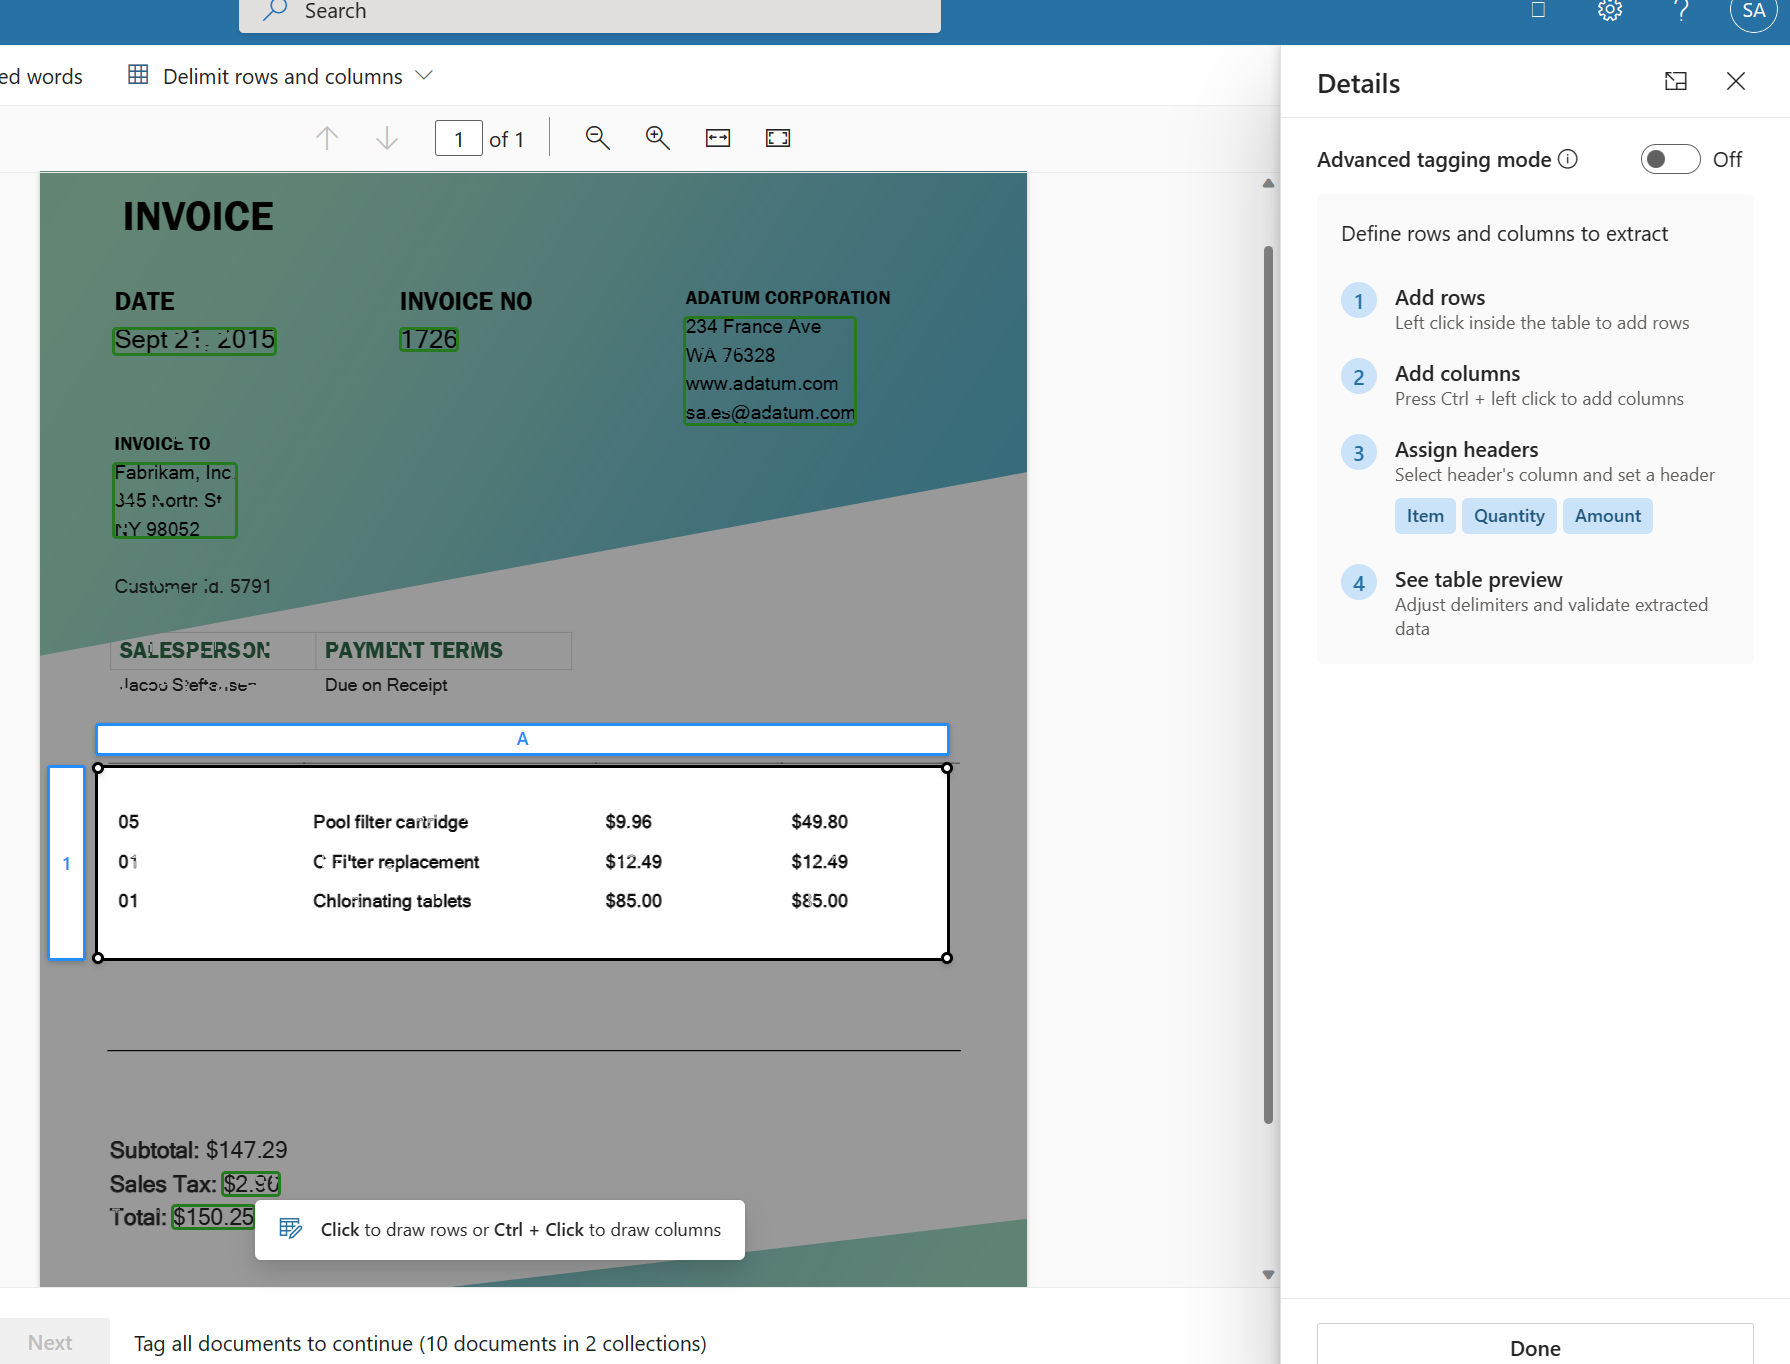
This view the table on the right section
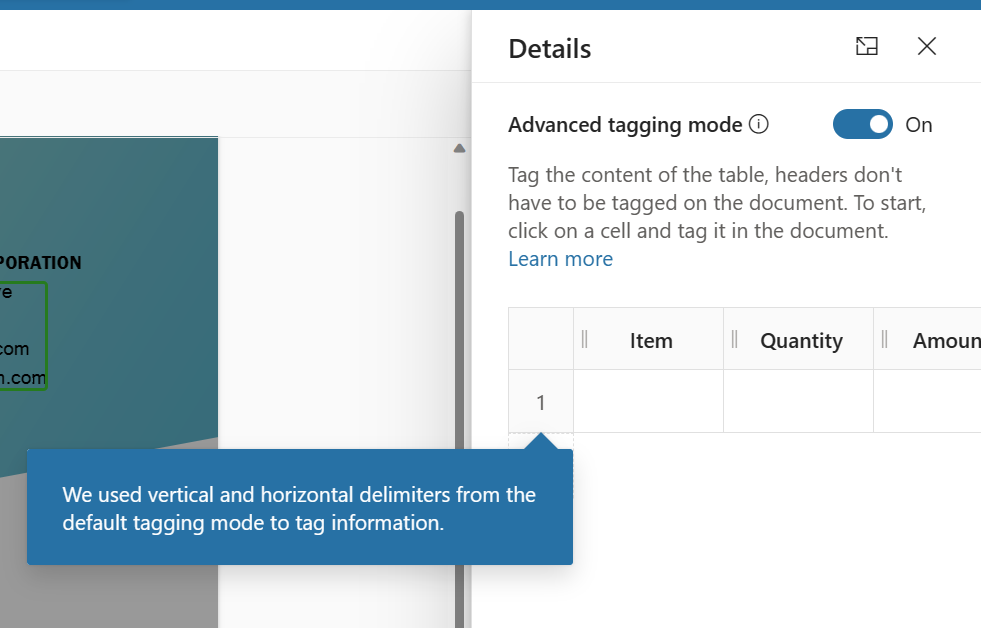
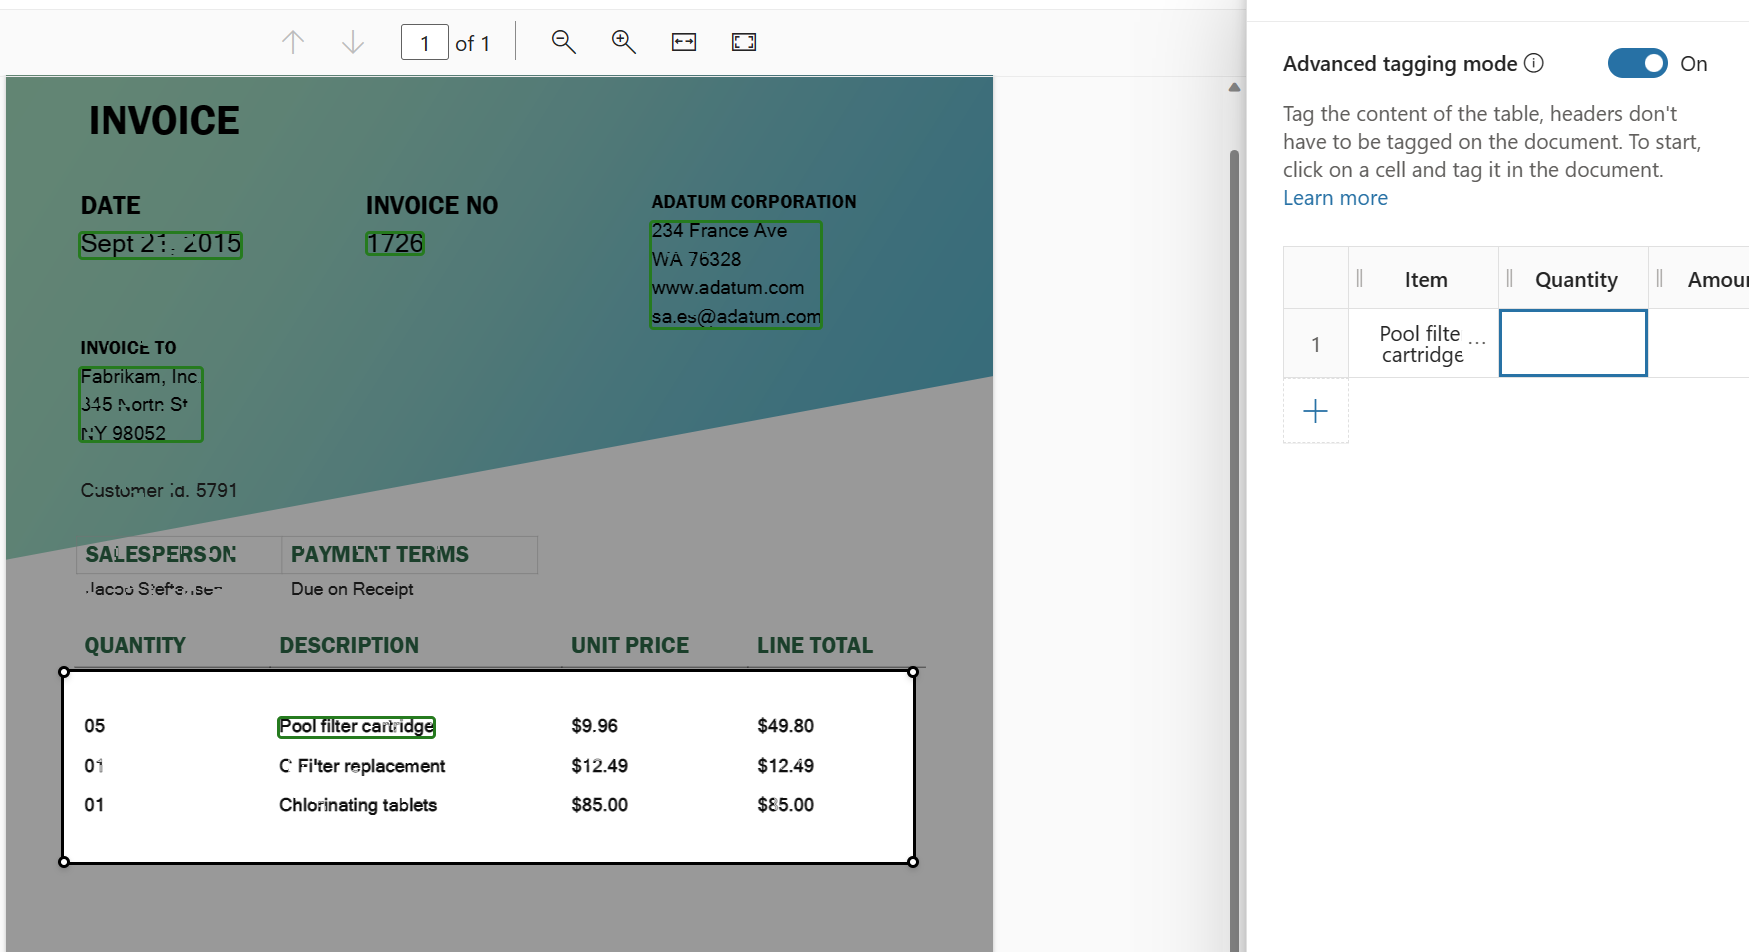
In the first row select the description.... and the description will be displayed on the table on the right under the item column
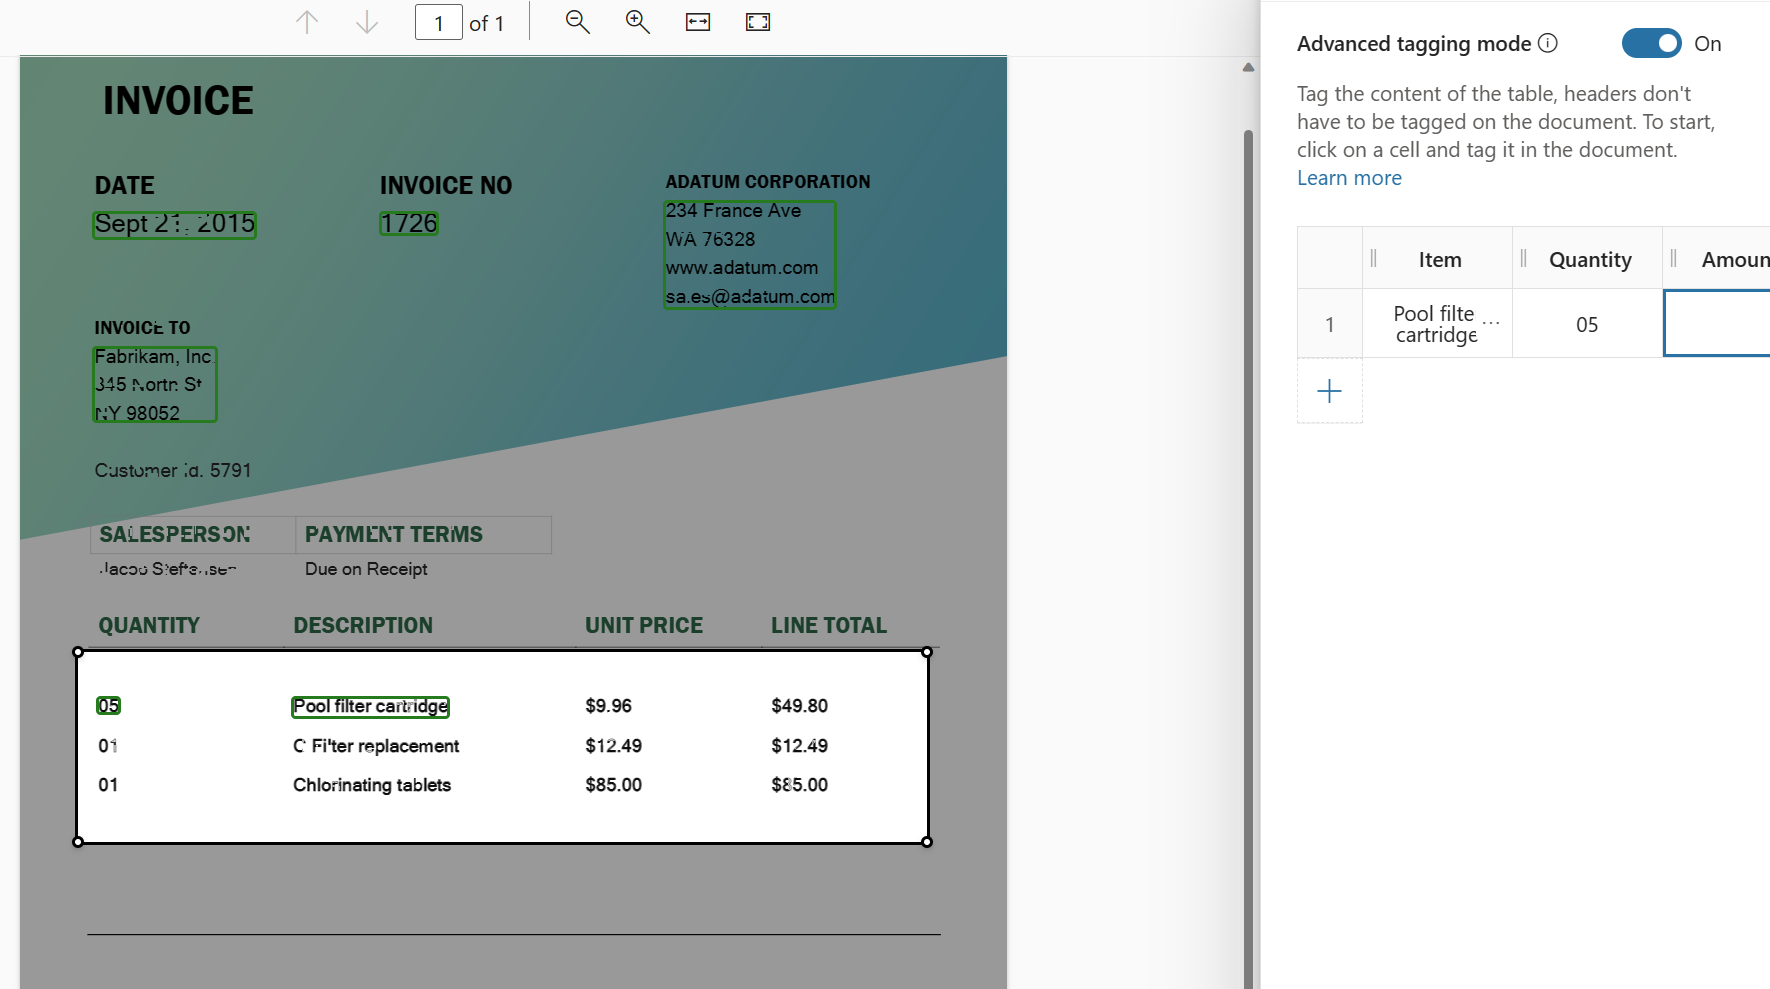
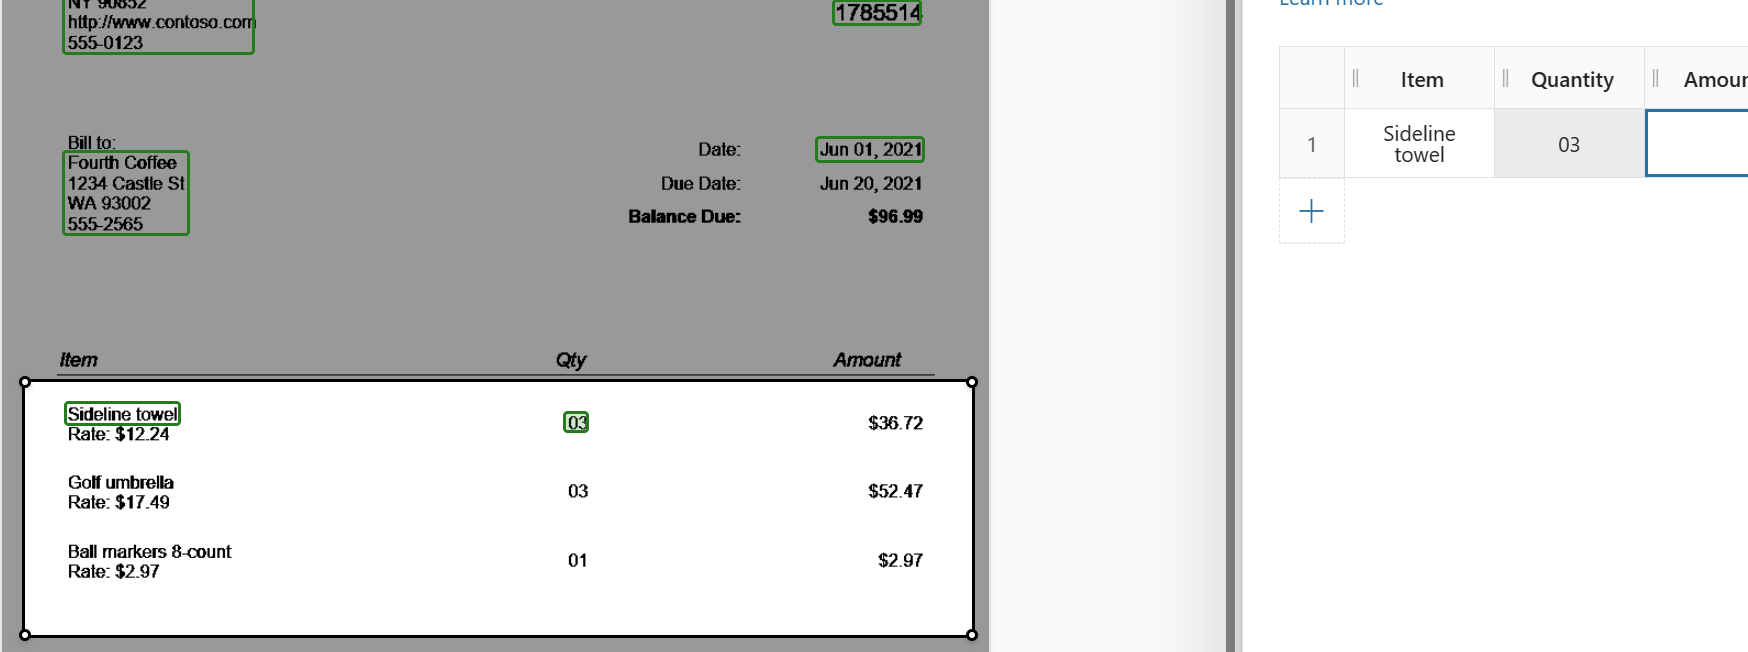
The same for quantity...
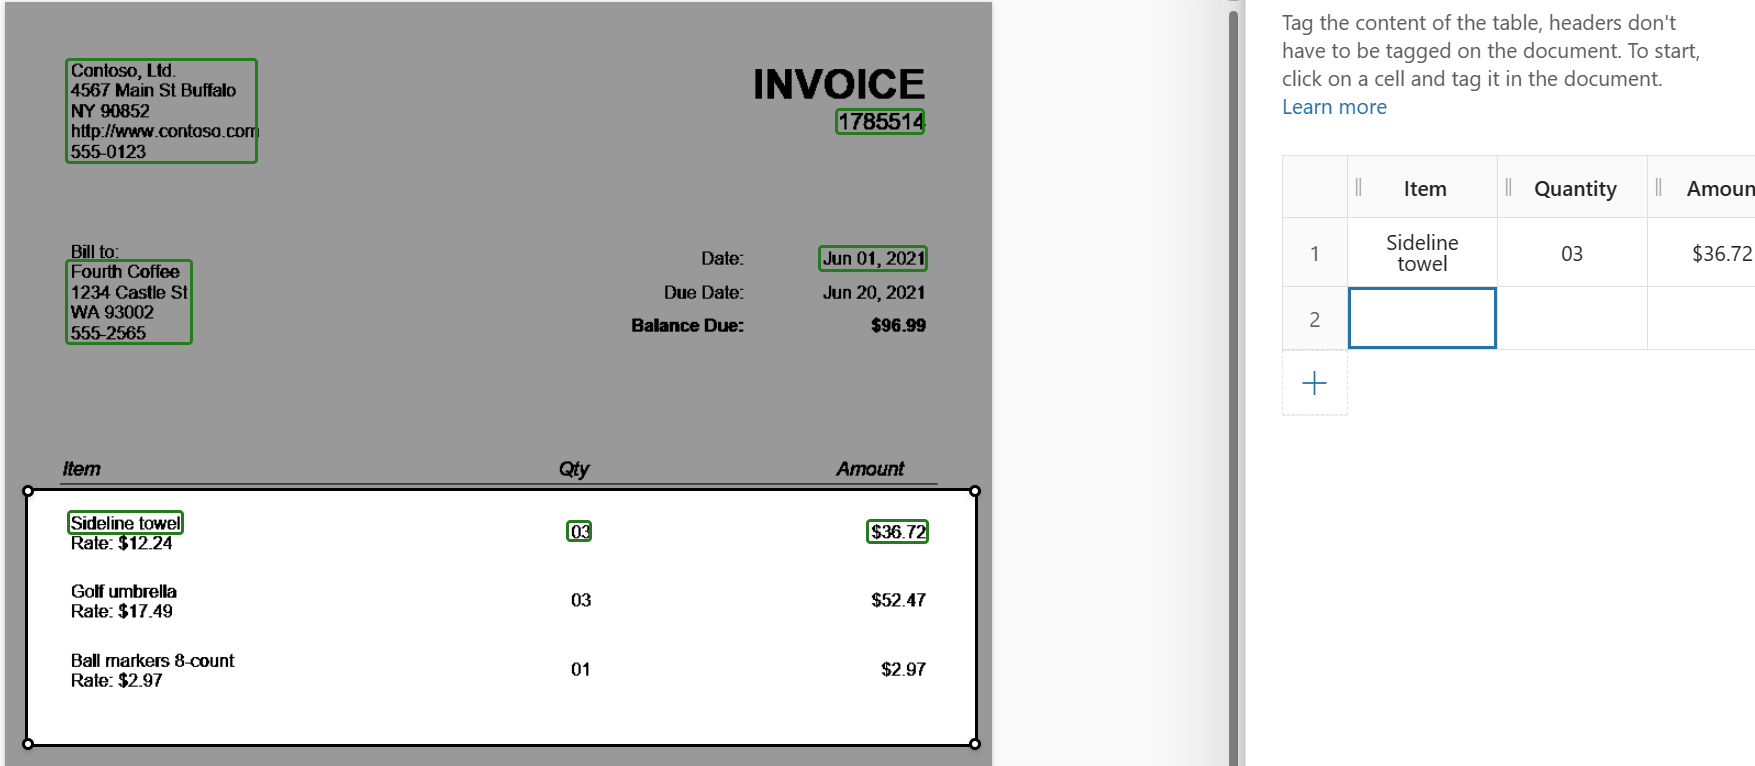
Also for line total that will be displayed under Amount
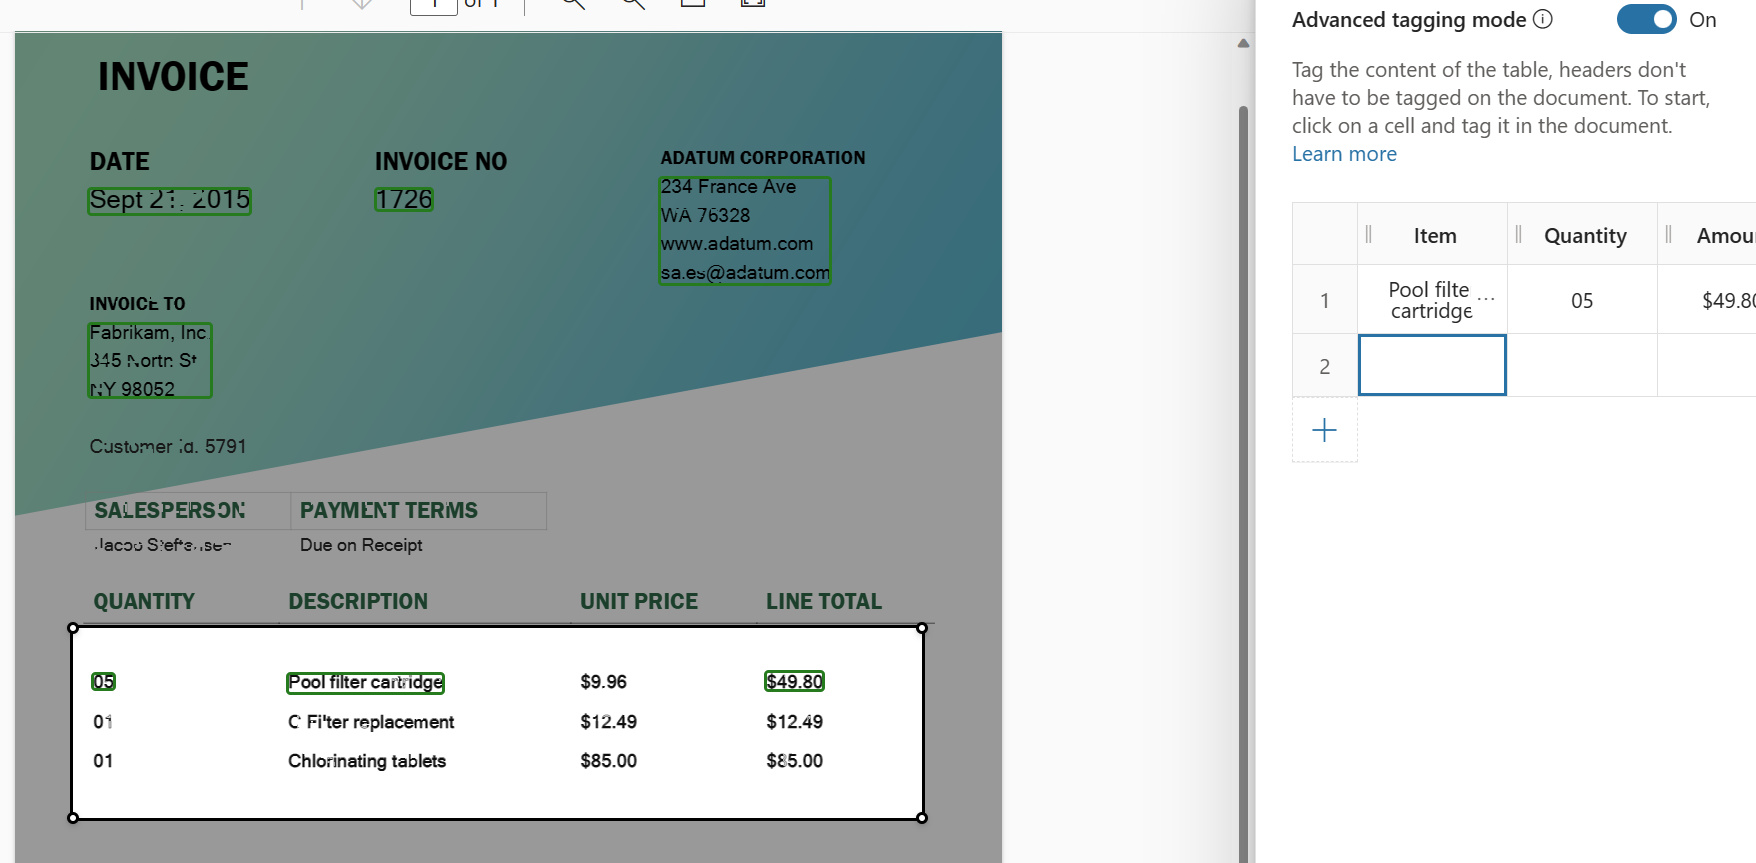
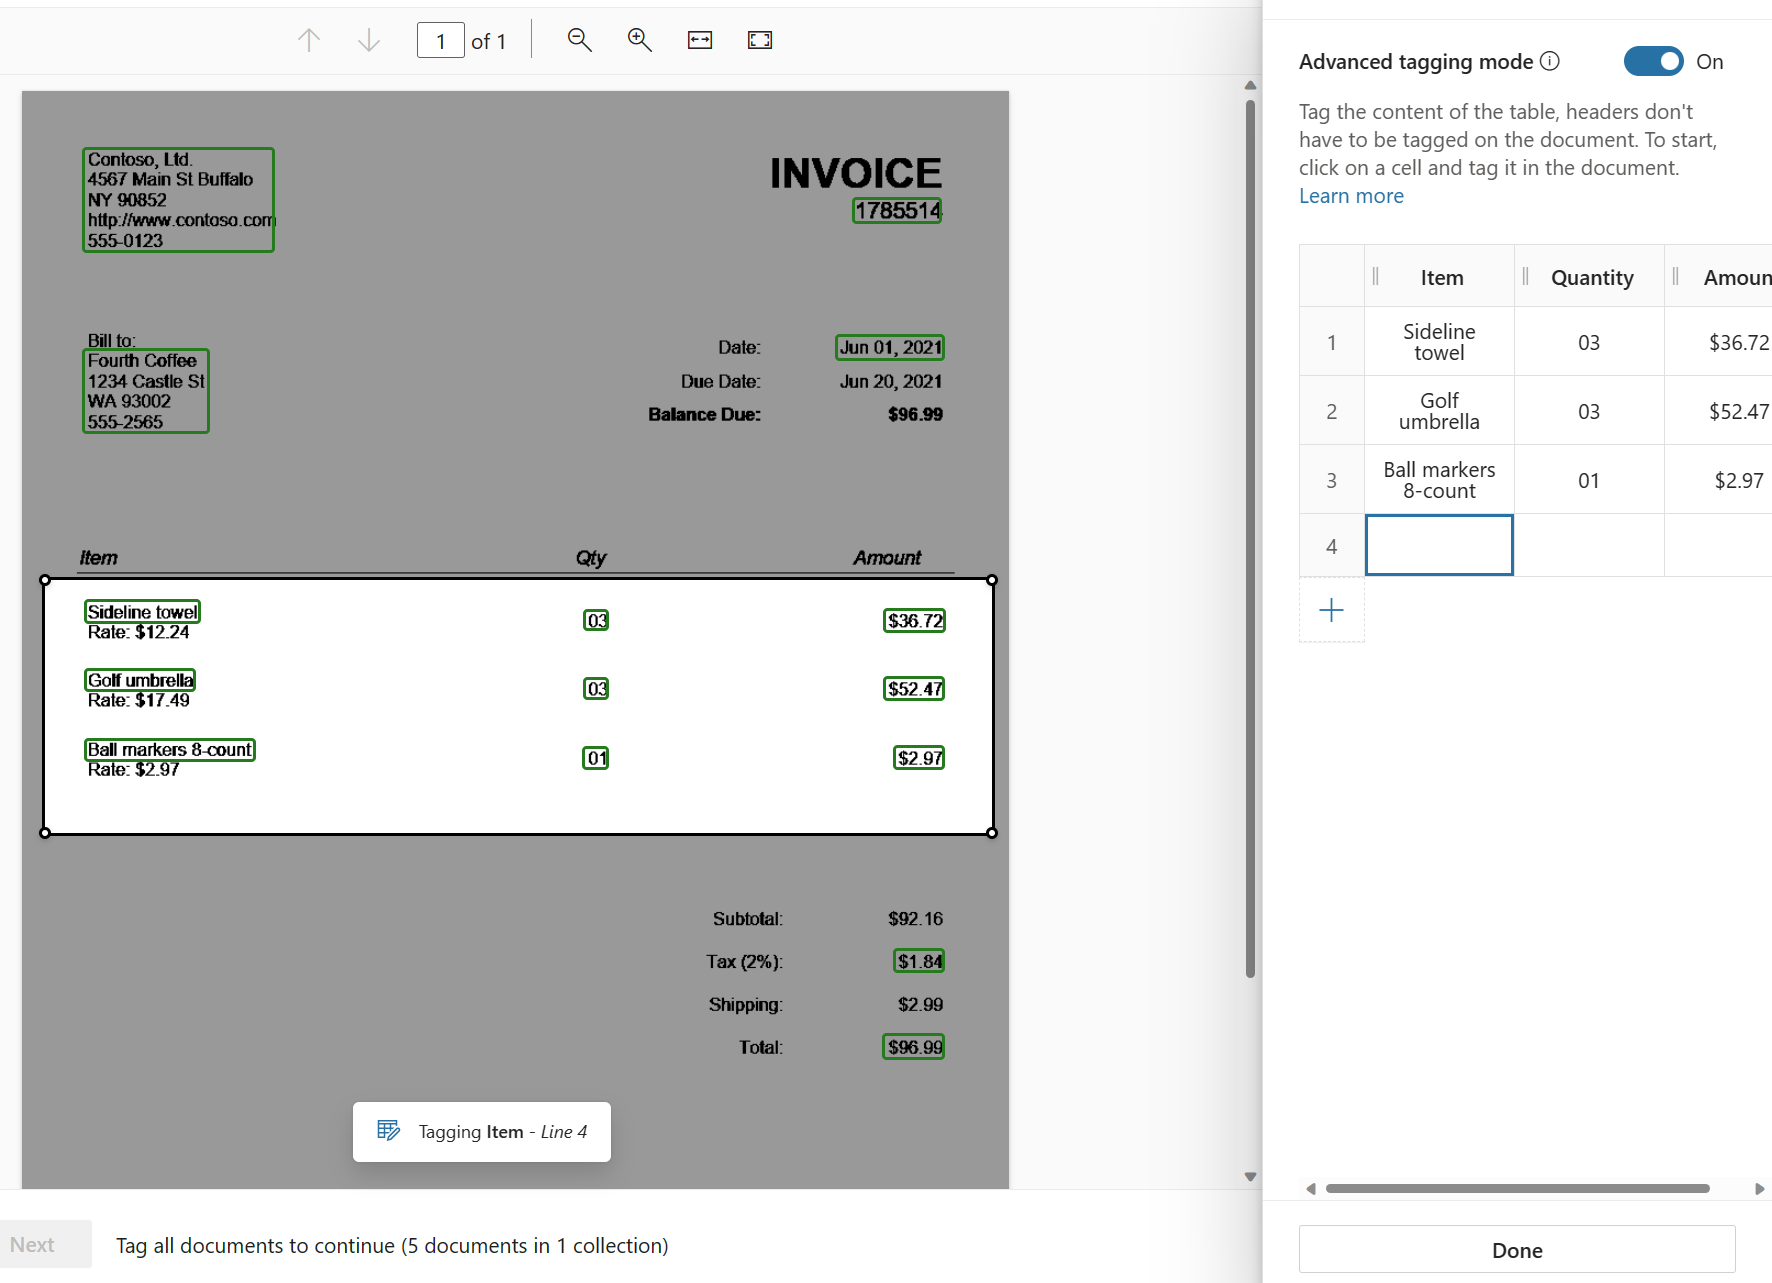
Repeat these steps for all other rows and click "Done"
Go to the second document and repeat all steps above
The same for all other 3 Adatum invoices...
Now you can start to tag all "Contoso invoices"
Invoice Number

Invoice To

Vendor

Invoice Total

Invoice Tax

Invoice Date

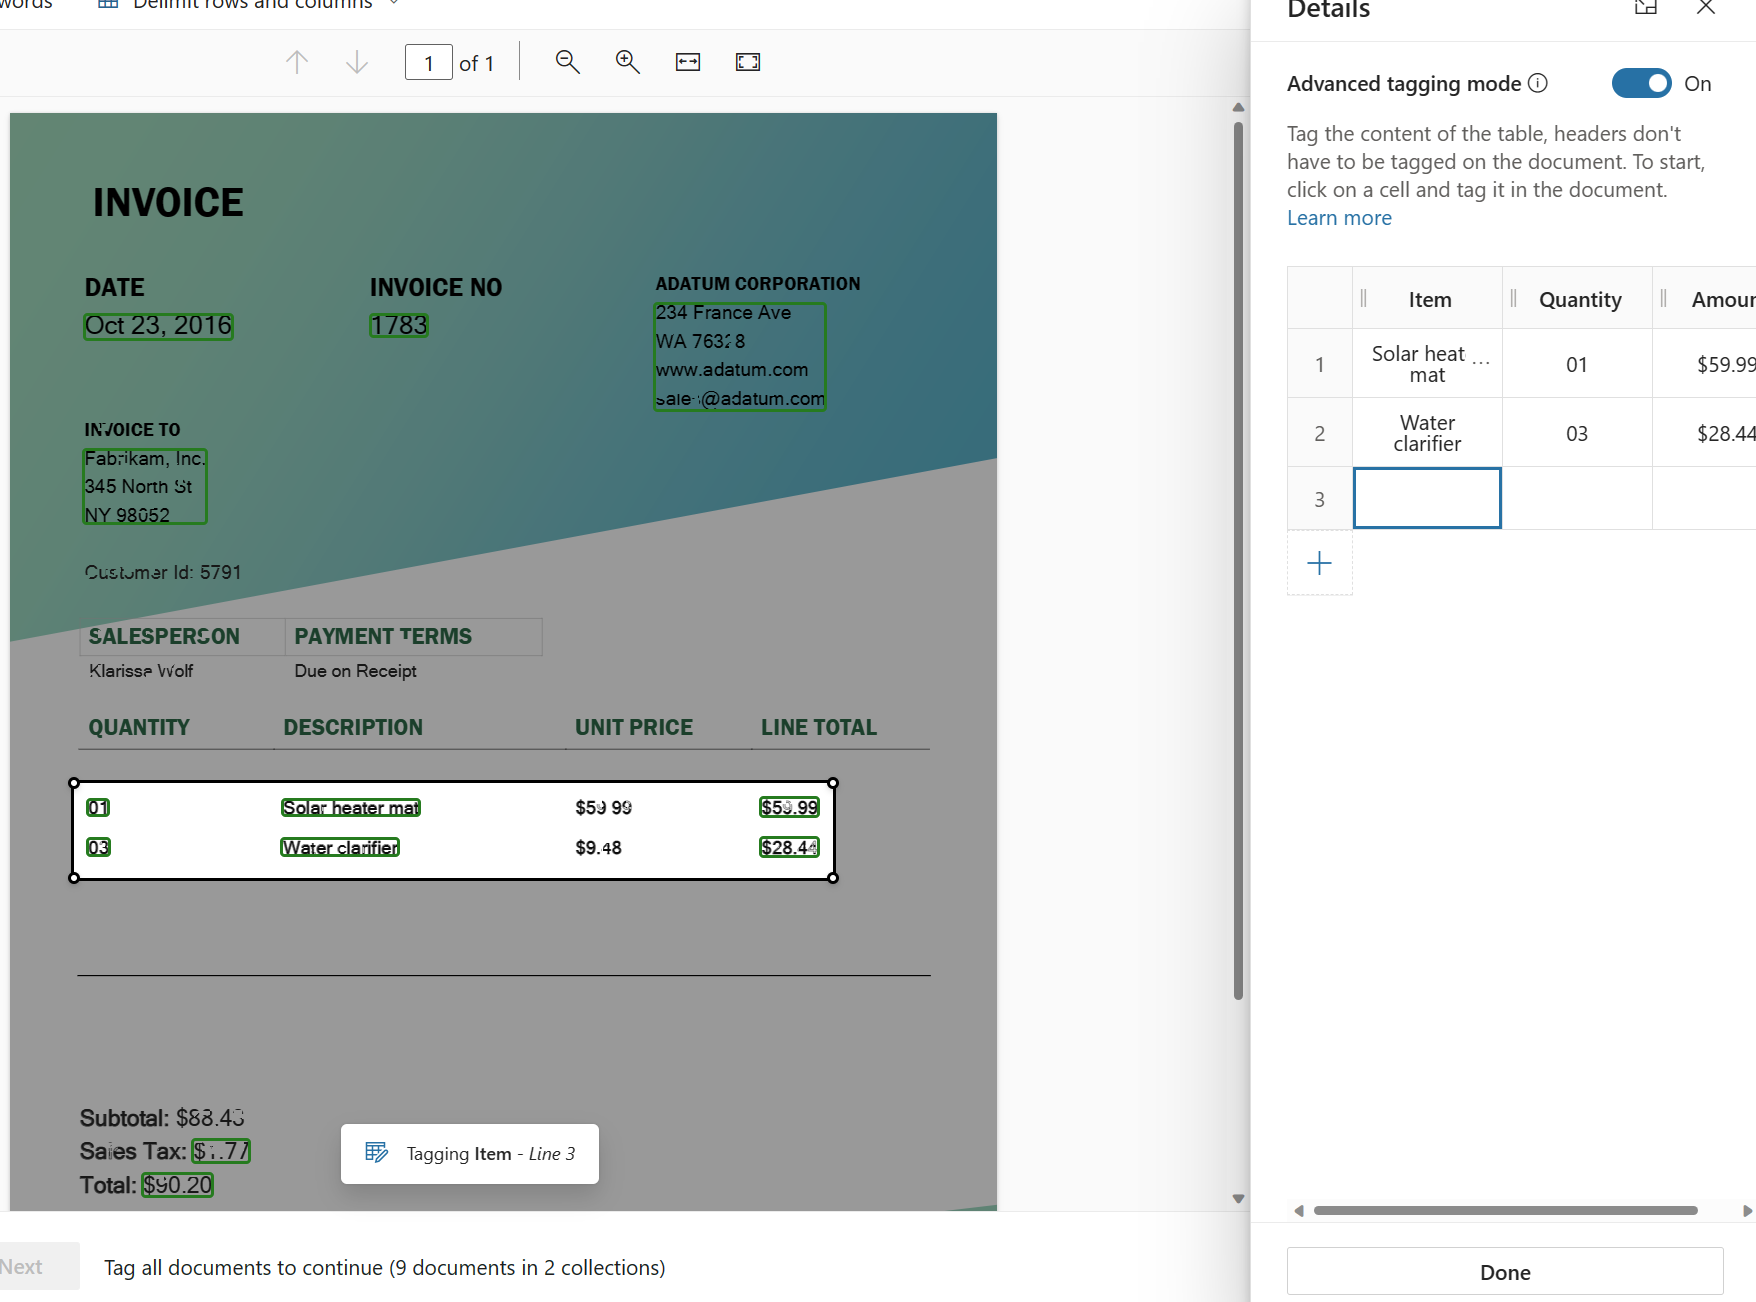
Now you need to identify the details table in the form as displayed in this picture
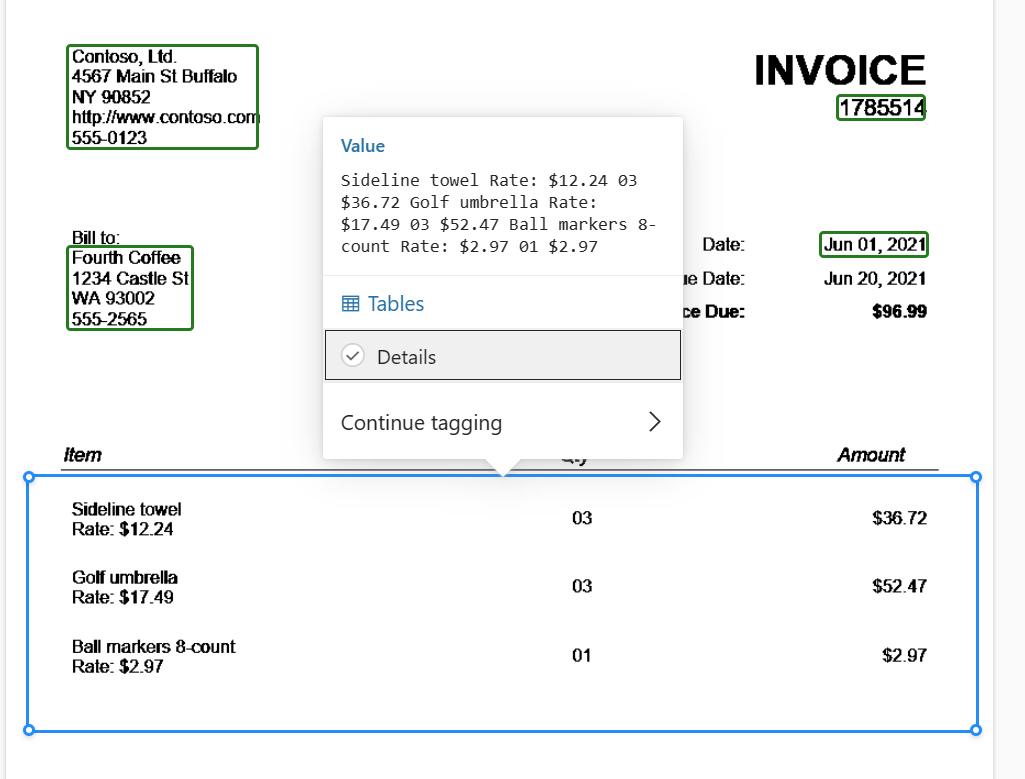
Select the description to insert the value in the Item column
The same for quantity
The same for amount
Repeat all steps for other rows
Click "Done" to switch to the second document... Repeat all steps above
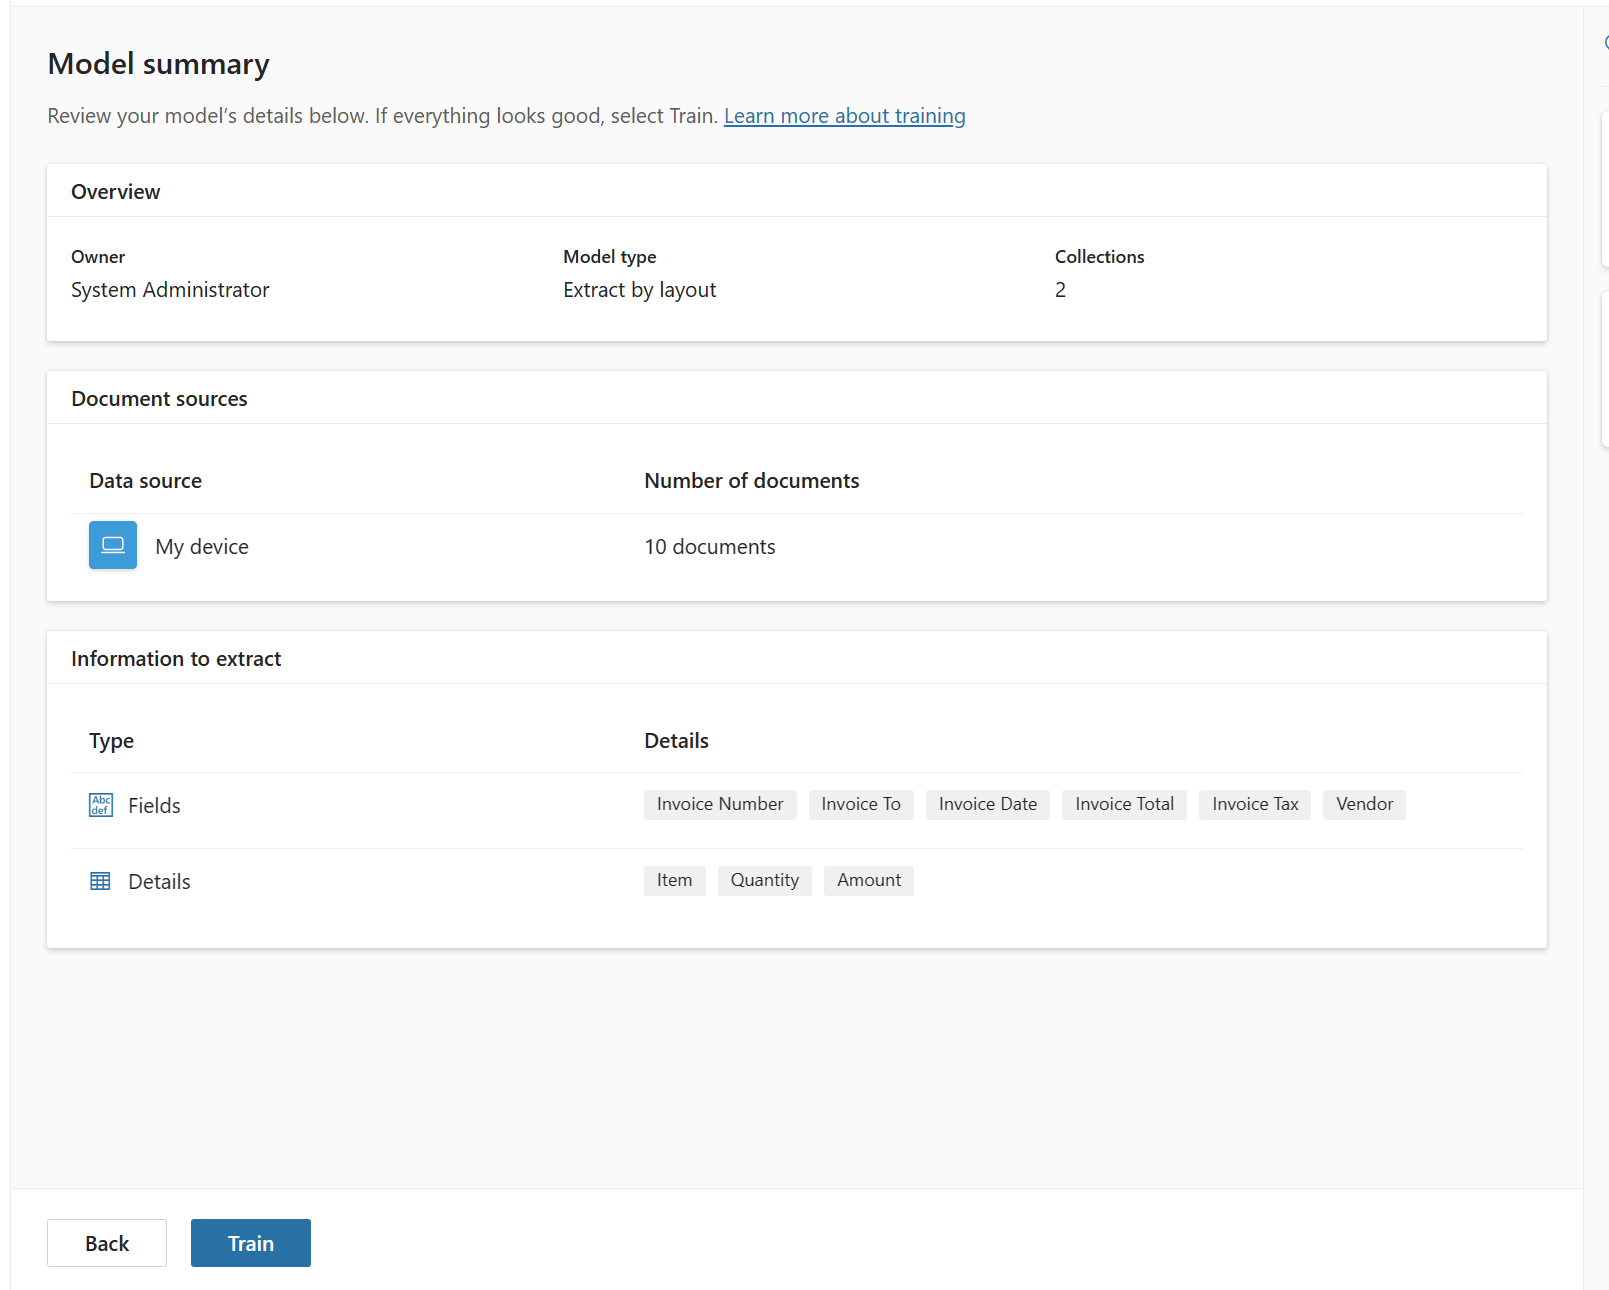
The same for all other 3 documents... When you finished click "Next" to review the model
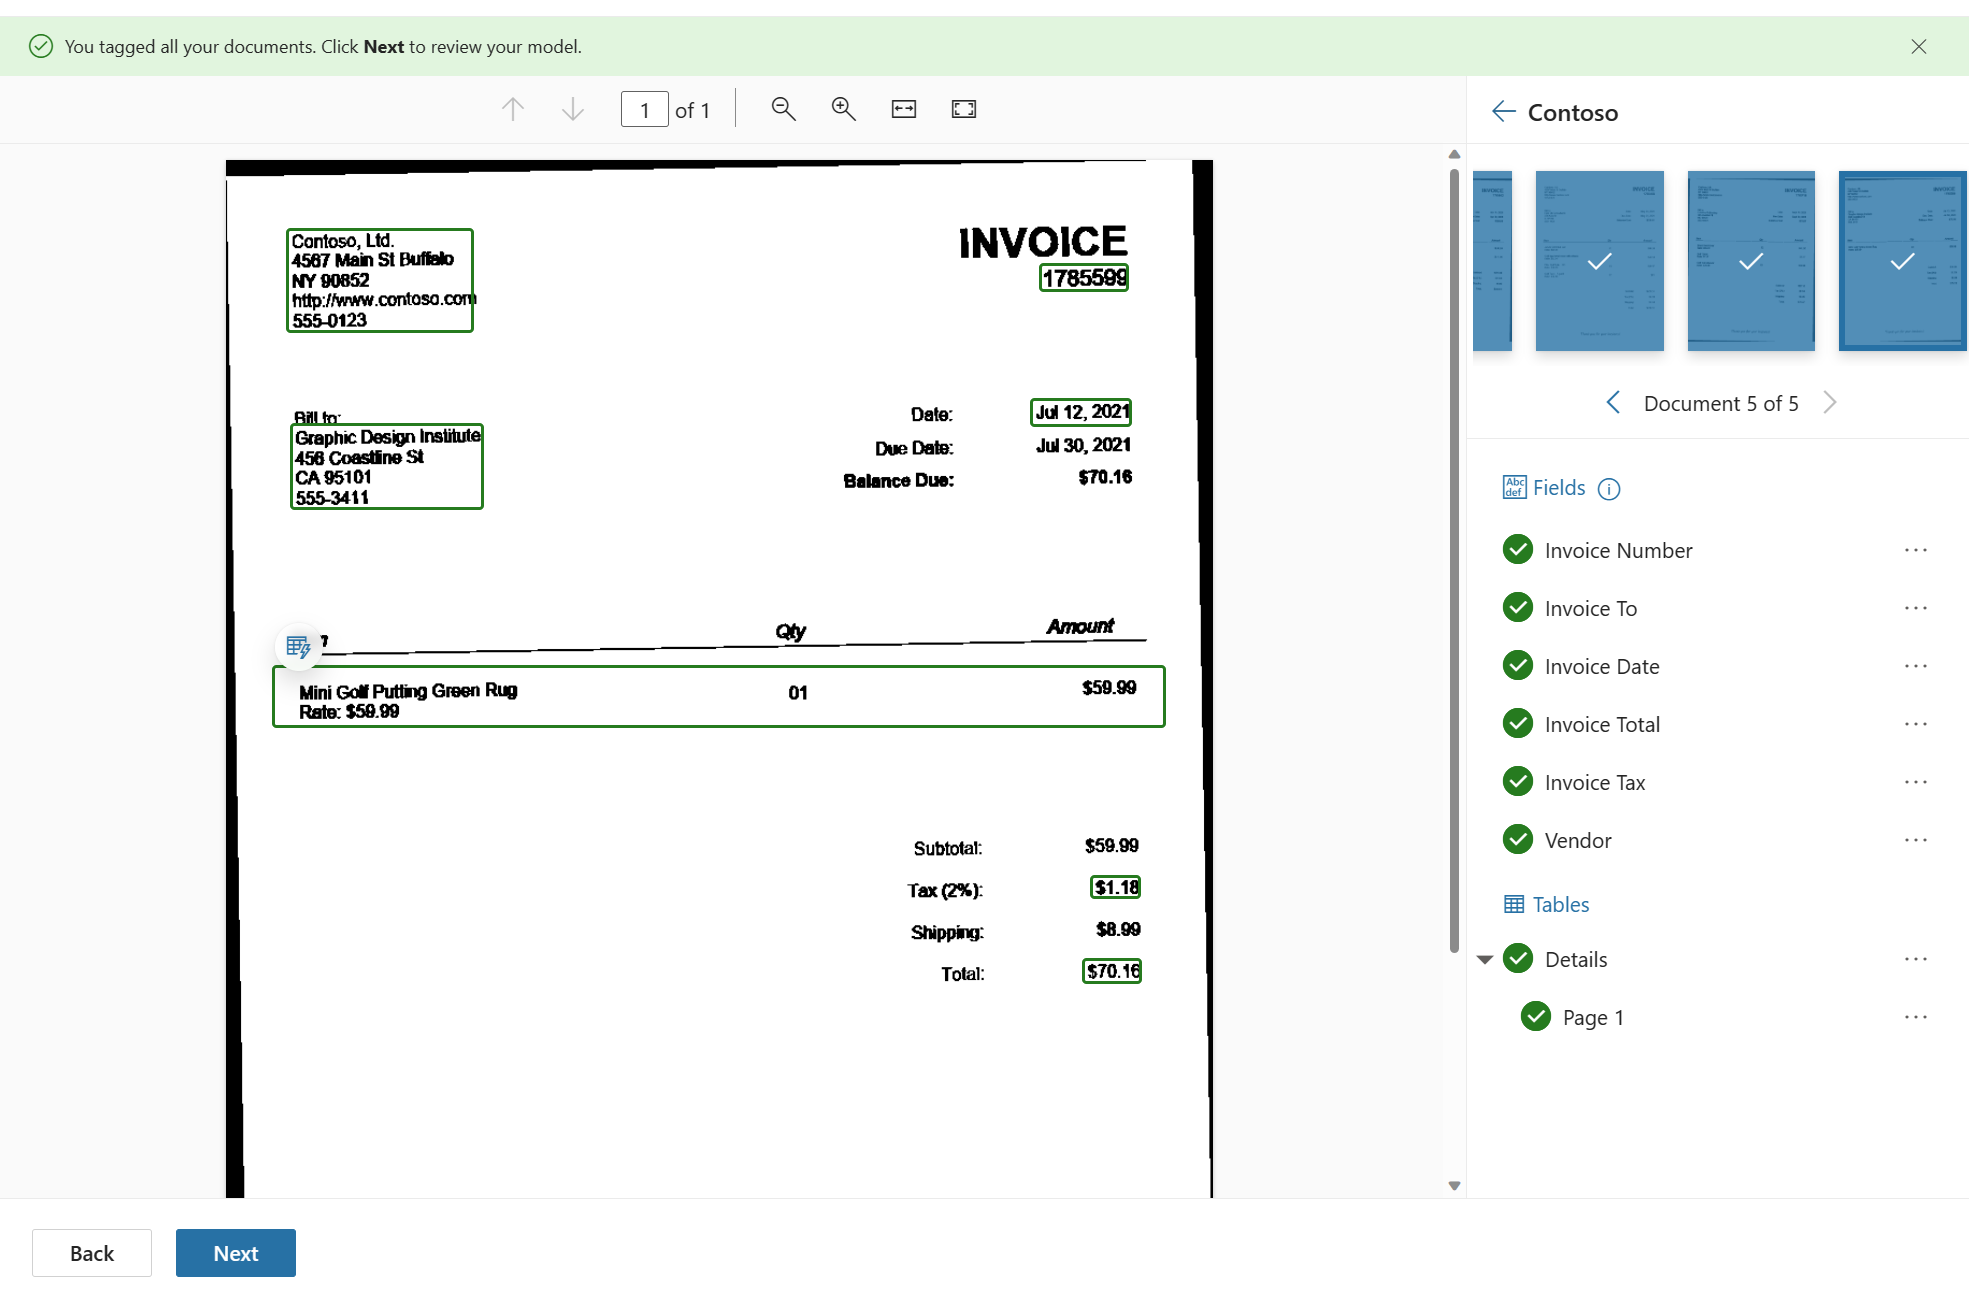
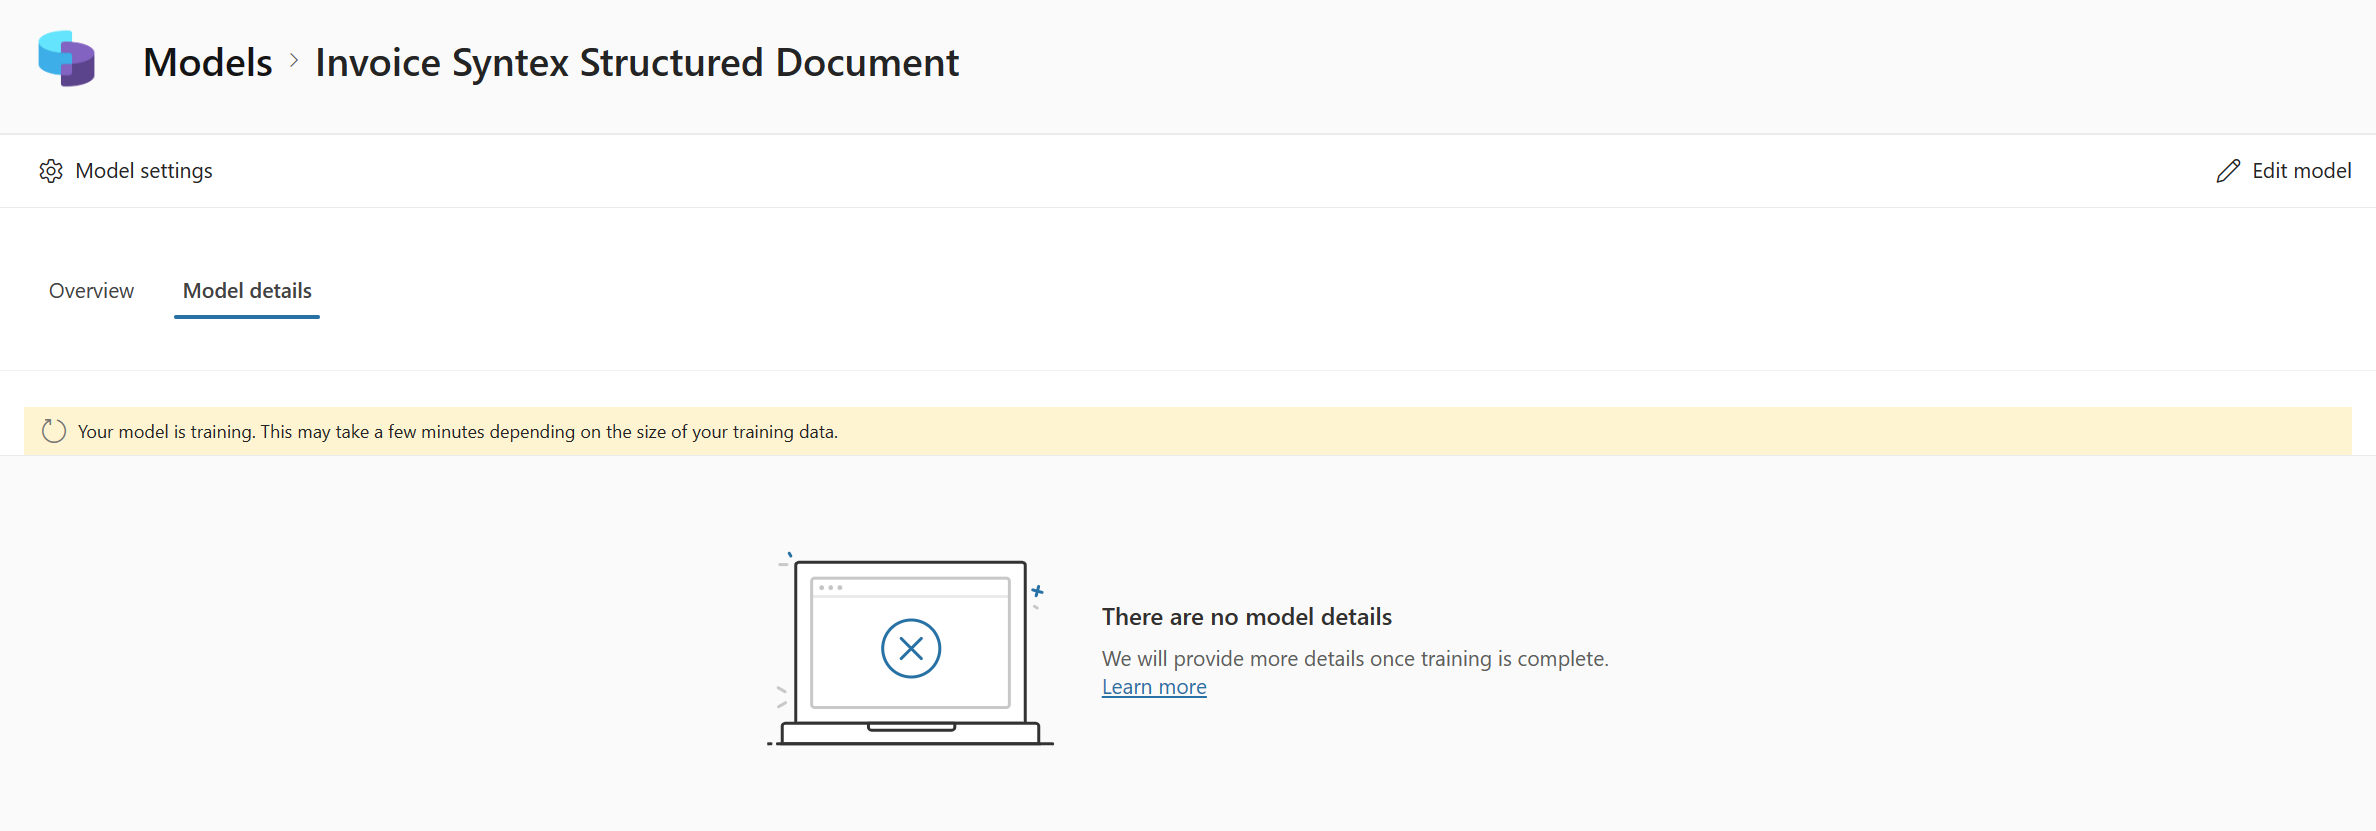
Now Train the model by clicking the Train button...
Your Model is training with the be displayed
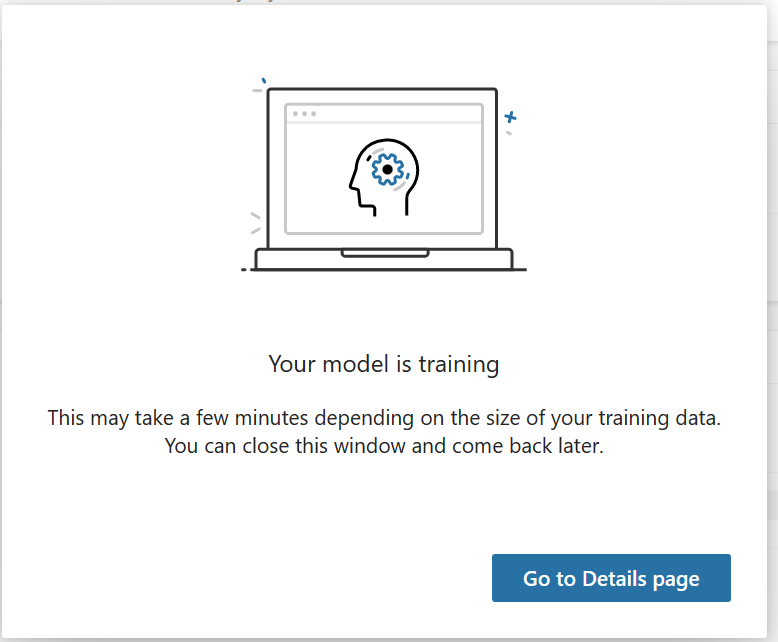
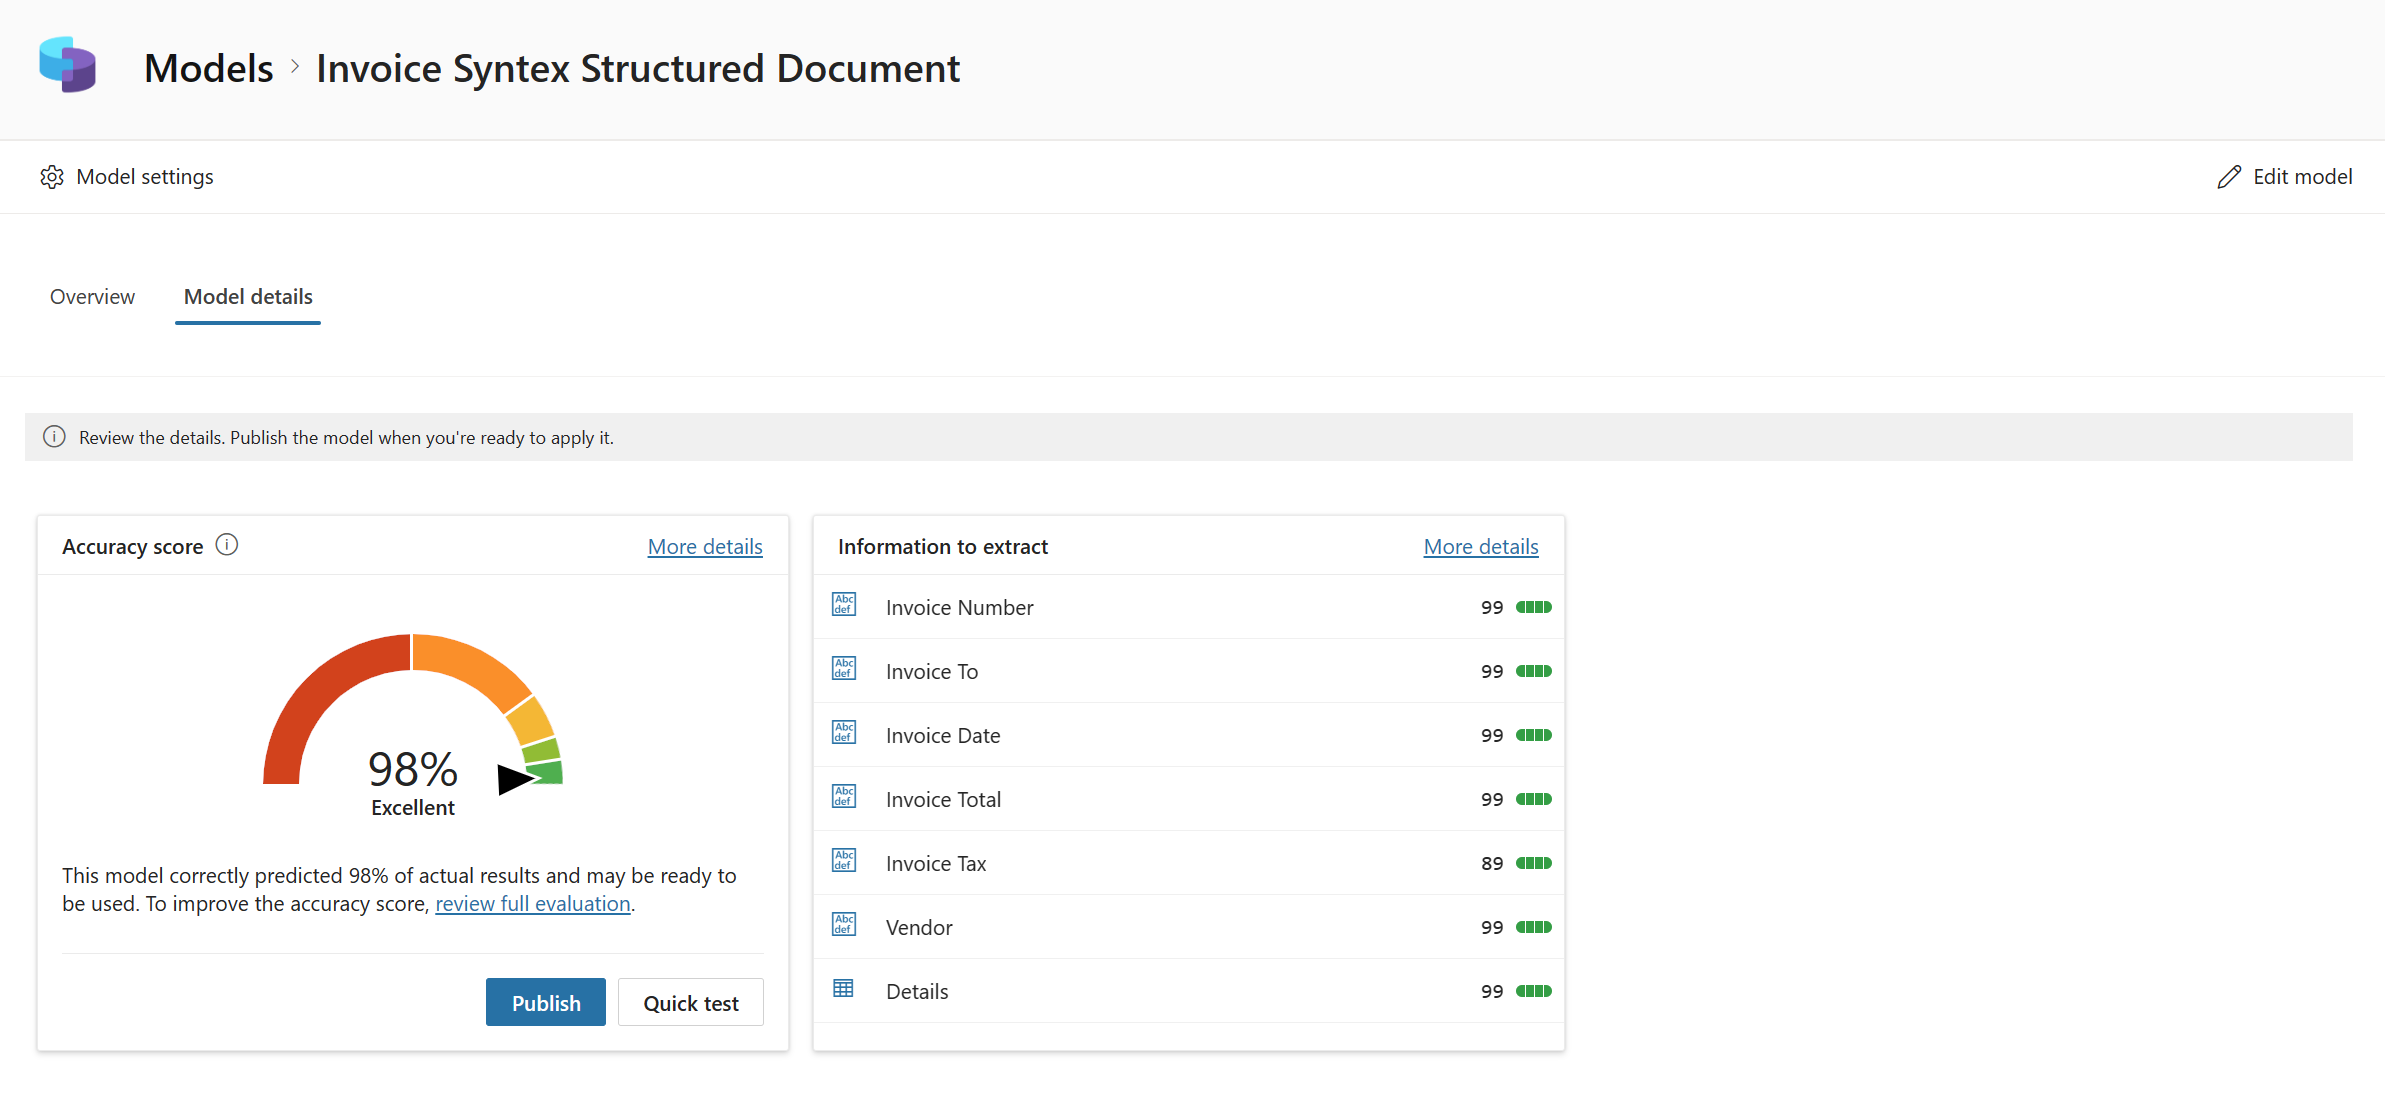
In the Content Center wait until the training is finished...
Click "Publish" to publish the model
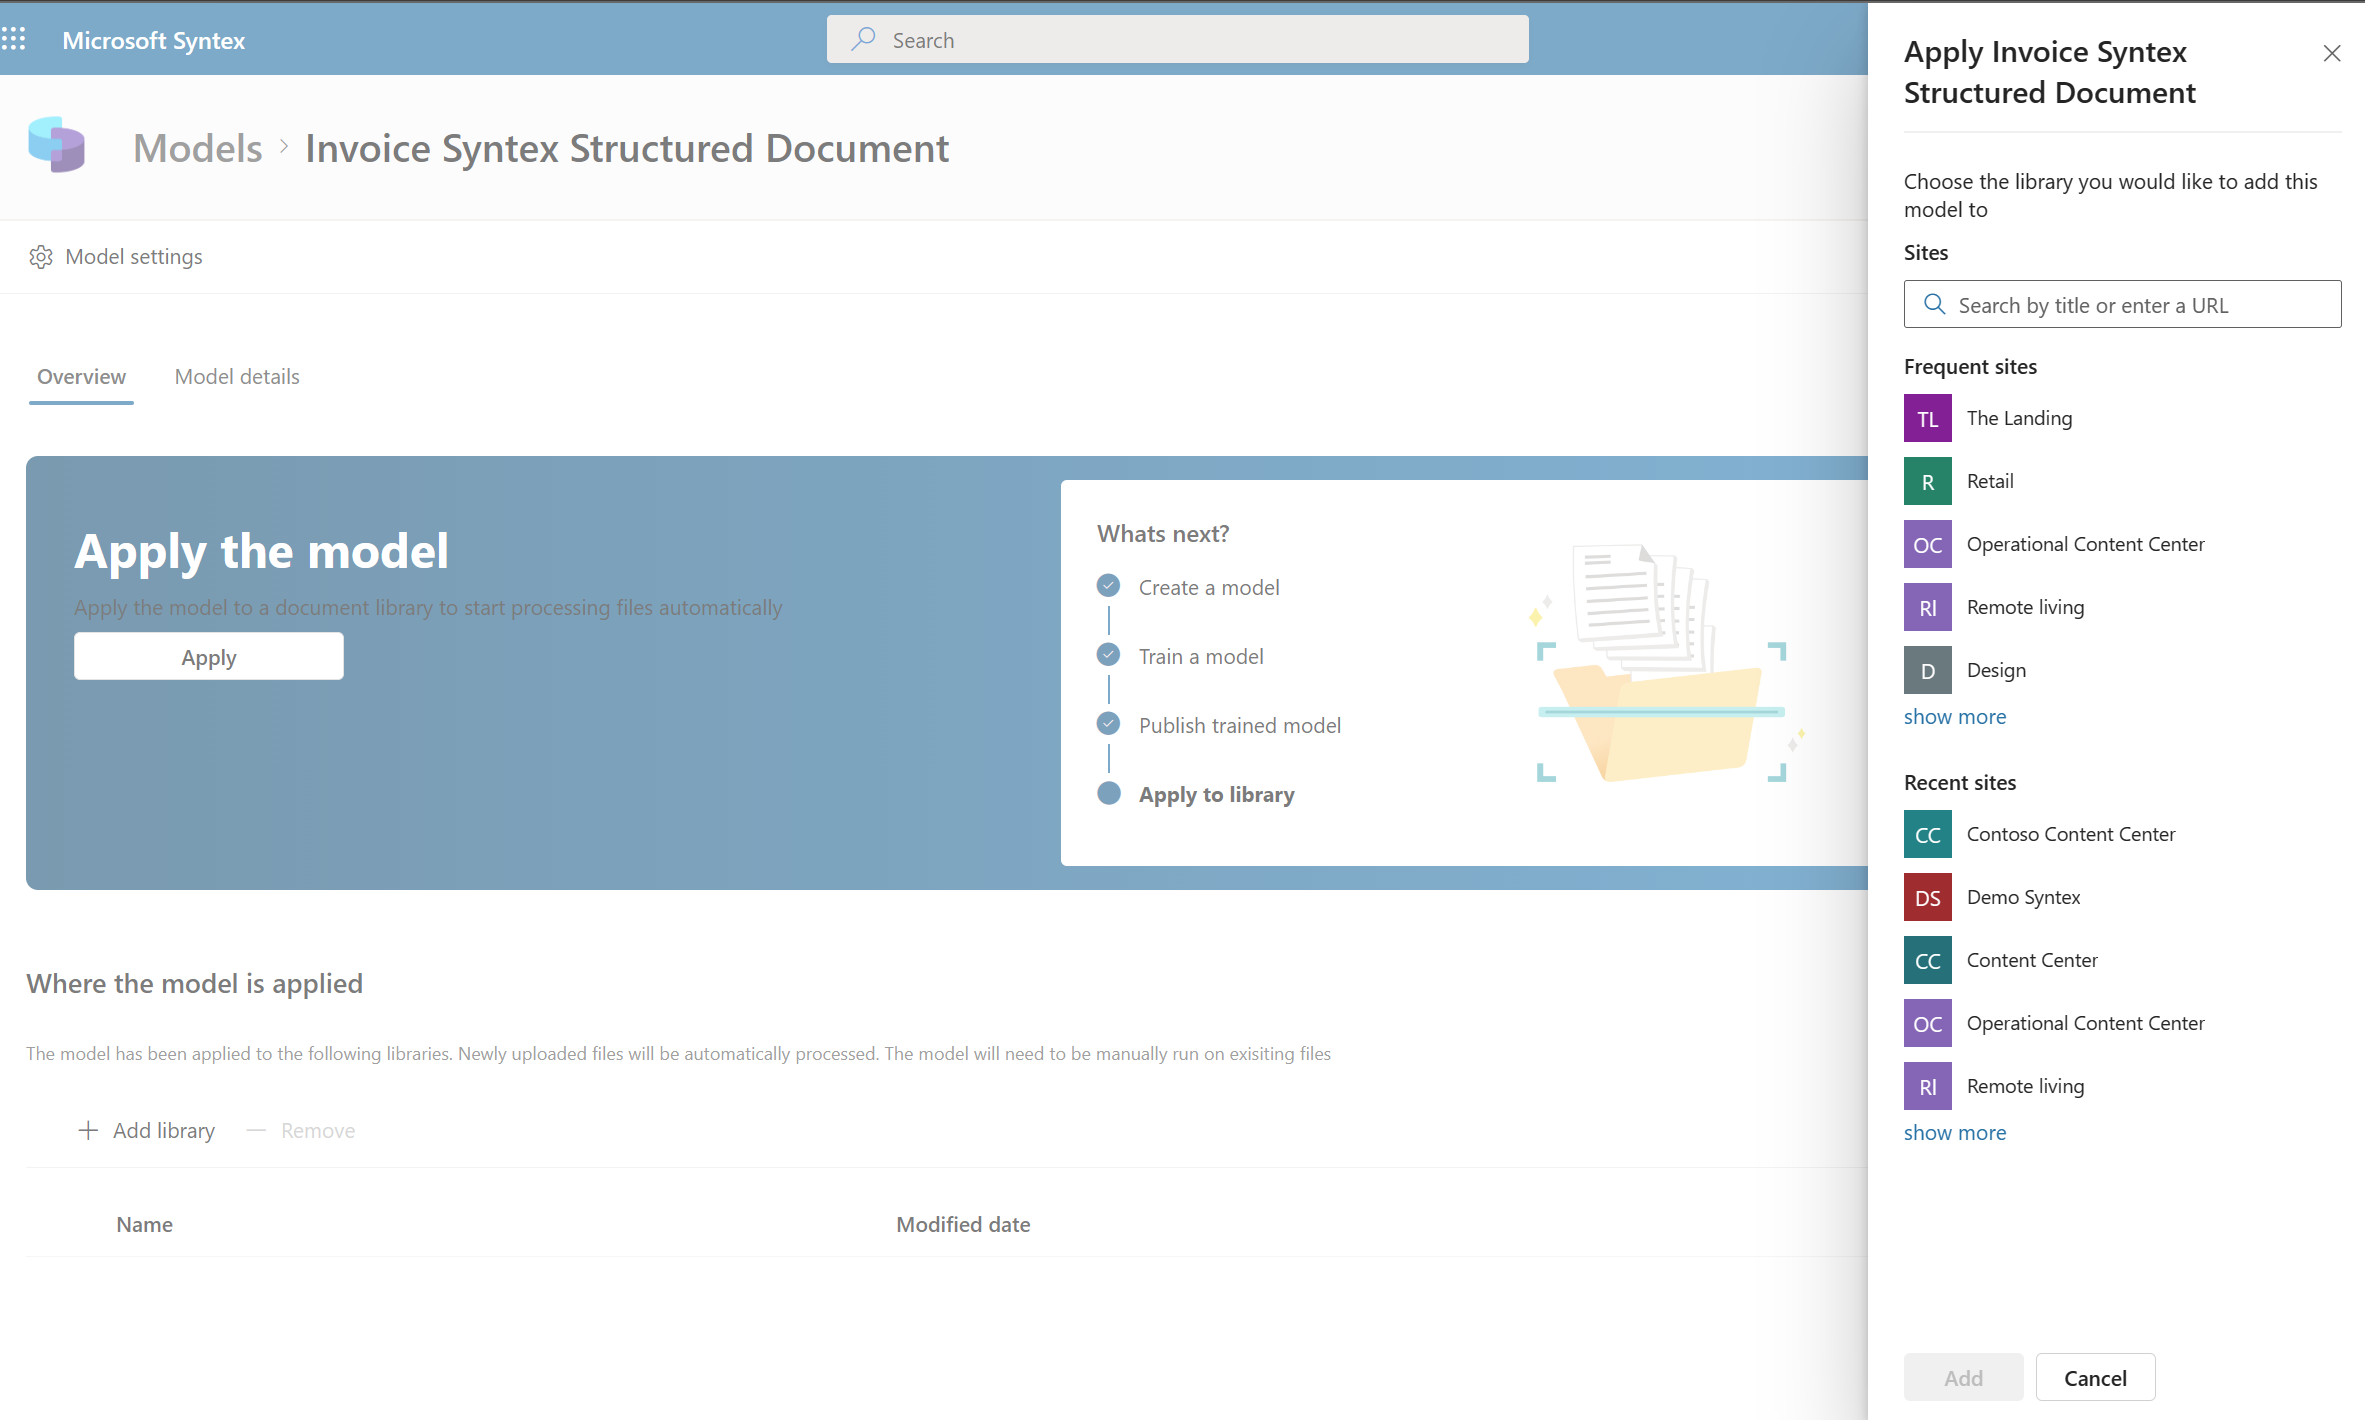
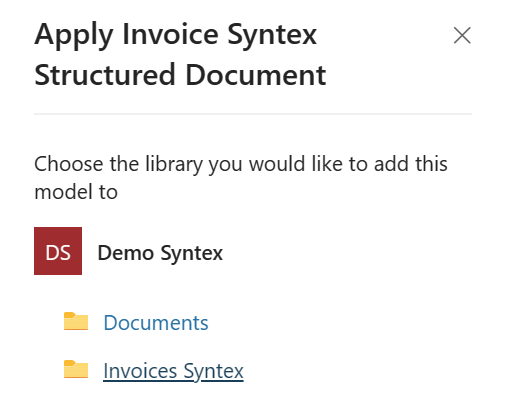
Apply Model to a SharePoint Document Library
Choose the document library previously created to associate the newly created model to.
Create a related list for save all details line
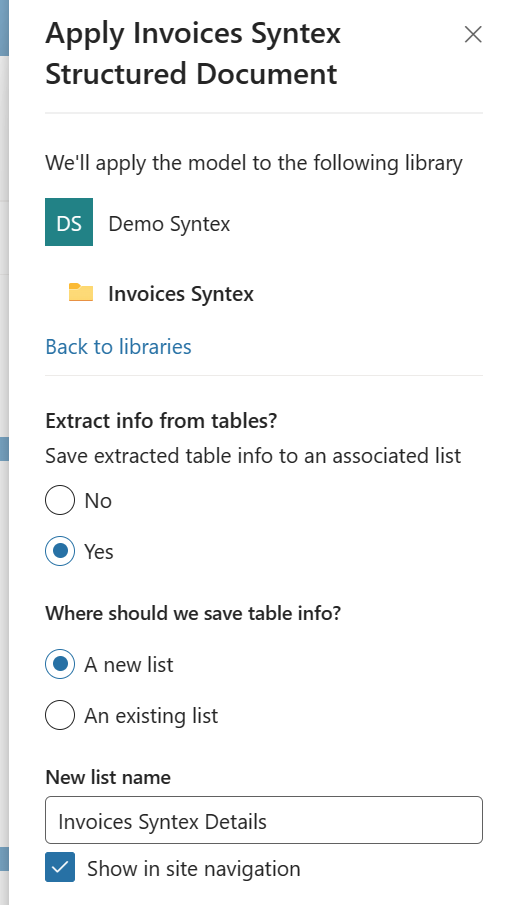
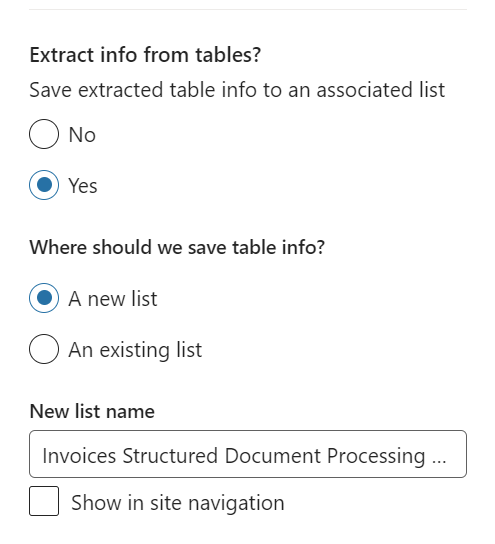
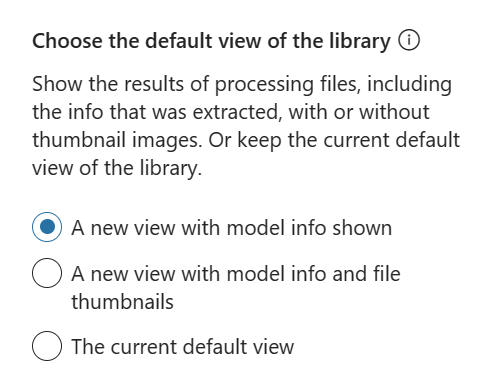
Select your preferred view
Get SharePoint Site ID and Invoice Document library ID
In this sample for invoice upload, the Power App use Graph API. For this is necessary identify the SharePoint site ID and document library ID
Open graph explorer at https://developer.microsoft.com/en-us/graph/graph-explorer and insert your credential (remember to use the correct consent for read sites properties and upload file in a document library)
Use this call: https://graph.microsoft.com/v1.0/sites/<
This is the result The second part of id is your site id Use this call https://graph.microsoft.com/v1.0/sites/<
Copy these values into a text editor or somewhere safe, will be necessary to set an environment variables value Open your Power Platform Environment where you want to install the solution SyntexChatGPTIntegration_1_0_0_5.zip
Click on "Import Solution" Leave all default settings and click "Next" Select the correct connections of SharePoint, Office 365 Groups and OpenAI Independent connector. If these connection don't exist create them. Click "Import"
Set the correct value for all necessary environment variables Wait until the import process has finished Once finished, open the canvas app "Manage Invoices Syntex ChatGPT" Click on "Attach file" and select Adatum test invoice Wait until the Syntex model has analyzed your document You now may want to find out more information regarding an item i.e. "Safe pool alarm".... you may ask Clippy to search Open AI This would then be the response....
Install Power Platform Solution


 ### Test the app
 Click the "Upload" button and once the file has uploaded, use refresh button on the App to retrieve the document detail


