A reusable Power Platform snippet
Notifications Card
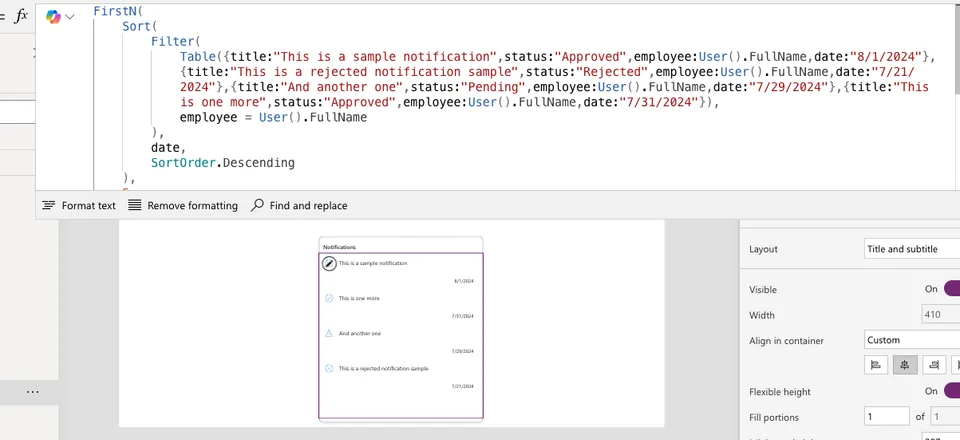
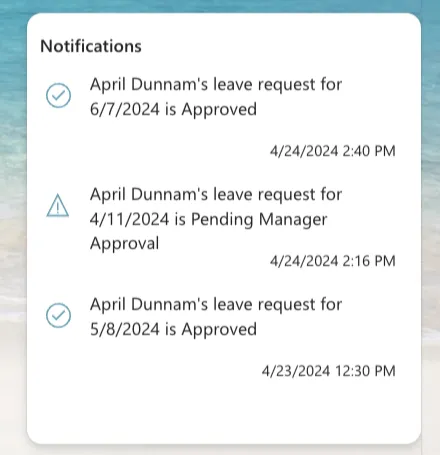
This snippet shows how to implement a notifications card in Power Apps.
 Power Apps
- Last updated
- Jul 31, 2024
- Category
- Community snippet
From idea to implementation
Make it your own.
Check this snippet's prerequisites, permissions, and licensing before using it. The documentation below comes directly from the snippet README.
This snippet shows how to implement a notifications card in Power Apps.
Minimal path to awesome
NOTE: The recommended best practice is to utilize this YAML snippet inside of a canvas component for reusability
- Open your canvas app in Power Apps
- Copy the contents of the YAML-file
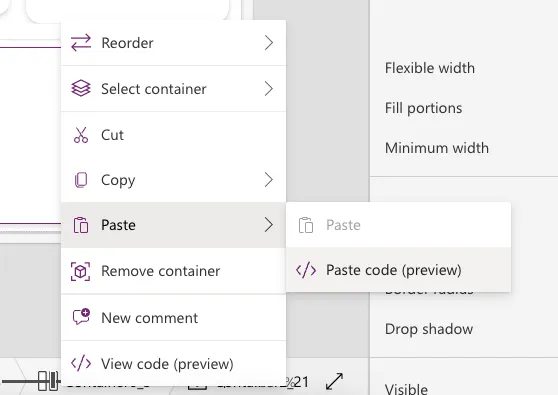
- Right click on the screen where you want to add the snippet and select "Paste YAML"
- Replace Items Property in the gallery with your data. If the field names change you'll also need to update the text property of the two text labels and the Icon property of the icon.
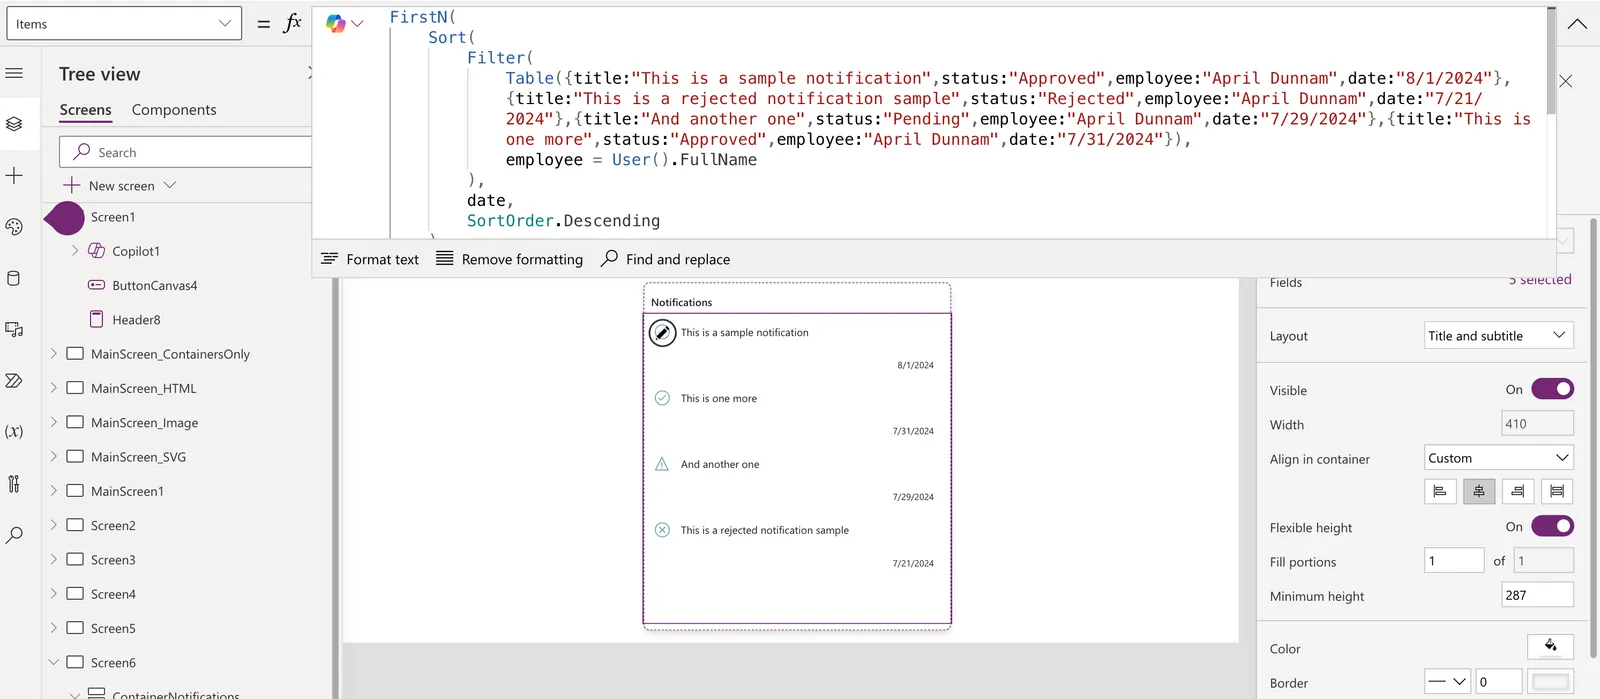
Steps to use as a component
Open your Power App in edit mode
Select the components tab in the tree view
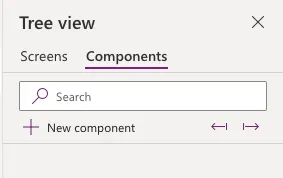
Select New component
Rename your component to something relevant like NotificationCard
In the Custom Properties panel, select New custom property
For Display name input the text Items
Change the Data type to Table
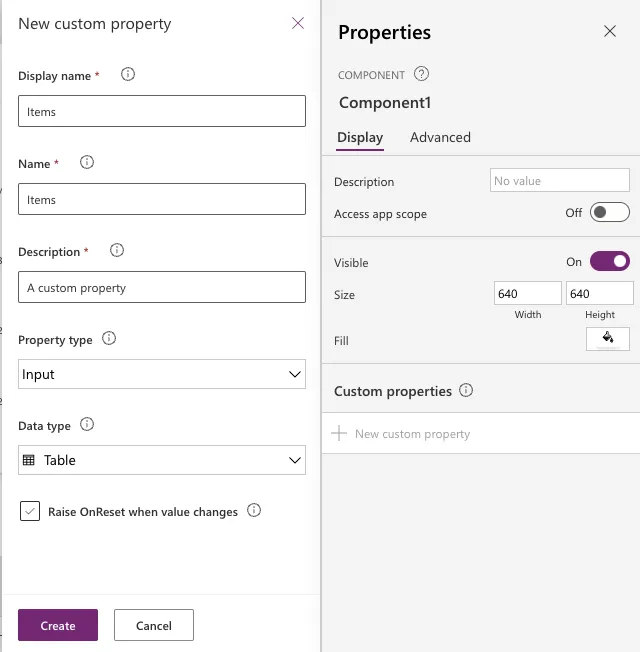
Select Create
Right click in the component and select Paste Code
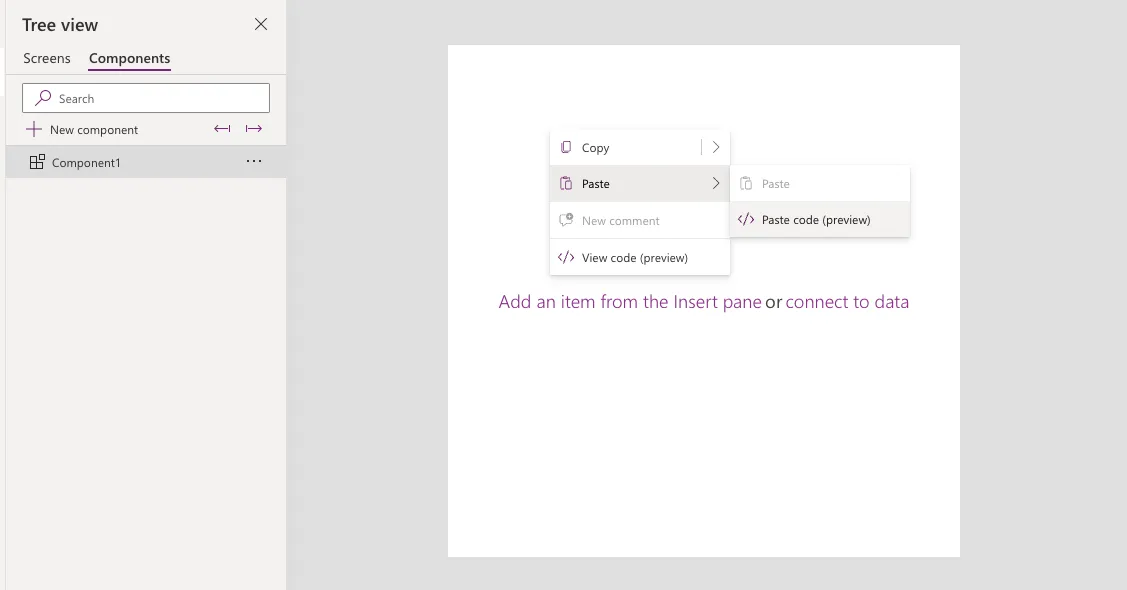
Select the galNotifications gallery and copy the code from the Items property
Select the container object and go to the Items property you just created and paste the code you copied
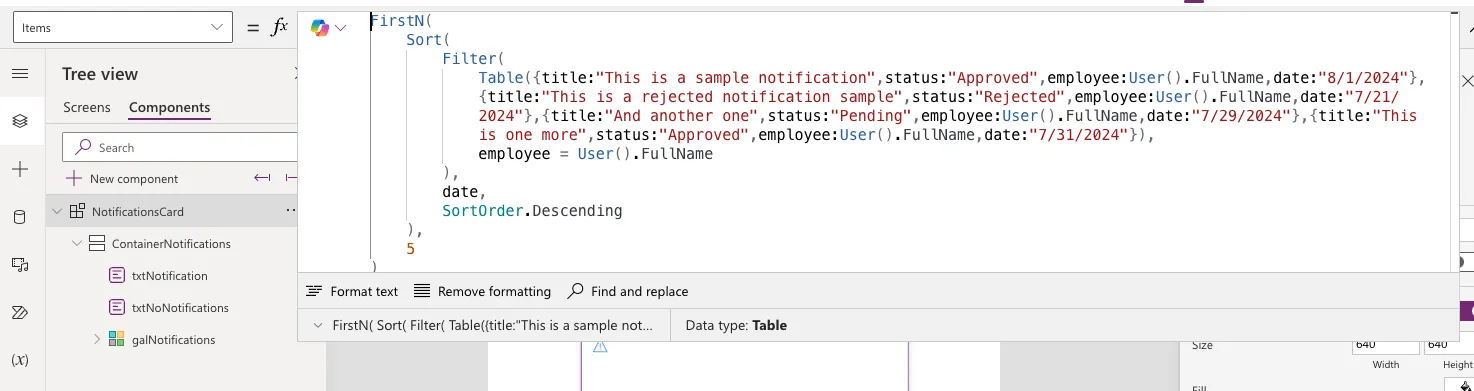
Select the galNotifications gallery and go to the Items property and replace the code with the {INSERT-NAME-OF-YOUR-COMPONENT}.Items
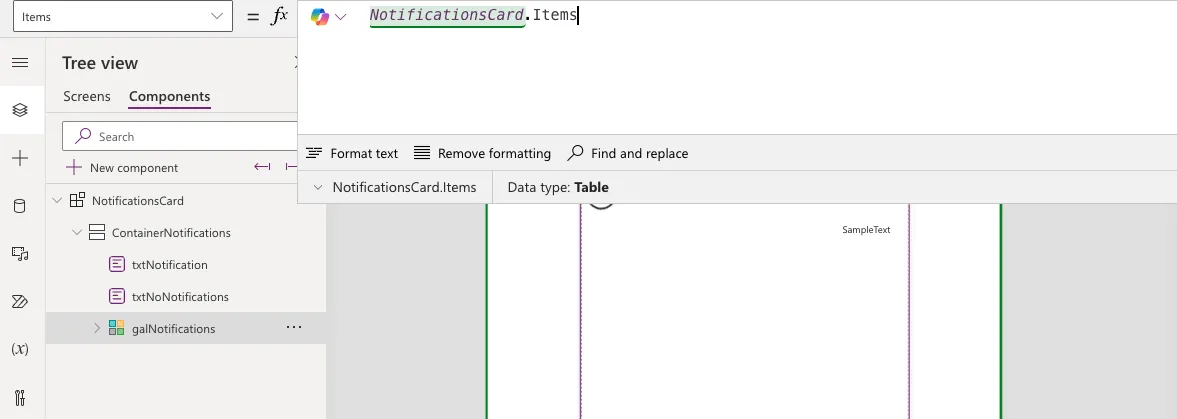
Learn more about YAML and integrating with Components