
From the contributor
How to use this sample
Summary
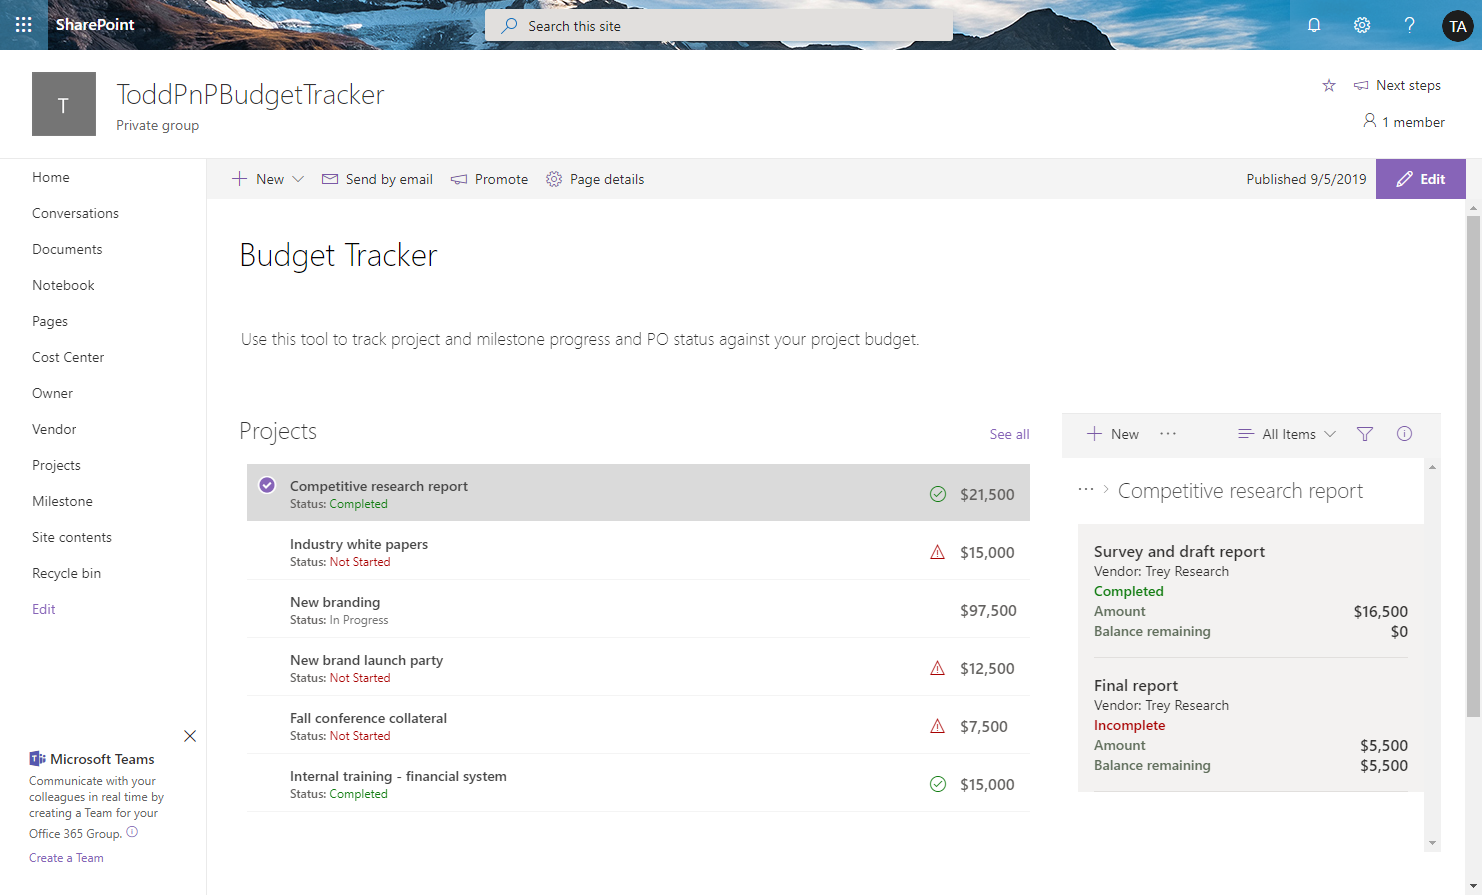
The budget tracker sample demonstrates how to use view formatting to format lists and display views of the lists inside connected web parts. This provides the ability to view the budget items associated with individual projects on a single page.
View requirements
This solution is comprised of a library, 3 lookup lists, and 2 primary lists. This is a complicated setup. Fortunately, you can also have all lists (including sample data) setup for you by using the provisioning instructions below.
Provisioning
Assets are provided in the provisioning folder to demonstrate how to deploy this sample (5 lists, a library, an image file, and a page). The template and related assets are all included here and can be done with PowerShell.
Prerequisites
Install PnP PowerShell modules
To install PnP PowerShell modules, open PowerShell as an administrator and run the following command:
Install-Module SharePointPnPPowerShellOnline -AllowClobber
Installation
Open PowerShell as an administrator and go to the folder where the script is located. Then run the following command:
.\BudgetTracker.ps1Notes:
Please make sure all files are downloaded (from the provisioning folder), including the folder "images".
Before the script will run, the following "Security Warning" may appear, type R to allow the script to run:

- After entering the adminUPN you will be asked for the user password in a pop up window.
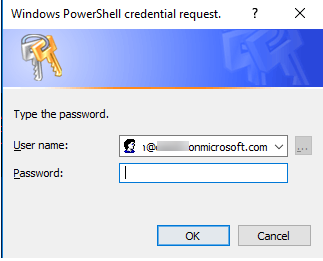
Please refer to the below table to enter the parameters:
| Name | Value | Description |
|---|---|---|
| orgName | <orgName> | The name of the tenant. For example: If your SharePoint URL is http://contoso.sharepoint.com then your orgName is contoso. |
| adminUPN | <user>@<orgName>.onmicrosoft.com | The site administrator account. |
| fileNameOfPnPTemplate | BudgetTrackerPNP | The file name of the PnP Provisioning Template. |
- Please choose if you would like to apply the PnP Template to existing site or a new site.
| Name | Value | Description |
|---|---|---|
| Input new site title | <Site Title> | The title for the new site. |
| Input existing site url | <Existing Site URL> | The url of existing site. |
After the script has successfully run you will see the following screen.
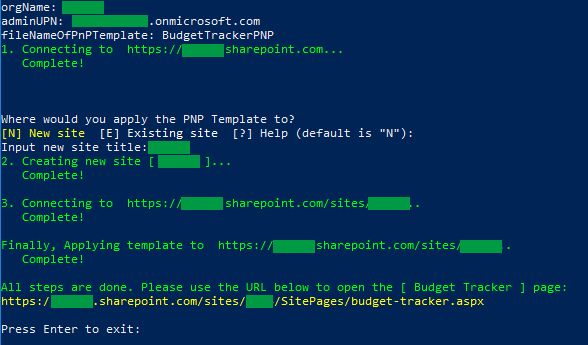
Copy the [Budget Tracker] URL.
Open a web browser and navigate to the URL.
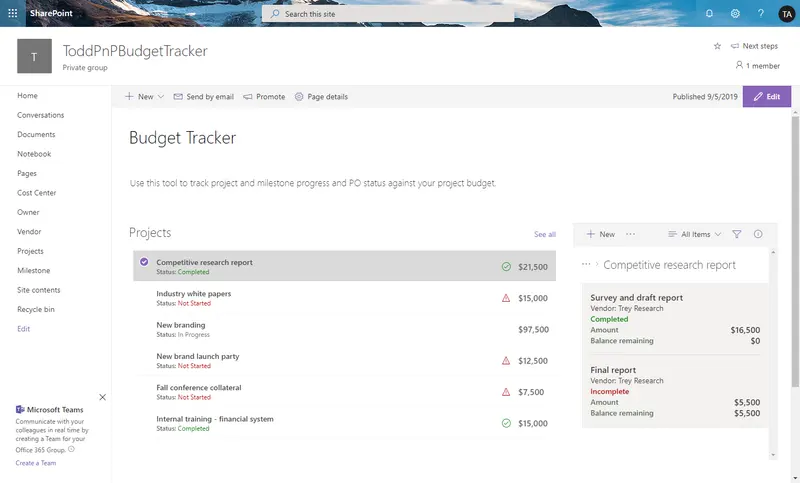
Select the first item in the Projects list and verify the page appears like this:
Sample
| Solution | Author(s) |
|---|---|
| budget-tracker.json | Todd Baginski, Chris McNulty, Chad Liu, Damian Gibbs, Randy Wang |
| budget-tracker-activity-milestone.json | Todd Baginski, Chris McNulty, Chad Liu, Damian Gibbs, Randy Wang |
Version history
| Version | Date | Comments |
|---|---|---|
| 1.0 | January 29, 2020 | Initial release |
Disclaimer
THIS CODE IS PROVIDED AS IS WITHOUT WARRANTY OF ANY KIND, EITHER EXPRESS OR IMPLIED, INCLUDING ANY IMPLIED WARRANTIES OF FITNESS FOR A PARTICULAR PURPOSE, MERCHANTABILITY, OR NON-INFRINGEMENT.