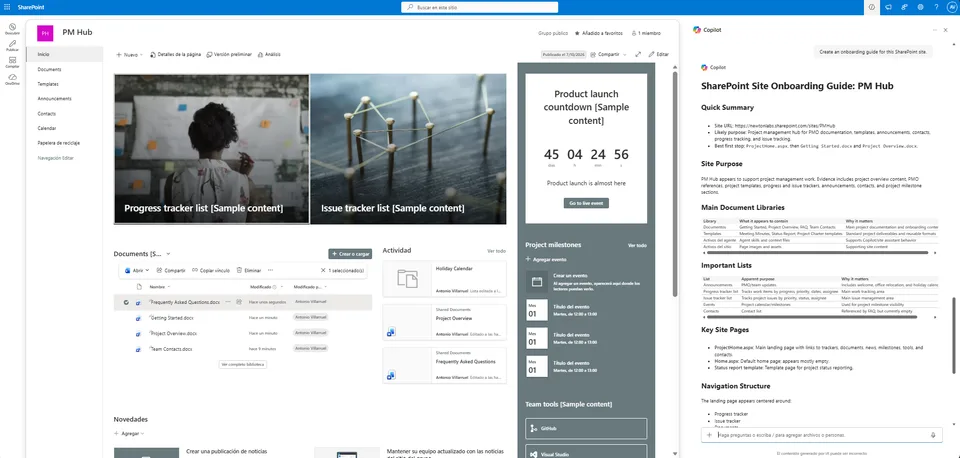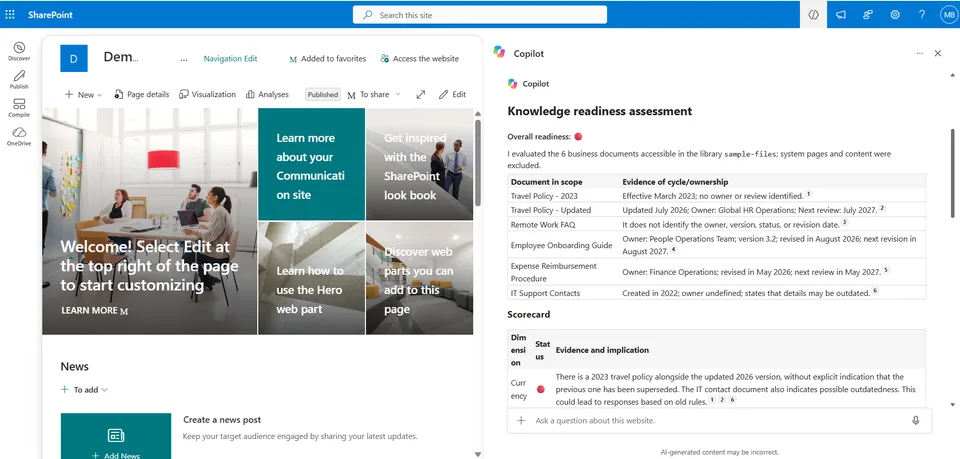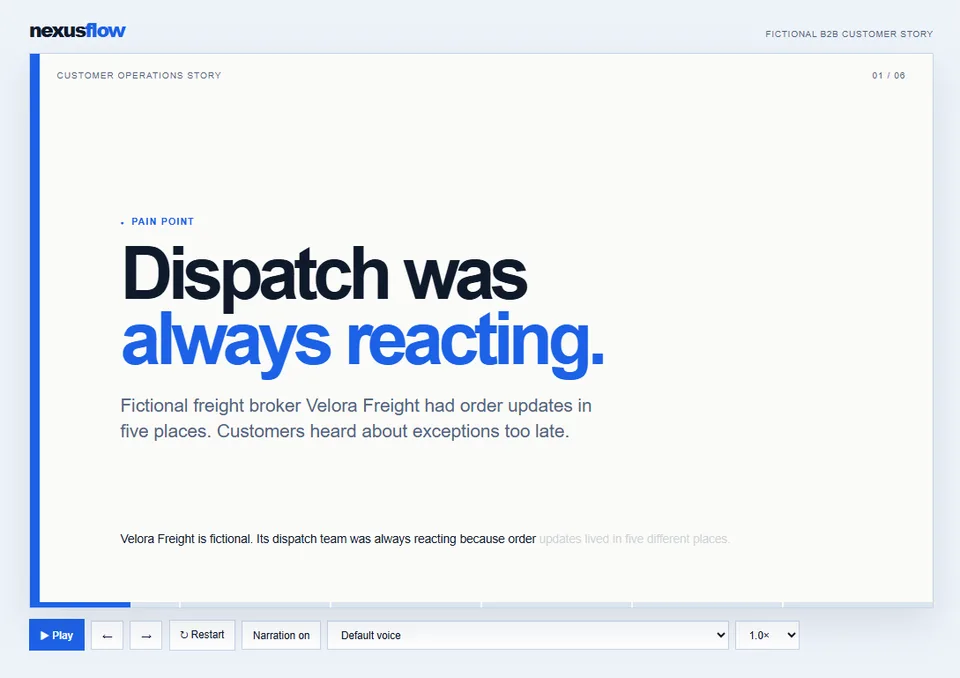
Creates an interactive, self-contained HTML glossary from terms and definitions explicitly supported by a source document.
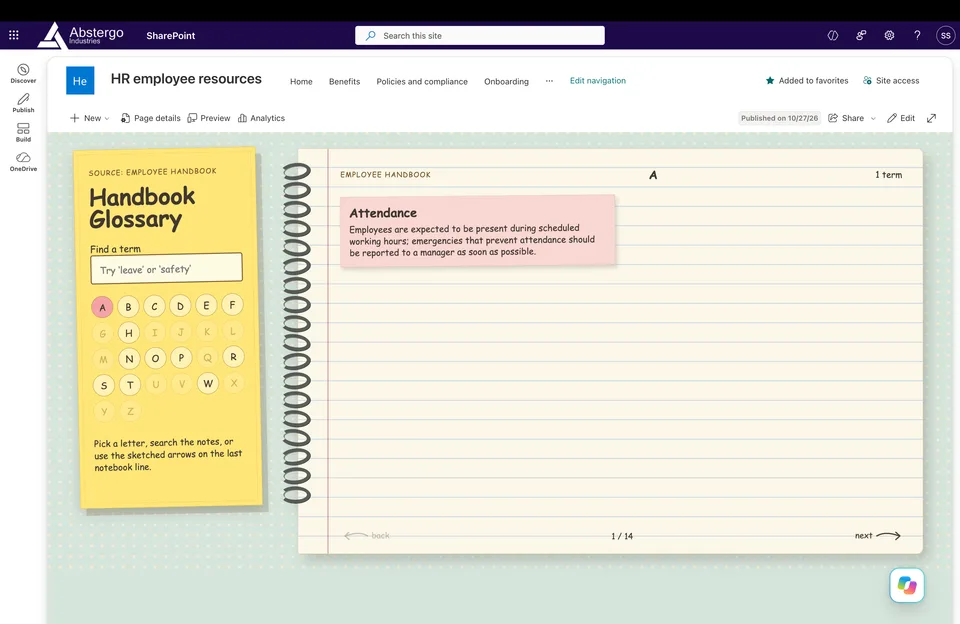
Presents entries in a handwritten notebook layout with sticky-note search, A-Z navigation, pastel term notes, curled-wire binding, and sketched page arrows.
Includes searchable and alphabetical navigation with organic page-turn animation and reduced-motion support, without external assets or dependencies.
Ideal for turning SharePoint or OneDrive reference documents into an engaging, reusable glossary.
Creates a source-grounded, interactive notebook-style glossary from a SharePoint or OneDrive document, or a link supplied by the user. The finished self-contained HTML page can be saved to SharePoint.
What you get
- Definitions based only on the source, with no invented terms or explanations
- An alphabetical glossary with searchable terms and A-Z navigation
- A handwritten layout with a sticky-note search panel, lined notebook pages, pastel term notes, and curled-wire binding
- Previous and next page arrows on the notebook's final ruled line, plus organic page-turn animation and reduced-motion support
- Self-contained vanilla HTML, CSS, and JavaScript with no external assets, fonts, or runtime dependencies
Good to know
- For a SharePoint page, choose New > HTML Page, describe your idea to Copilot, and ask it to use this skill. Copilot will create the glossary in the page using this skill's notebook design, rather than saving a standalone HTML file in a document library.
- Provide a source document selected in SharePoint or OneDrive, a file URL, or another link the agent can read.
- You can optionally specify a destination HTML page or an open blank page to update.
- The notebook composition is fixed; wording, colour, and motion preferences can be applied when they don't change its layout.
SharePoint Skill
| Solution | Author(s) |
|---|---|
| create-notebook-glossary | Sandeep P S(GitHub, LinkedIn) |
Version history
| Version | Date | Comments |
|---|---|---|
| 1.0 | October 2026 | Initial Release |
Disclaimer
THIS CODE IS PROVIDED AS IS WITHOUT WARRANTY OF ANY KIND, EITHER EXPRESS OR IMPLIED, INCLUDING ANY IMPLIED WARRANTIES OF FITNESS FOR A PARTICULAR PURPOSE, MERCHANTABILITY, OR NON-INFRINGEMENT.
Package
Ready to install
The ZIP contains only the upload-ready inner skill folder.
dda744fb7e9225b5ae94b63e8f1471bd061b7d8bb9b9b458cae884d42654392fView SKILL.md
---
name: create-notebook-glossary
description: |-
  Create a source-grounded, interactive notebook-style glossary HTML page from a SharePoint/OneDrive document or a provided link, then save it to SharePoint. Use a fixed three-part handwritten layout: sticky-note search and A–Z panel on the left, notebook page in the main area, curled-wire spiral binding, and sketched page arrows on the last notebook line.

  Use when the user says:
  - "create a notebook glossary"
  - "make a handwritten glossary page"
  - "turn this document into an interactive glossary"
  - "create a glossary from this link"
  - "build a searchable notebook glossary"
---
## When to use
Use this skill when the user wants a glossary created from a document, SharePoint/OneDrive file, or provided link. Always use the fixed notebook layout described below unless the user explicitly asks for a different design.

## Inputs
- A source document selected in SharePoint/OneDrive, a source file URL, or a link supplied by the user.
- Optional destination HTML page or current blank HTML page.
- Optional wording, colour, or motion preferences that don't alter the fixed layout.

## Steps
1. Identify, retrieve, and read the source file or link. If several sources are named, read and reconcile all relevant sources.
2. Extract only terms and definitions explicitly supported by the source. Prefer formal glossary, terminology, definition, and acronym sections. Otherwise select recurring organisation-specific terms that are clearly defined in context. Do not invent definitions.
3. Build a complete alphabetical dataset. Sort terms A–Z and retain source wording where practical. Include all letters in navigation and mute letters with no matching terms.
4. Create or update the target HTML page. If the open page has unsaved changes, read it first and use targeted edits rather than a full rewrite.
5. Build the exact fixed visual composition:
   - **Typography:** Use only a handwriting-style font stack throughout every element and interaction state, including metadata, search, A–Z buttons, entry titles and definitions, footer, labels, placeholders, buttons, and arrow-adjacent text. Use local fallbacks such as `"Comic Sans MS", "Bradley Hand", cursive`. Never use Segoe UI, Arial, Georgia, system UI, or any non-handwritten font.
   - **Left panel:** a slightly rotated yellow handwritten sticky note. It contains a small source label, a large handwritten glossary title, a clear `Find a term` search field, an A–Z grid, and a short handwritten instruction.
   - **Notebook panel:** lined off-white paper with a red margin line, a handwritten upper metadata row, two columns of varied pastel sticky-note entries, and a subtle handwritten footer.
   - **Binding:** dark, matte, individually curled wire loops running only inside the notebook height. Each loop must vary slightly in size, spacing, skew, opening, and tilt. Use muted brushed texture and subtle speckling; avoid glossy chrome highlights.
   - **Arrows:** hand-sketched inline SVG arrows placed inline on the last visible ruled line of the notebook page, directly above or integrated with the footer area. Keep previous on the left and next on the right, both inside the notebook paper bounds. Do not place arrows outside the notebook, at its vertical centre, or below the page.
6. Keep the experience self-contained in vanilla HTML, CSS, and JavaScript. Do not use CDNs, imports, fetch, remote assets, or external fonts.
7. Provide persistent search, A–Z navigation, and arrow navigation. Search must filter matching terms and move to the first matching letter.
8. Use an organic directional page-turn: forward and back gestures curl in opposite directions with uneven timing, slight paper flex, soft highlight, shifting spine shadow, and a slower return. Avoid rigid or mechanical rotations. Include `prefers-reduced-motion` support.
9. Verify the file write succeeds. If it fails, say what wasn't changed and don't claim it was created.

## Output format
Reply briefly with what was created or changed. State that it includes source-grounded terms, handwritten left-panel search/A–Z navigation, notebook notes, curled-wire binding, sketched arrows on the final notebook line, and page turns. If the edited page is open, don't offer an unnecessary link.

## Quality checks
- Every visible definition is grounded in a read source.
- Every visible text element uses only the handwriting font stack, including controls, metadata, and all interactive states. No Segoe UI or other non-handwritten fonts may appear.
- The left sticky-note panel, notebook page, wire binding, and arrows retain this layout on desktop and adapt without overlap on mobile.
- Search, A–Z, arrows, and page turns work.
- Arrows stay inside the notebook page on its final ruled line.
- The wire binding is fully contained within notebook height and has a muted handmade-metal texture.
- The page honors `prefers-reduced-motion`.
- Never describe the interaction as a binary video; it is an interactive HTML page.
References
- agentskills.io specification
The specification that SharePoint AI skills follow for discovery and packaging.
Discuss this skill
Ask a question, share how you used it, or suggest an improvement with the community.
Open GitHub Discussions